A luxury TV wall isn’t about the size of the screen, it’s about how the architecture, materials, and lighting around it turn a functional focal point into a deliberate design statement. You can achieve this with a full-height stone slab, a backlit fluted panel, or a concealed motorized mount, each delivering a distinct mood and price point. But the real distinction lies in proportion, finish, and how the setup interacts with your room’s natural light and traffic flow.
The following six approaches break down what works, who it suits, and the exact trade-offs you’ll face before you commit to a single screw.
Key takeaways
- Stone veneer suits high-traffic homes because it hides fingerprints and scuffs, while wood veneer demands more care but costs roughly 30–50% less per square foot installed.
- A matte charcoal or deep green wall behind the TV, paired with brushed brass or blackened steel trim, delivers a luxury feel for under $200 in paint and hardware.
- Install LED strips with a 2700–3000K color temperature and a 0–10V dimmer behind the TV’s edges, not centered, to avoid glare and create a 12–18 inch halo effect.
- For rooms under 200 square feet, limit the feature wall to the TV’s width plus 12 inches on each side; for larger spaces, extend the paneling full-height to the ceiling to draw the eye upward.
Veneer vs Stone Look: Which Suits Your Budget and Maintenance Tolerance
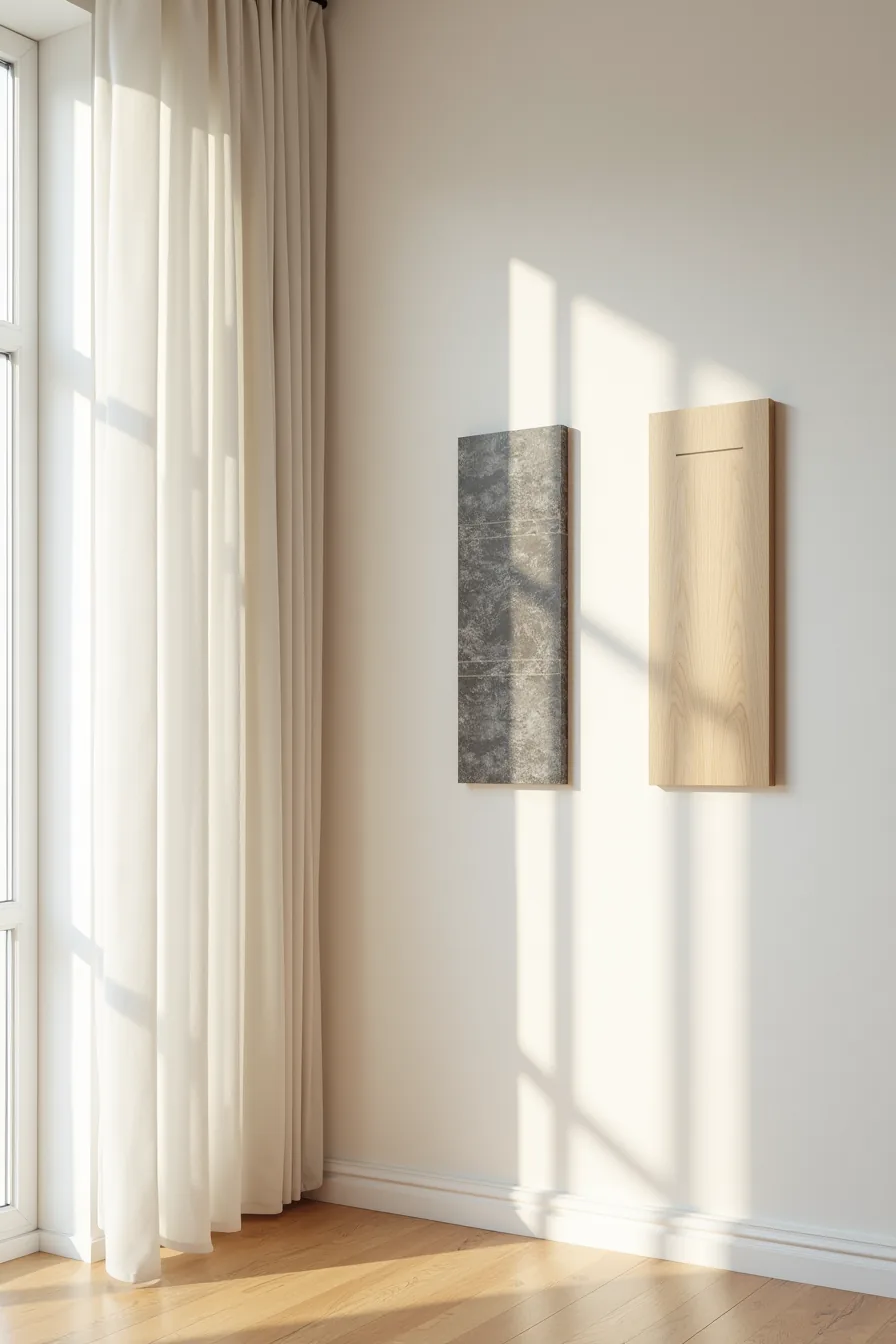
Your choice between oak veneer strip, engineered stone tile, and a genuine limestone slab comes down to how much you value authenticity versus practicality. A light oak veneer strip is the budget route: expect $15–$30 per square foot installed, with zero sealing required. It suits a low-traffic media room where you won’t constantly bump the wall, scratches show readily, and a moisture-rich zone like a basement will warp it within two seasons.
Engineered stone tile in charcoal is the mid-range compromise, costing $30–$60 per square foot. It delivers a stone look without the weight or the porous nature of genuine stone; you never need to seal it, and a damp cloth handles smudges. Genuine limestone slab, the premium option at $60–$120 per square foot plus professional fitting, demands a yearly sealer application and quick spill response, wine or oils will etch the surface in hours if left.
Use it only in a media room where you control drinks and sunlight.
Minimal Luxury Palette: Color and Material Combinations That Read Expensive
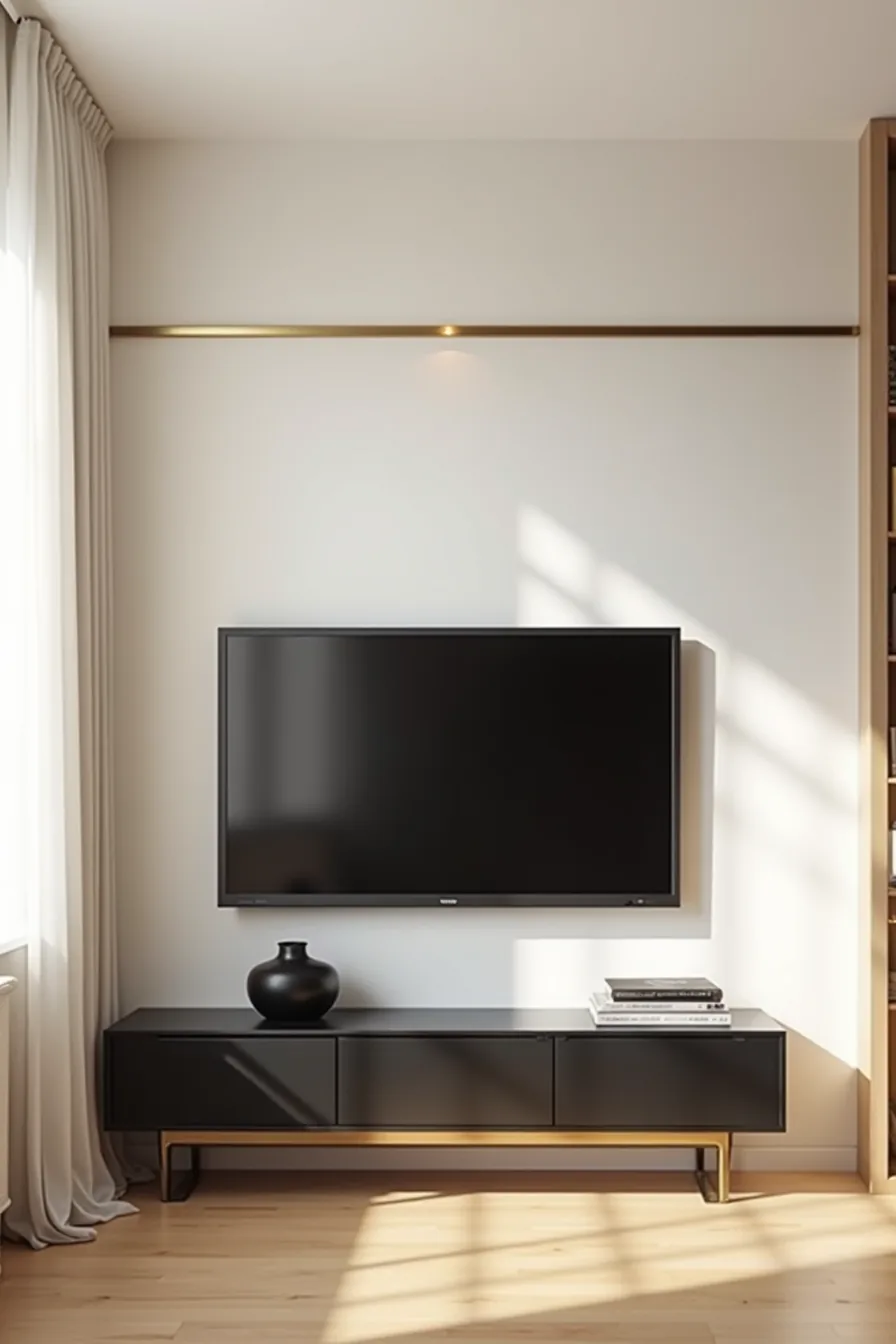
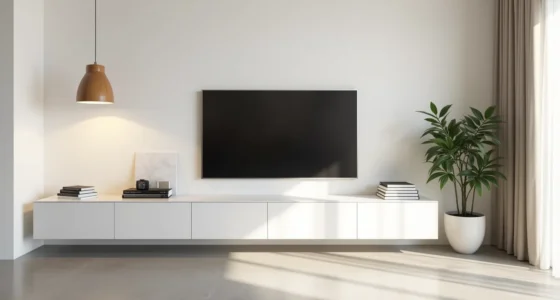
Luxury in a TV wall rarely comes from loud color, it comes from disciplined contrast. Pairing a matte warm-white plaster finish with a single polished brass trim band creates depth without pattern, and the gloss-to-matte friction is what signals expense. The brass strip should run at mid-height, roughly 42–48 inches from the floor, to visually anchor the screen regardless of its size.
A matte black media console below keeps the palette tight, while one sculptural object in the same black finish adds weight without clutter. The cool-toned pendant light above introduces the only temperature shift in the room, preventing the warm neutrals from feeling muddy. For a softer modern look, restrict yourself to three materials, plaster, metal, and wood, and let the finishes, not the colors, carry the contrast.
This setup costs roughly $400–$900 in materials if you DIY the plaster skim coat and source the brass trim from a metal supplier rather than a big-box store.
Soft Integrated Lighting: Placement, Wattage, and Dimming for Ambient Control
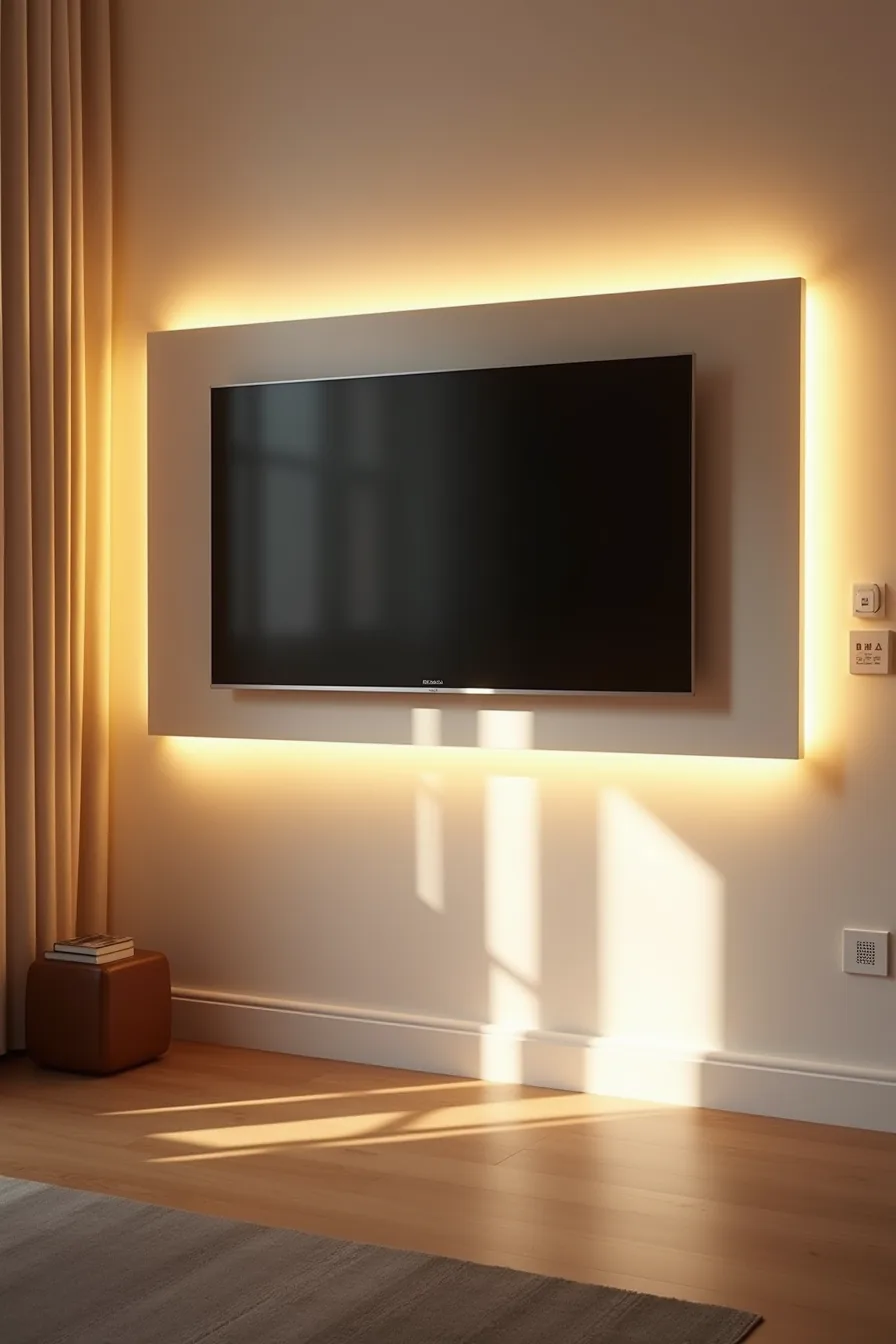
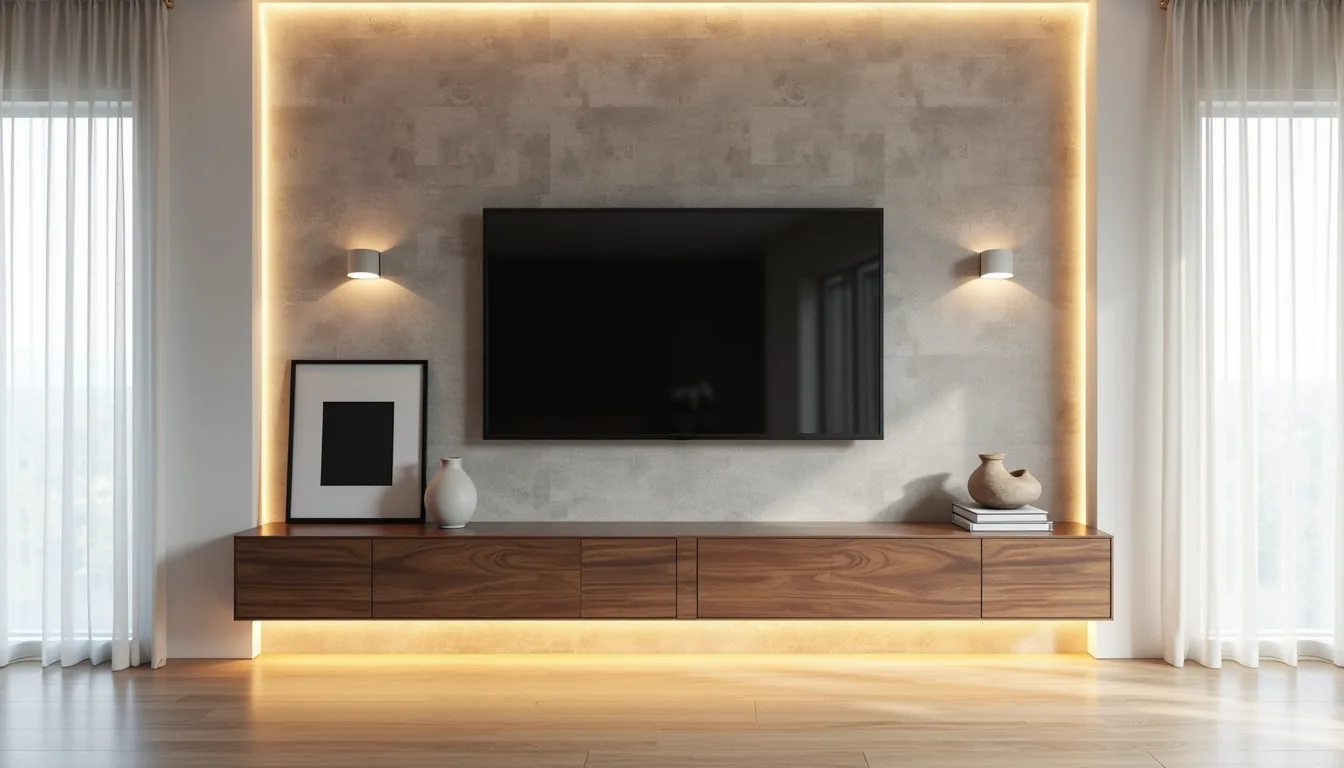
Soft integrated lighting does the heavy lifting in a modern luxury TV wall, it defines the screen’s silhouette without competing with it. Position LED strips behind the TV frame on all three sides, plus a separate run along the floor edge beneath, to create a floating effect that visually separates the wall from the room. The floor-level strip should sit 1–2 inches off the ground, angled upward at roughly 30 degrees to wash the baseboard rather than glare across the floor.
Color temperature matters more than brightness here. Stick to 2700K–3000K strips for a warm amber glow that complements neutral plaster and wood finishes; anything above 3500K reads clinical and undermines the luxury feel. You’ll want a dimmer switch mounted at arm height on the adjacent wall, not behind the TV, so you can adjust the glow from your seat without getting up.
Most quality LED strip kits run 4.5–9 watts per meter, and a 55-inch TV wall typically needs 4–6 meters total across both the frame and floor runs.
Wiring is the real constraint. If you’ve drywall, cut a channel behind the TV and fish the cables down to a low-voltage outlet, budget $150–$300 for an electrician if you’re not comfortable. For surface mounting, use paintable cord covers that match your wall finish exactly; the matte texture hides them far better than gloss.
Pair the strips with a smart dimmer that remembers your last setting, so the room returns to the same ambient level every time you switch the TV on.
Scaling TV Wall Ideas Modern Luxury to Your Room Size

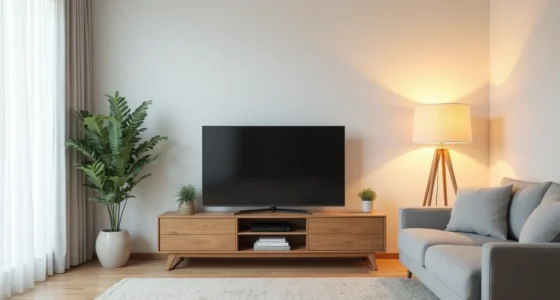
The 12-by-14-foot living room in view, roughly 168 square feet, demonstrates the medium-space formula: a 50-inch TV occupying about 40–45 percent of the feature wall’s width, with flanking cabinetry extending another 12–14 inches on each side. That leaves roughly one-third of the wall as visible negative space, which prevents the composition from reading as a cluttered media center. For small rooms under 150 square feet, drop to a 43–50-inch screen and skip the cabinetry entirely; a floating shelf beneath the TV keeps the wall ratio closer to 30 percent and preserves floor area for circulation.
Large spaces over 250 square feet need a 65–75-inch panel with full-height cabinetry on both sides, otherwise the TV floats like a postage stamp on an empty wall.
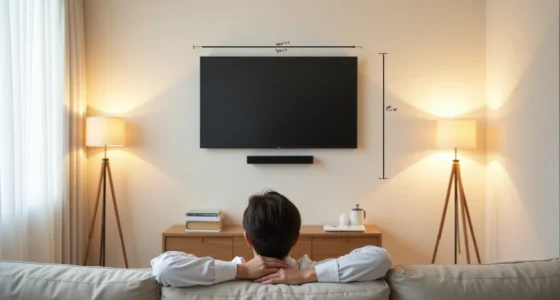
Scale your seating distance to the screen, not the wall. The accent chairs sit 8 feet back, which suits a 50-inch display; add roughly 1.5 feet of viewing distance for every 10 inches of additional screen size. The visible floor area matters just as much as the wall itself, you need at least 3 feet of clear walking space between the seating and the TV wall to keep the room functional.
If your floor plan won’t allow that clearance, downsize the TV rather than pushing the sofa closer to the wall.
Renter-Friendly Modern Luxury: Temporary Materials and Removable Finishes
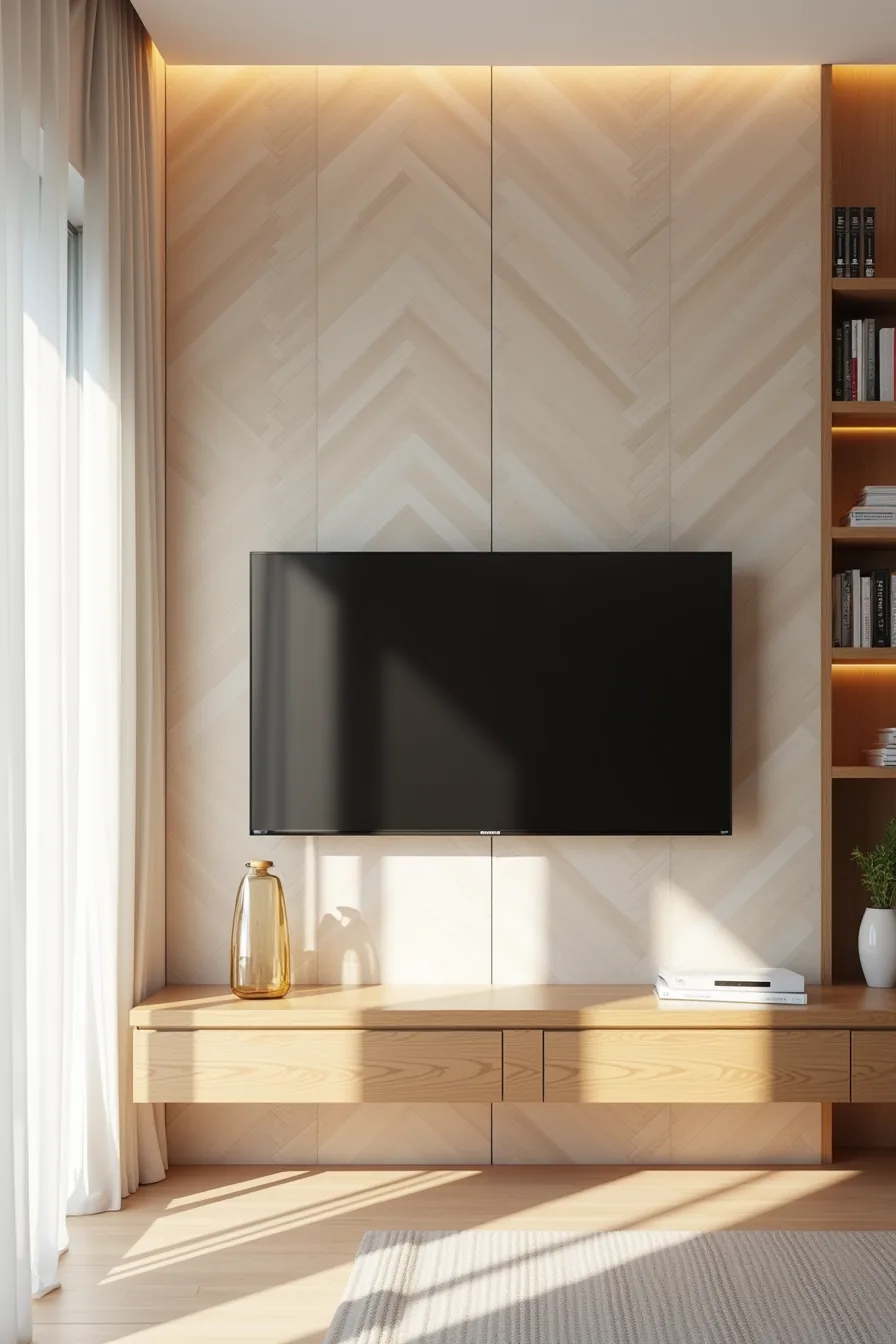
Peel-and-stick wood-grain veneer panels arranged in a herringbone pattern give you the warmth of a real timber feature wall without a single nail or drop of adhesive that damages drywall. Expect to pay between $4 and $9 per square foot for quality veneer panels, and budget 3–4 hours for installation on a standard 8-foot wall. The seams are visible up close, that’s the trade-off you accept for full deposit recovery, and a matte finish hides the edges better than a glossy one.
Pair the veneer with removable wallpaper on the upper section to add depth without committing to paint colors you can’t easily undo. A tension rod mount supports TVs up to 55 inches and installs in minutes, but verify your ceiling height first, the rod needs 8–10 inches of clearance above the screen top. A modular shelving unit beside the TV delivers the floating-cabinet look at a fraction of the cost, and you can reconfigure it when you move without tools.
This setup suits renters, first-time decorators, or anyone who changes their wall treatment every lease cycle.
Long-Term Investment: Built-In Cabinetry and Integrated Storage Around the TV

A floor-to-ceiling custom walnut surround with a recessed 65-inch TV represents the permanent-solution tier of TV wall ideas modern luxury. Expect 6–10 weeks lead time for semi-custom cabinetry and a cost range of $3,500–$8,000 installed, depending on wood species and hardware grade. The recessed housing eliminates the visual protrusion of the screen, and the closed lower cabinets conceal the media console’s clutter entirely.
Plan for two dedicated cable channels routed behind the drywall, one for power, one for HDMI and ethernet, before the cabinet installers arrive. Install a ventilation grille near the top of the enclosure; a recessed TV without airflow can overheat and shorten its lifespan by years, especially in a tight fit with less than 2 inches of clearance. Leave one open bay with adjustable shelves for future upgrades, since a larger screen or a soundbar will likely change your layout within a decade.
The upper display shelves work best with a 60/40 ratio of objects to negative space, preventing the wall from reading as a cluttered media unit. This route suits homeowners who plan to stay put for five-plus years and want the TV wall to feel like original architecture rather than added furniture.
Where to start
Measure your wall and mark the TV’s ideal position before choosing anything else. That single step determines which of these six approaches fits your space, budget, and comfort with DIY. A 55-inch screen needs roughly 8-10 feet of viewing distance; larger panels demand proportionally more breathing room.
Start with the renter-friendly floating frame if you’re unsure about permanence, or the stone-clad panel if you’re ready for a long-term investment. Take one afternoon to sketch your layout, verify stud placement, and confirm your TV’s VESA pattern. Then order materials, your luxury wall begins with that first measurement.
Frequently Asked Questions
What is the difference between a modern luxury TV wall and a minimalist TV wall?
Luxury adds layered materials, stone, fluted wood, brass, plus indirect lighting and depth. Minimalism strips to a flat, single-surface panel. Luxury feels architectural; minimalism feels reductive.
Both hide clutter, but luxury uses contrast and texture for visual richness.
Can I achieve a luxury TV wall look on a budget of under $500?
Yes, with strategic choices. Use peel-and-stick fluted panels ($50–$150), a floating IKEA shelf, and a dimmable LED strip behind the TV. Skip stone; use a large matte-black frame.
The trick is lighting and symmetry, not expensive materials.
How do I hide cables and wiring on a modern luxury TV wall?
Install an in-wall cable kit with two low-voltage pass-through plates, about $30–$50. For rented spaces, use a cord cover painted to match the wall or a slim channel behind the TV. Always route power separately from signal cables for safety.
What lighting color temperature makes a TV wall look most luxurious?
Use 2700K–3000K warm white for ambient backlighting behind the TV, it reduces eye strain and adds a soft glow. For accent highlights on stone or wood, add a 3000K–3500K strip. Avoid cool 5000K; it reads clinical, not luxurious.