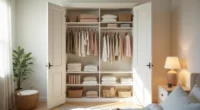
Most home organization failures come from copying a system that doesn’t match your space, habits, or lease agreement, so here are six distinct approaches, each with the specific dimensions, costs, and maintenance trade-offs you need to choose correctly. From a $40 renter-friendly closet hack to a built-in pantry that requires a contractor, these solutions range in effort from a weekend afternoon to a full remodel. You’ll see exactly which one fits your square footage, your budget ceiling, and your tolerance for dusting.
Key takeaways
Zone-based storage works best when you sort by how often you use an item, not just what it’s, daily-use items at waist level, weekly items at shin or shoulder height, and seasonal items above or below. Vertical systems double your usable space, but only if you match shelf depth to your items, shallow 8-10 inch shelves for toiletries, 12-16 inches for folded clothes, and 18-24 inches for bulk pantry goods. Drawer dividers cut retrieval time by half, but measure drawer interior width first, most dividers fit 12-18 inch drawers, and adjustable spring-loaded versions handle odd sizes without tools. Labeling systems fail without a naming rule, use plain nouns for categories, add a number or letter for frequency, and re-label whenever you move more than 20% of a zone’s contents.
Zone-Based Storage: Grouping by Function and Frequency
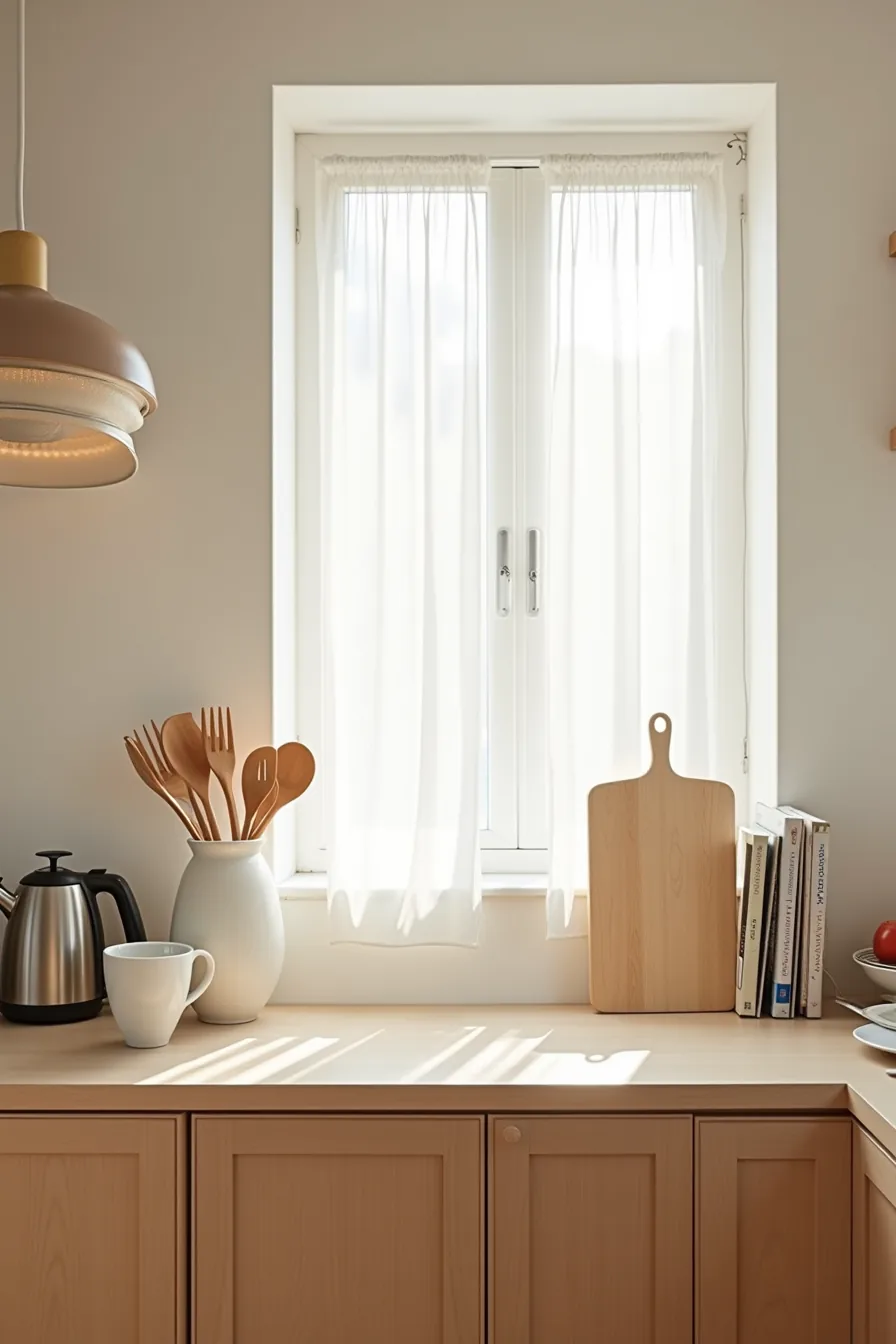
Zone-based storage means assigning every item a permanent home based on when andhow often you use it, not just what it’s. The kitchen counter example shows three distinct zones along one continuous surface: a coffee station on the left with mugs and kettle, a cooking zone in the middle with utensils upright in a ceramic holder, and a meal-prep area on the right with a cutting board and bowls stacked vertically. This layout works because the daily-use items (coffee, prep) sit at arm’s reach, while the cooking tools stay mid-sequence between prep and stove.
For a small kitchen (under 8 feet of counter), compress the zones to 18–24 inches each; sacrifice the prep area first since a cutting board can live in a drawer. Medium kitchens (8–12 feet) can afford a 6–8 inch buffer between zones to prevent cross-contamination of flour into the coffee station. Large kitchens (over 12 feet) should pull the coffee zone off the main prep counter entirely onto a dedicated 30-inch-wide cart, this keeps high-traffic morning flow from blocking dinner prep.
Use matte ceramic holders for daily utensils (they show grease buildup clearly, forcing weekly cleaning); brushed metal hides smudges but scratches easily. Budget route: shoeboxes wrapped in contact paper replace the ceramic holder, replace monthly, cost under $5. Renters: keep zones portable on a rolling island so you restore the kitchen to original condition in minutes.
This system suits anyone with a single dominant work surface; skip it if you cook exclusively on a stove-top with no adjacent landing space.
Vertical Systems: Maximizing Wall and Height Space
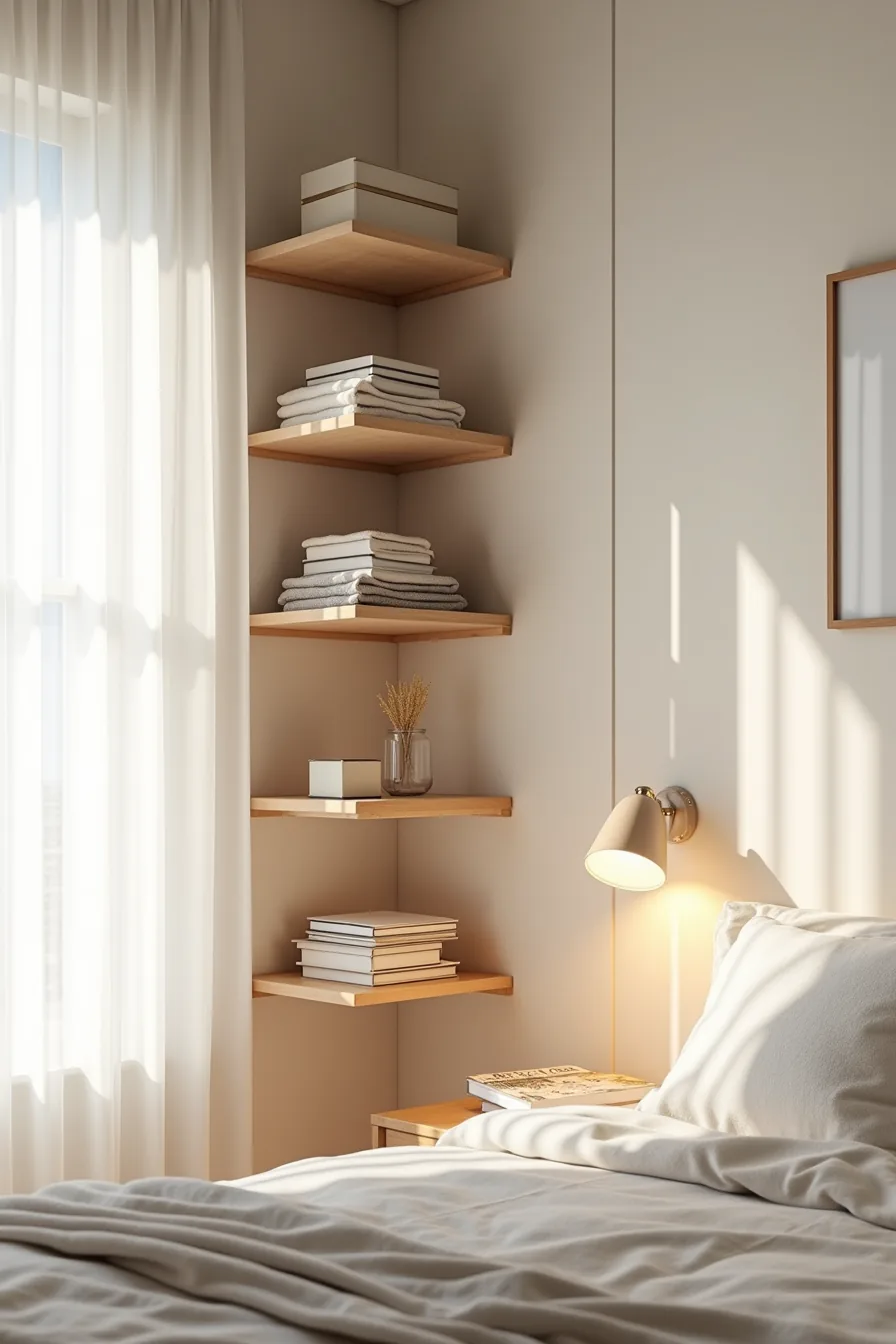
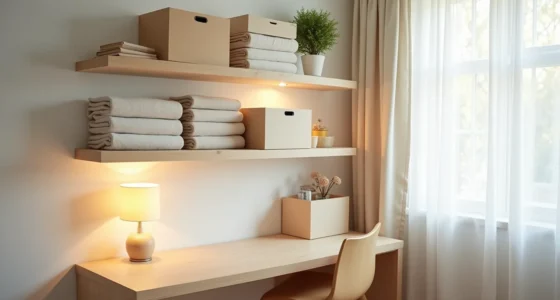
A floor-to-ceiling shelving unit mounted directly on drywall turns unused vertical footage into your primary storage zone, and it suits anyone whose floor plan is tighter than their wall height. This system works best in bedrooms and home offices where you need frequent access to folded clothing, small storage boxes, and decorative objects, all visible at varying heights, as in the setup with five shelves spanning the full wall. Spread load-bearing brackets every 24–32 inches, and keep the heaviest boxes on the lower two shelves; drywall anchors alone hold roughly 30–50 pounds per point, which is fine for folded sweaters but not for books.
Scale the system to your room: in a small bedroom (under 100 square feet), choose a 12-inch shelf depth and stop at 7 feet to avoid a looming effect; in a medium or large space, 16-inch depths and full ceiling height read as intentional architecture. Use matte white or light wood finishes to recede visually, and dust the top shelves monthly, they collect more than floor-level storage because air circulation is naturally higher near the ceiling. Budget route: bracket-and-board systems from lumber yards cost under $60 per 6-foot run if you cut the boards yourself.
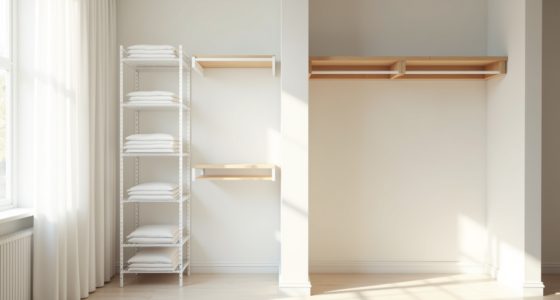
Renters: use freestanding modular units that brace against the ceiling via tension rods instead of penetrating drywall, and patch the few screw holes before moving out. This vertical approach is one of the strongest Best Organization Ideas For The Home examples because it scales up without consuming square footage, but skip it if your ceilings exceed 10 feet, you’ll need a library ladder, which raises both cost and clutter risk.
Container and Drawer Dividers: Contained Chaos Control
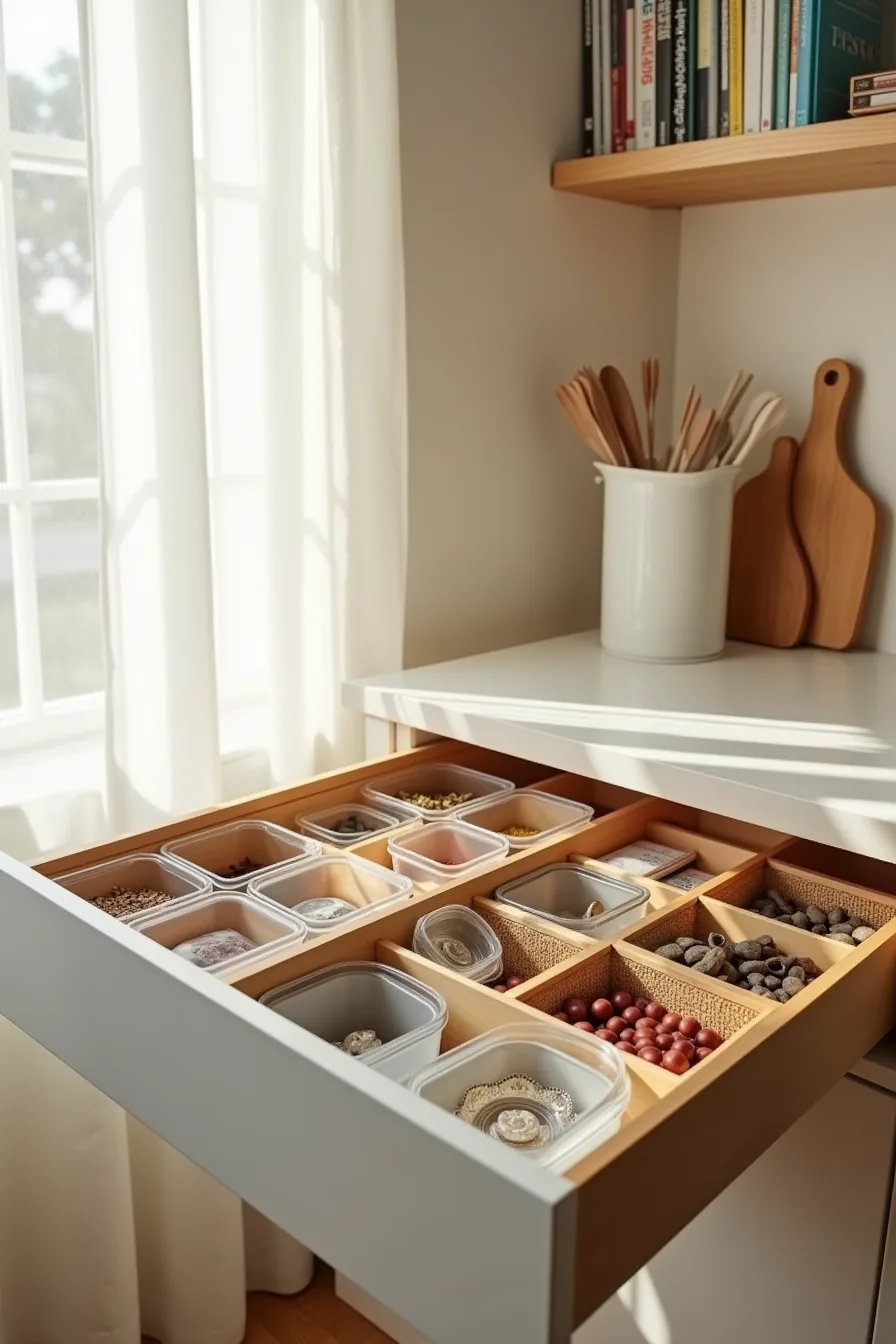
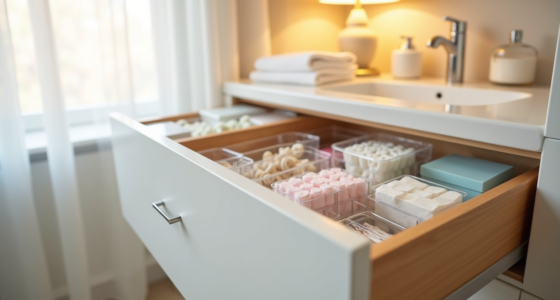
The difference between a tidy drawer and a black hole comes down to how many distinct zones you create. A 3-inch-deep kitchen drawer holds roughly 20–30 items comfortably when divided into six compartments sized for specific categories: clear plastic bins for tea packets, a woven divider wall for utensils you reach for daily, and metal partitions for screwdrivers, hooks, and stray hardware that otherwise migrates to the bottom. Measure your drawer’s interior width and depth before buying anything, most dividers assume a 12–15-inch depth, and a 1-inch mismatch leaves gaps that defeat the system.
This approach suits anyone with deep, standard-issue kitchen or desk drawers, and it fails only when you overstuff: reserve one empty zone per drawer for overflow, because a full drawer always reverts to chaos. The budget route uses bamboo expandable dividers at roughly $1–2 per inch of drawer width, while splurge options, custom cut acrylic or metal grids, run 3–4 times that but hold rigid shapes for decades. Woven dividers need vacuuming monthly; plastic and metal wipe clean with a damp cloth.
In a small galley kitchen, limit yourself to one organized drawer and store overflow in labeled bins above the cabinets; larger kitchens can systematize every drawer, but you’ll spend 2–3 hours measuring and fitting per drawer the first time.
Hidden Storage: Built-In and Furniture-Based Concealment
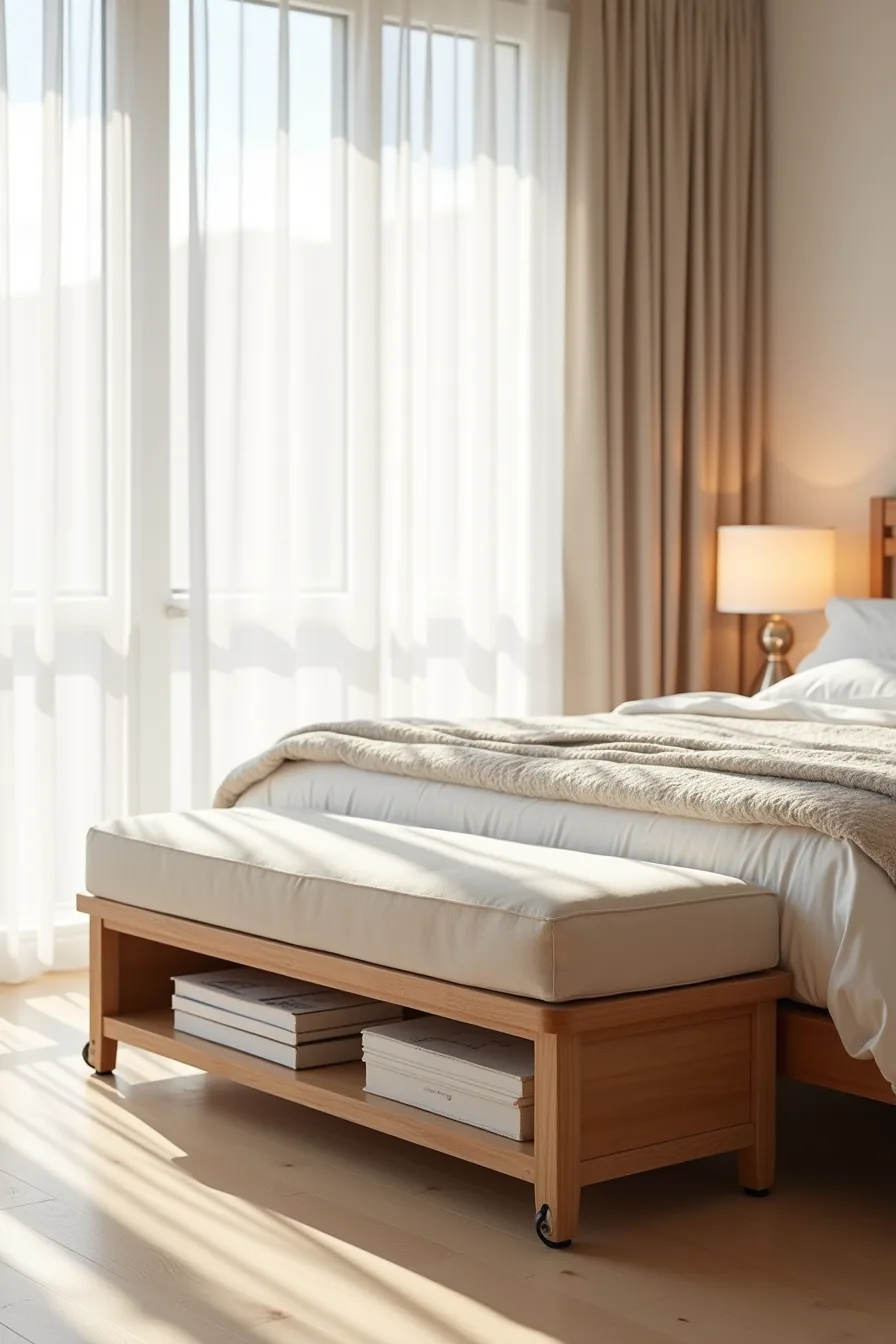
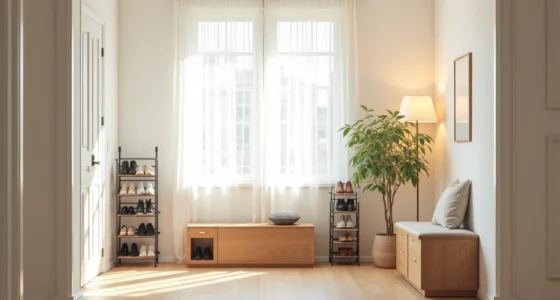
A storage bench at the foot of your bed does double duty: it gives you a place to sit while dressing and swallows the blankets, off-season coats, or shoe overflow you would otherwise stack in a corner. This particular bench pairs an upholstered fabric top with a solid wood frame, and its hinged lid opens to a cavity roughly 12–18 inches deep, enough for bulky items but too shallow for hanging clothes. Pair it with low-profile storage boxes on wheels that slide completely under the bed frame; these typically hold 30–50 liters each and work best for items you need less than monthly, since dragging them out daily becomes a chore.
This setup suits medium-to-large bedrooms where the bed leaves at least 18–24 inches of clearance at the foot. It fails in tight quarters where the bench blocks the path to the closet or dresser, measure your walking lane before committing. The renter-friendly route uses freestanding benches and wheeled bins that require no drilling; a built-in window seat or custom cabinet under the bed is the long-term investment, costing 3–5 times more but adding permanent, hidden volume.
Upholstered tops need vacuuming weekly and professional cleaning annually; wood frames require periodic oiling to prevent cracking in dry climates. For small bedrooms, choose a bench no deeper than 16 inches and skip the under-bed bins if you’ve low-profile frames, you’ll gain seating without sacrificing floor space.
Label and Inventory Systems: Making Organization Stick

Labels only work if they match what you actually reach for, not what a catalog suggests. The five clear glass containers holding pasta, flour, rice, beans, and sugar on that pantry shelf succeed because each label sits at the front where your eyes land naturally, and the contents stay visible through the glass, so a missing label never leaves you guessing. Use a handheld label maker for permanent setups, but for renters or anyone who rotates staples, chalkboard stickers or dry-erase tape let you rewrite without damaging the container.
A simple rotation schedule prevents the silent re-clutter that undoes most systems. When you buy a new bag of flour, place it behind the older container and move the older one forward, first in, first out, which keeps every staple fresh and eliminates the stale-back-of-shelf problem. For tracking, a magnetic whiteboard on the fridge door listing your five most-used pantry items works for small households; larger families may prefer a shared digital list like AnyList or Paprika.
The cost range spans from roughly $10 in chalkboard stickers to $50–80 for a label maker plus a digital subscription, making this the cheapest of the three routes you’ll find here.
Common Mistakes That Undermine Organization Efforts
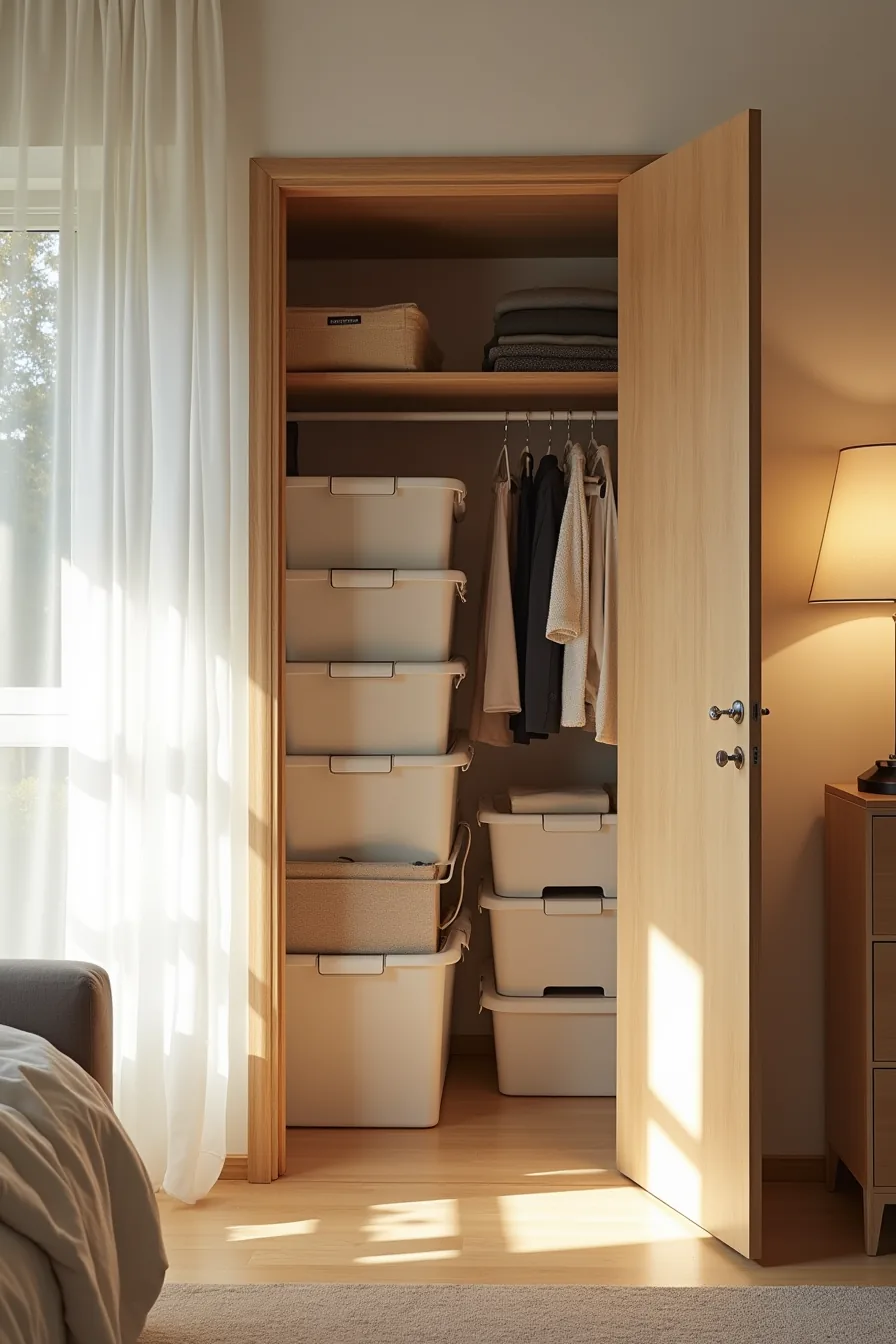
The most common failure is oversizing storage to fit an entire category at once. Oversized bins invite you to toss items in without sorting, and when stacked haphazardly on a closet shelf, the bottom containers become inaccessible. You end up with a crowded shelf where nothing is retrievable without disturbing three other boxes.
Instead, choose containers that force a single layer per category, so every item stays visible and reachable within one pull.
Ignoring traffic flow is the second saboteur. If storage boxes narrow the pathway so you must turn sideways to pass, or a hanging rod sits behind a wall of stacked containers, the system fails daily, you’ll simply abandon it. Keep a clear 24-inch walkway in any closet or room, and place the hanging rod at the entrance side, not buried behind shelf storage.
Finally, aesthetics-over-access traps you: if a beautiful bin requires lifting two others to reach its contents, you’ll never maintain it. Every container must open or slide out without moving its neighbors.
What to do first
Start with the room that causes you the most daily friction. If you’re tripping over shoes at the door, begin there; if you’re losing bills on the kitchen counter, tackle that instead. Limit yourself to one 90-minute session and one storage category.
Choose the route that matches your living situation: command hooks and tension rods for renters, open shelving for budget setups, and built-ins only if you own the space and plan to stay five-plus years. Measure your wall width and ceiling height before buying anything.
Your next step is simple: clear one surface completely, sort everything into keep, relocate, and discard piles, and time yourself for 15 minutes. Stop when the timer ends.
Frequently Asked Questions
What’s the difference between organizing and decluttering, and do I need to do both?
Decluttering removes items you don’t use or need. Organizing assigns a logical home for what remains. You must declutter first, organizing clutter just stores your problems more neatly.
How do I organize a small bedroom or apartment without built-in storage?
Use vertical space: freestanding wardrobes up to 8 feet tall, over-door racks, and under-bed bins with wheels. Choose furniture with dual roles, a storage ottoman or bed frame with drawers, to avoid adding bulky pieces.
What organization system works best for families with different storage needs?
Zone-based labeling works best: each person gets a colored bin or shelf section in shared spaces. Use clear containers with photo labels for non-readers. Centralize a family command center for schedules and daily items.
How often should I reorganize or audit my home organization system?
Audit every 3–6 months, or when you notice items left out for over a week. Seasonal changes are natural triggers. Reorganize a single zone only when it fails, don’t overhaul everything at once.