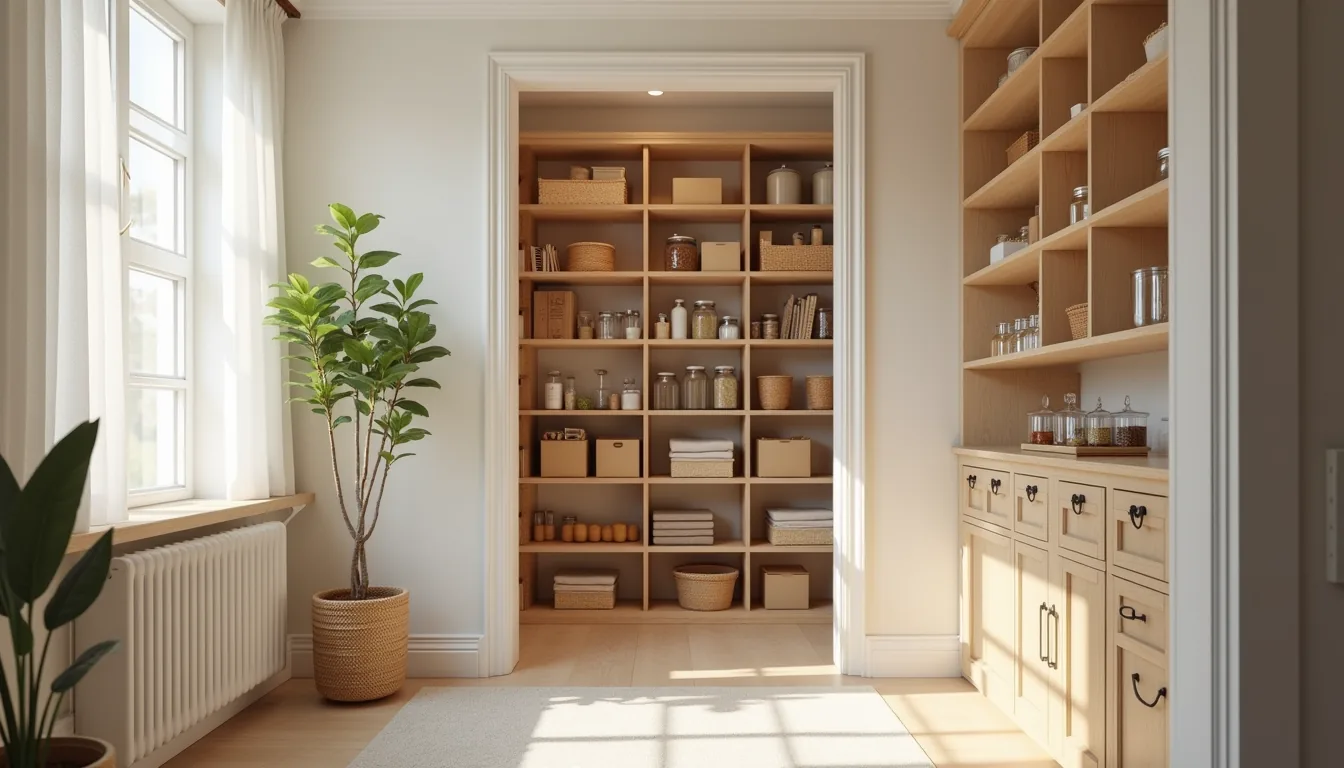

A walk-in pantry is the rare room where organization systems determine whether you save time and money or waste both on duplicate purchases and expired goods. You already have the square footage, but the right layout depends on your storage habits, budget, and whether you rent or own. Below are six distinct approaches, each with its own trade-offs in cost, installation effort, and daily maintenance, so you can match a system to your actual space instead of copying a photo that won’t fit your shelves.
Key takeaways
- Zone-based shelving cuts daily pantry time by grouping breakfast, baking, and dinner items at waist-to-eye height, leaving rarely used gear above or below.
- Clear containers work best when you match them to shelf depth, shallow 4- to 6-inch bins for spices, 10- to 12-inch bins for cereal, so nothing gets buried behind taller jars.
- Pull-out drawers beat fixed shelves in walk-ins deeper than 24 inches, since they let you reach the back without kneeling or climbing, and they suit renters if you install them in a freestanding metal frame.
- Vertical wall racks and magnetic strips free up floor space for bulky appliances, but they require studs or heavy-duty adhesive rated for 20+ pounds to avoid falls in high-traffic doorways.
Zone-Based Shelving for Daily Access
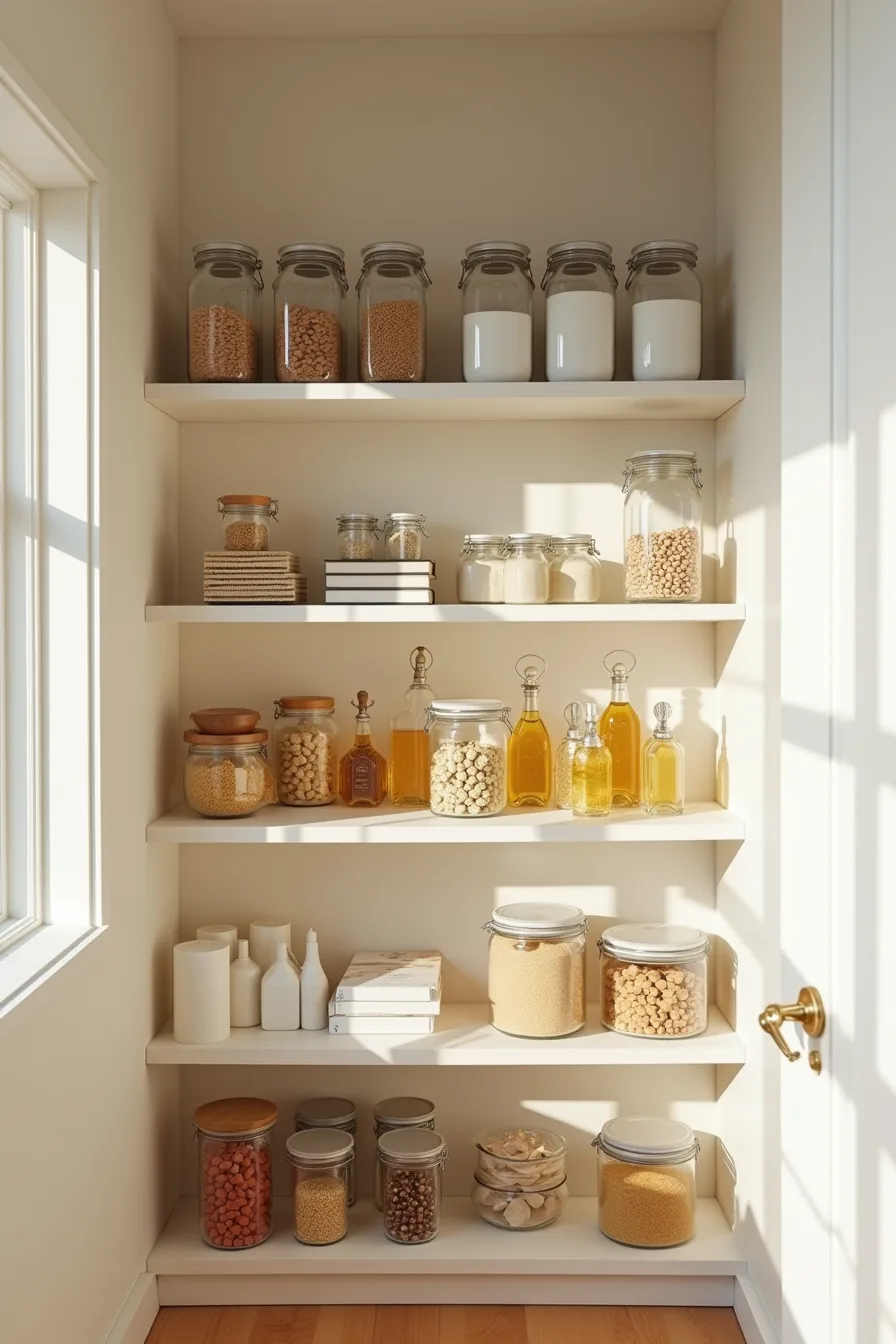
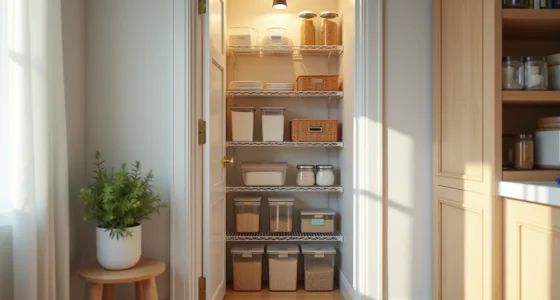
Zone-based shelving arranges your walk-in pantry by how often you reach for each item, not by category alone. The most effective configuration splits your vertical space into three bands: bulk staples at the bottom, daily-use items at waist-to-eye level, and specialty or occasional goods at the top. This layout cuts retrieval time because roughly 80% of your pantry interactions happen in the middle zone.
For a standard 12-inch-deep shelf, you can support 25–40 pounds per shelf when using wire or laminate shelving. Start with tiered shelving in the middle band so boxed goods and snacks stay visible without stacking. Place clear glass bottles of oils and vinegars on the same level, keeping them away from heat sources and direct sunlight to slow oxidation.
The bottom shelf should hold plastic containers with bulk flour, rice, and pasta, choose airtight bins that seal completely to deter pests. The top tier is where boxed goods like cake mixes, specialty sauces, and seasonal items go, since you access them less frequently.
This system suits anyone who cooks daily and wants to eliminate rummaging. If your pantry is narrow, limit each zone to one shelf depth; if you’ve a wide layout, extend zones horizontally but keep the same height bands. Wire shelf dividers on the middle and top shelves prevent boxed goods from toppling and keep zones visually distinct.
Clear Container Systems and Labeling
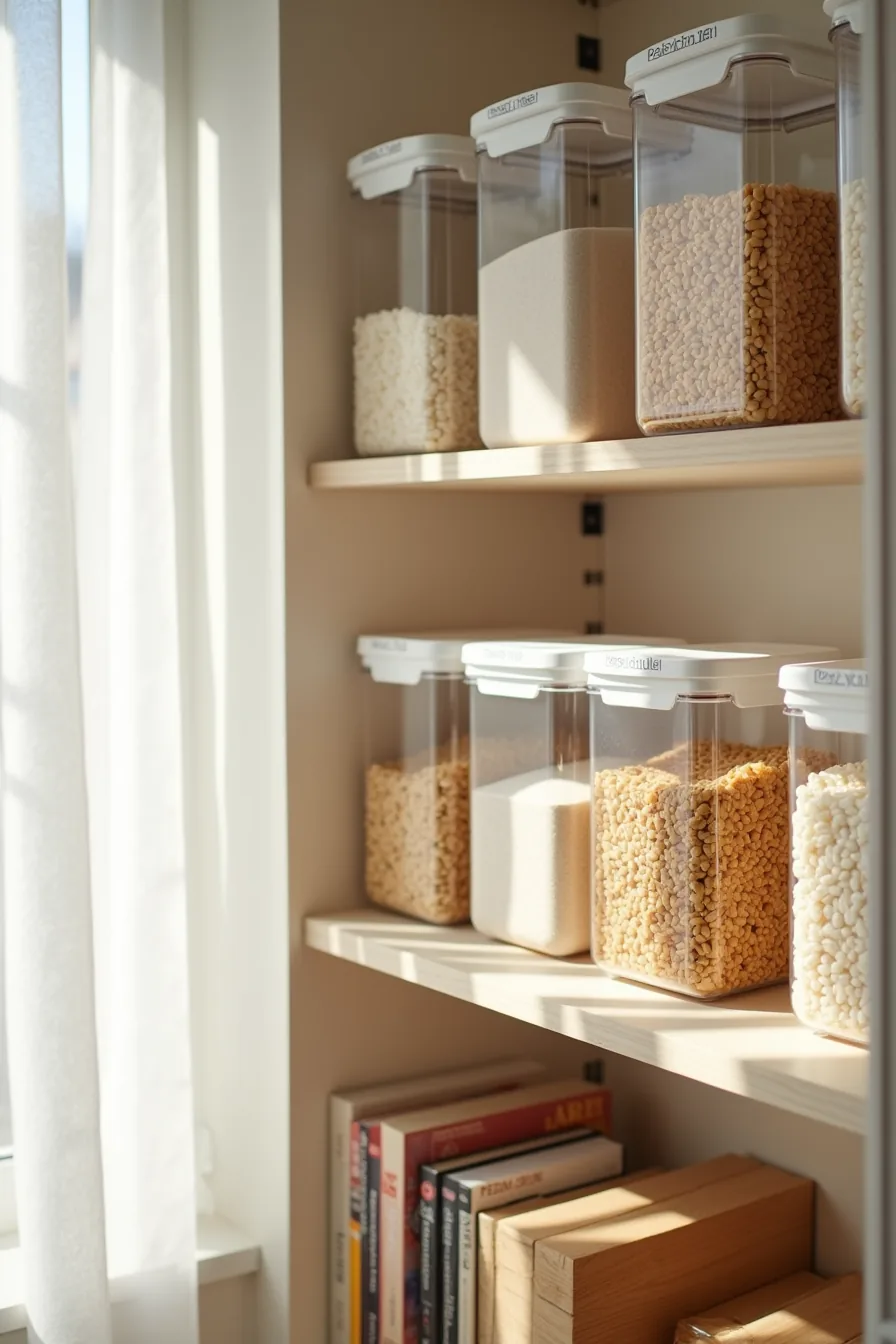
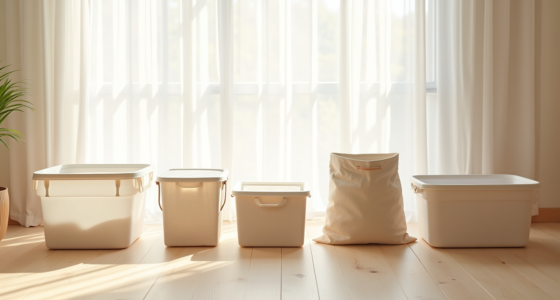
Uniform clear containers turn a walk-in pantry into a system you can read at a glance. The setup pictured here uses six rectangular plastic bins in two graduated rows holding pasta, rice, cereal, and flour. Rectangular bodies maximize shelf density, round canisters waste roughly 20–30% of the same footprint.
Graduated sizes let you nest smaller bins in front of larger ones, keeping every label visible without extra shelf depth.
Measure your shelf depth and height before buying. Most standard pantry shelves run 12–16 inches deep, so choose containers that leave 1–2 inches of clearance at the front for easy gripping. Airtight gaskets matter for flour and cereal; clamshell lids without seals won’t keep out weevils.
For renters, use adhesive chalk labels on the lids, they peel off cleanly with warm soapy water. Permanent setups benefit from engraved acrylic tags that survive dishwasher cycles.
The labeling rule is simple: name the item, not the container size. Write “all-purpose flour,” not “big bin.” This prevents confusion when you rotate stock and keeps the system functional for anyone else in the household. Stackable containers with straight sides clean faster than curved ones, and you can wipe down the exterior with a damp microfiber cloth weekly to prevent dust buildup on lids.
Pull-Out Drawers and Sliding Baskets
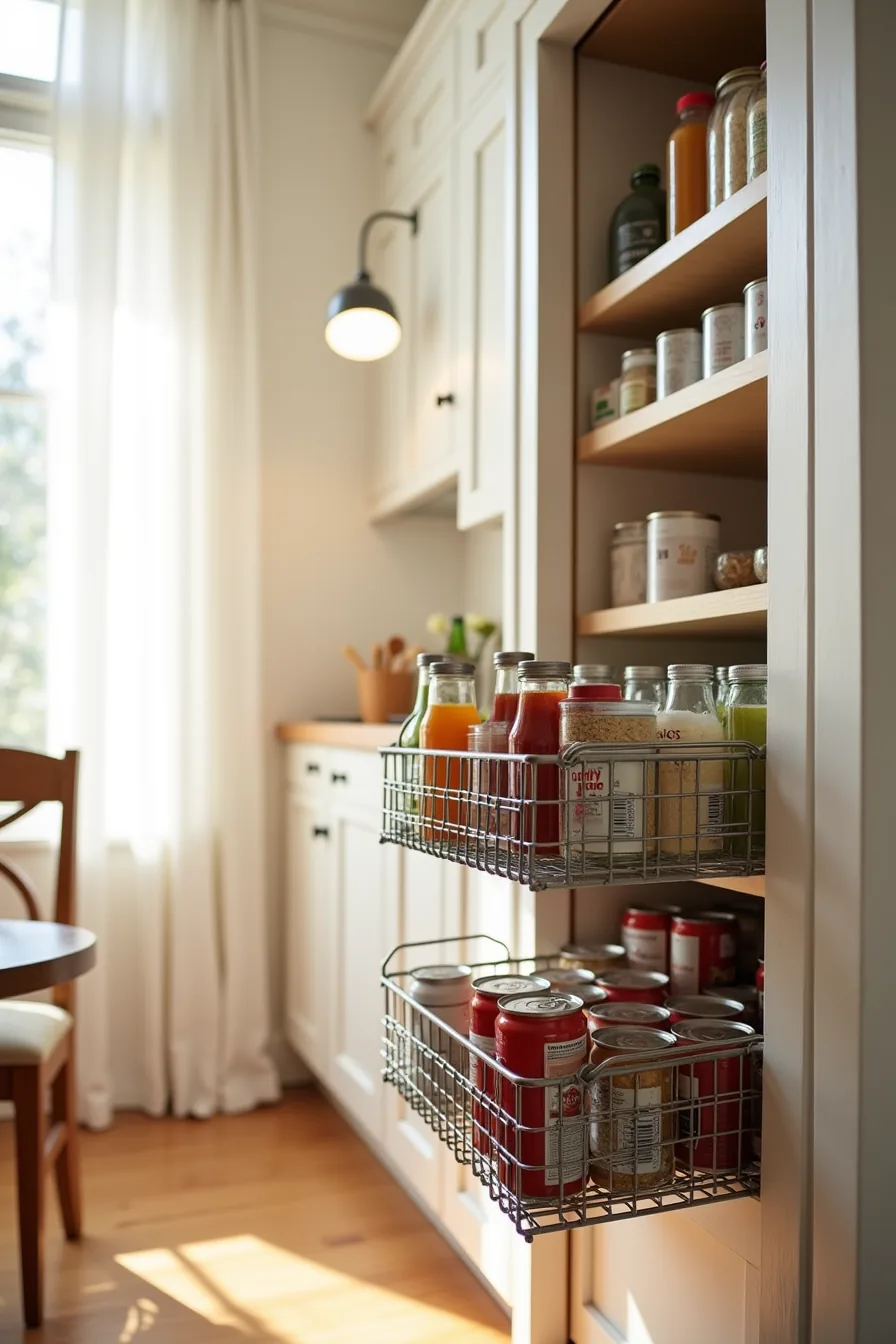
Deep shelves bury items in the back, and sliding baskets solve that by bringing the rear row to you. The wire pull-out baskets here extend fully forward, revealing stacked canned goods and glass bottles that would otherwise sit in darkness. The second basket stays partially closed, which shows how the system handles both active and reserve stock without double-handling.
Retrofitting wire baskets costs $30–$80 per unit if you install them yourself; full drawer systems with soft-close slides run $150–$400 per opening with professional fitting. This approach pays off most in pantries with shelves deeper than 18 inches, anything shallower and you lose storage volume to the slide hardware. For renters, select freestanding basket units with adjustable tracks that clamp onto existing shelves; they remove without leaving holes.
Budget builds use plastic-coated wire baskets that tolerate heavy cans, though the coating chips after a few years of sliding.
Position the heaviest items in the lower baskets to keep the slides from straining, and check the rails for debris monthly, crumbs accelerate wear on ball bearings. The basket handles shown here let you pull with one hand while the other retrieves, a small detail that matters when you’re holding a recipe open.
Vertical Wall Storage and Hanging Systems
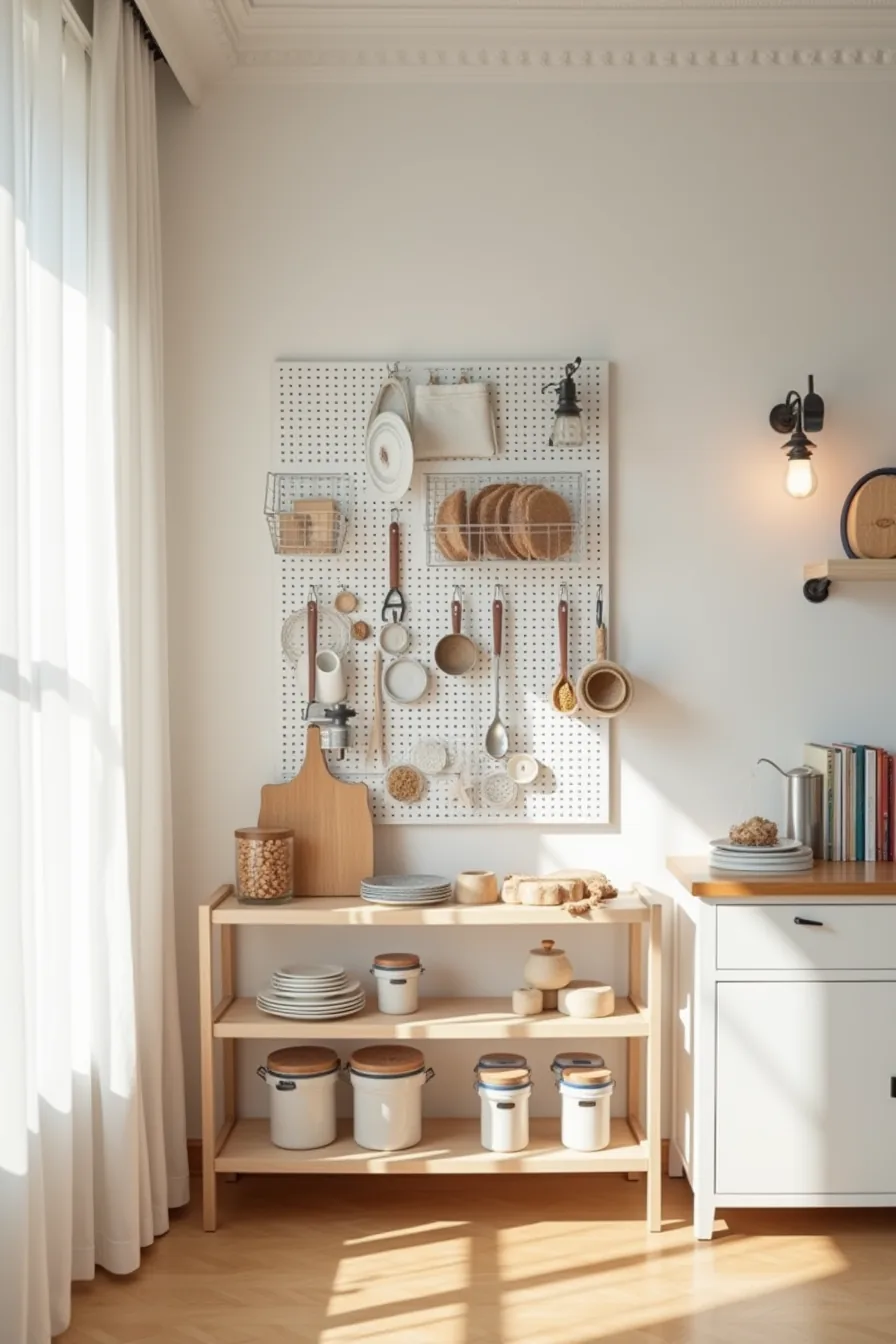
Wall-mounted pegboards convert dead vertical space into adjustable storage, freeing your shelves for items too heavy or bulky to hang. The setup here pairs a full-wall pegboard above a lower shelf, with metal hooks holding cooking utensils, small jars, and packaged items while the shelf below handles larger containers. This division works because frequently used tools stay at eye level, and shelf space is reserved for weight that hooks shouldn’t carry.
Standard pegboards hold 10–25 pounds per hook when anchored into studs or drywall with toggle bolts; drywall alone supports far less, so locate studs before installation. A 24-by-48-inch board costs $20–$50, with hooks, small baskets, and shelf brackets adding another $15–$40 depending on quantity. If you rent, use adhesive-backed pegboard systems rated for 5–8 pounds per hook, they peel off cleanly but won’t hold heavy cast iron or large jars.
Hanging baskets on the board store lightweight packets, spice tins, and produce that needs airflow. Keep the heaviest mounted items on lower hooks to reduce use stress, and leave at least 6 inches of clearance between the lowest hook and the shelf below so you can reach items without knocking containers. Wipe the board monthly; grease and dust accumulate quickly in kitchen environments.
Custom Cabinetry and Built-In Solutions
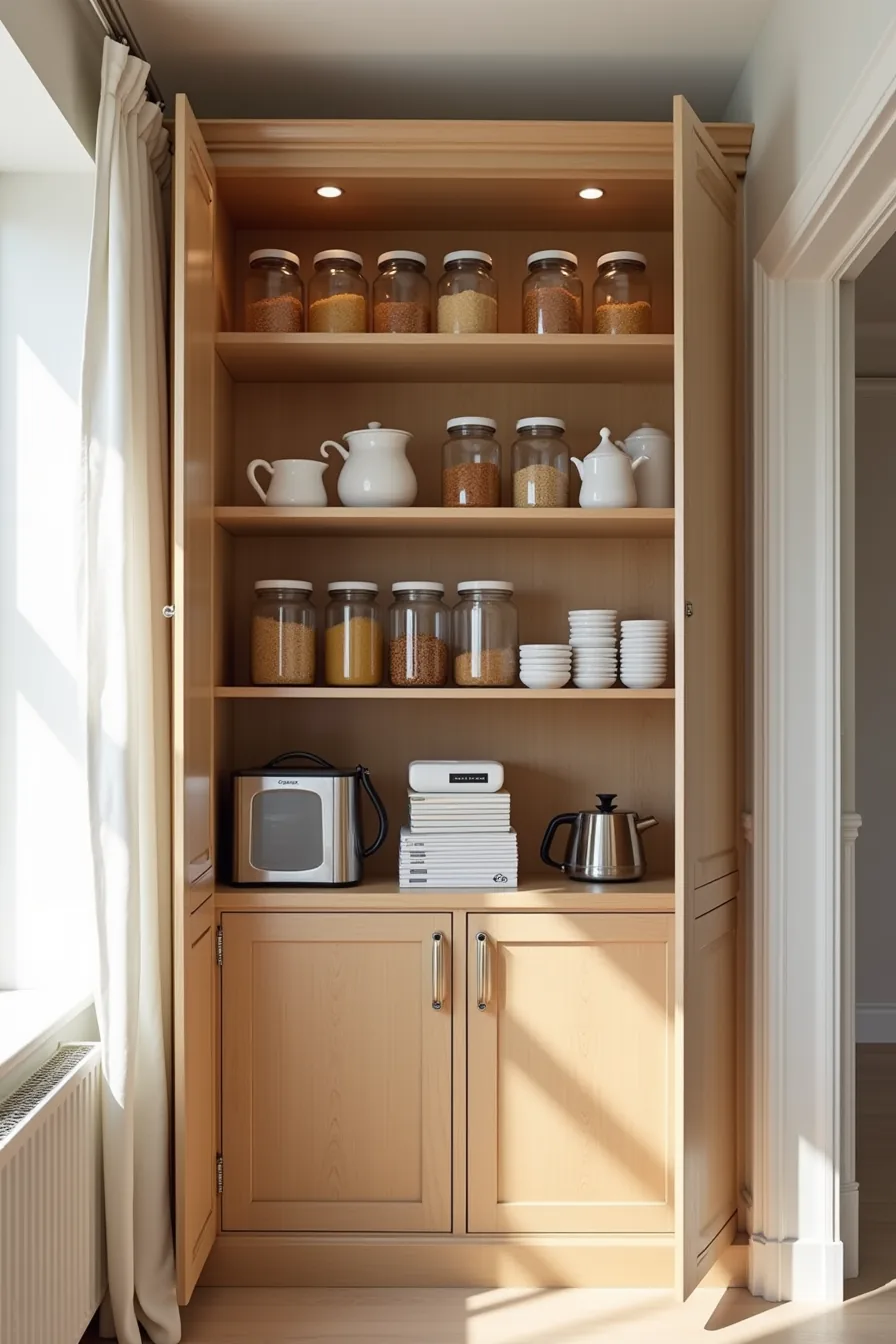
Fitted cabinetry transforms a walk-in pantry into a permanent, tailored storage system, and the setup here demonstrates the payoff: floor-to-ceiling wooden cabinets with adjustable shelves hold rows of matching glass storage jars, stacked cookbooks, and small appliances behind partially open doors. The closed-door design keeps visual clutter at zero while protecting dry goods from light exposure, which degrades spices and oils faster than you might expect. Custom builds suit homeowners planning to stay 5+ years, since the investment, typically $3,000–$8,000 for a 6-by-8-foot pantry depending on wood grade, hardware, and installation, rarely transfers to resale value at full cost.
Adjustable shelving is the feature that justifies the price. Full-extension tracks let you reposition shelves in seconds as your inventory shifts between bulk bags, tall cereal boxes, and compact jars, so the cabinet never becomes obsolete. Use the bottom zones for small appliances you use weekly, keeping counter-height shelves for everyday items and upper tiers for cookbooks you reference occasionally.
Budget-conscious renovators should price semi-custom options from big-box millwork departments, which deliver similar adjustability at 30–50% less than fully bespoke cabinetry. Maintenance is minimal but non-negotiable: wipe interior surfaces quarterly and check shelf pins for wear annually, especially if you store heavy canning jars that stress the brackets over time.
Common Mistakes and How to Avoid Them
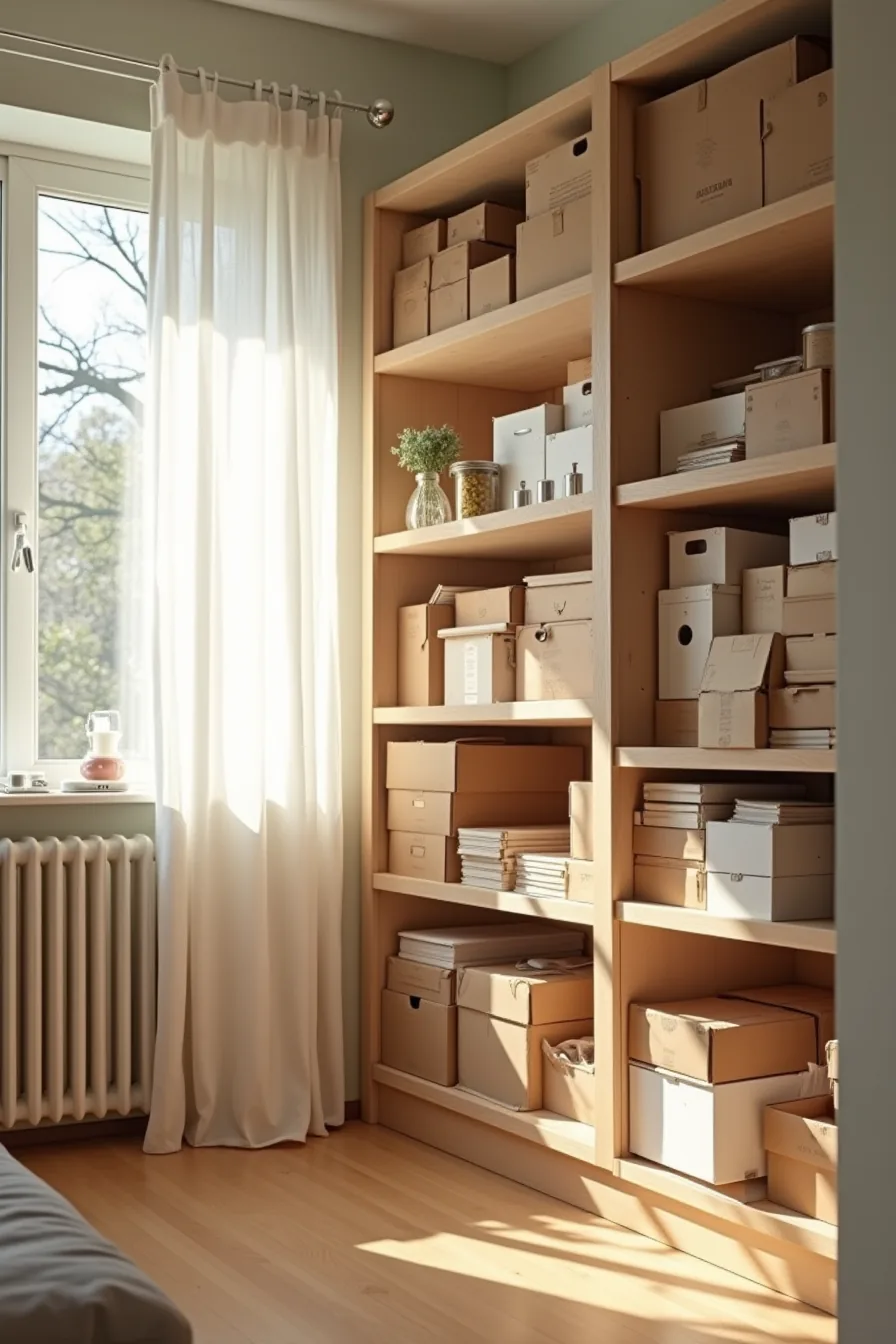
Overstuffing is the fastest way to kill a walk-in pantry’s usability. When boxes pile so high that they obscure shelf edges, you lose visual inventory, items get rebought, expire, or vanish entirely. The fix is a 70% fill rule: leave visible breathing room around every item so you can read labels at a glance without shifting anything.
Blocked ventilation is a quieter failure. Cramming goods against vents or into upper corners traps humid air, which accelerates spoilage in dry goods and invites pantry moths within weeks. Keep at least 2–3 inches of clearance around any air return, and store nothing above shoulder height unless you use a step stool daily, inaccessible top shelves become graveyards for expired cans and forgotten spices.
Misaligned containers compound the problem. Mixed jar heights and awkwardly stacked items create dead zones where small packages slip behind larger ones, and you’ll constantly rearrange instead of grabbing what you need. Standardize your containers to two or three heights, and reserve the floor zone for heavy bulk bags you lift infrequently, not everyday staples.
Maintenance is the final trap: wipe shelves quarterly and check for expired goods monthly, or no organization system survives contact with real life.
What to do first
Start by emptying your walk-in pantry completely and sorting items into keep, donate, and toss piles. Measure your shelf depths and vertical clearances before buying anything, because bins that fit a standard 12-inch shelf will look awkward in a 16-inch custom unit.
Choose one organizing principle from the options above and commit to it for a full month before adjusting. The open-label system works best if you cook daily; the labeled-bin route suits households with multiple users who need visual cues.
Your next step: Take photos of your empty pantry and sketch your ideal layout on paper. That single drawing will reveal exactly which solutions you need before you spend a dollar.
Frequently Asked Questions
What is the ideal shelf depth for a walk-in pantry?
Most walk-in pantries work best with shelves 12–16 inches deep. Deeper shelving (18–24 inches) suits bulk storage but makes items at the back unreachable. Match depth to your storage containers and access needs.
Can you organize a walk-in pantry without permanent modifications if you rent?
Yes. Use freestanding shelving units, rolling carts, and tension rod systems. Adhesive hooks and stackable bins also work without drilling. Avoid wall-mounted racks or built-ins that require permanent installation.
How often should you reorganize a walk-in pantry system?
Reorganize seasonally, every 3–4 months, or whenever you notice expired items or clutter. Adjust your system after major grocery hauls or lifestyle changes. Regular light maintenance, weekly shelf wiping and inventory checks, keeps the system functional.
What is the best way to prevent pests in an organized walk-in pantry?
Store dry goods in airtight glass or plastic containers with secure lids. Check for gaps around doors and windows, and seal them. Keep the pantry clean, inspect incoming groceries, and use bay leaves or pheromone traps as a preventive measure.