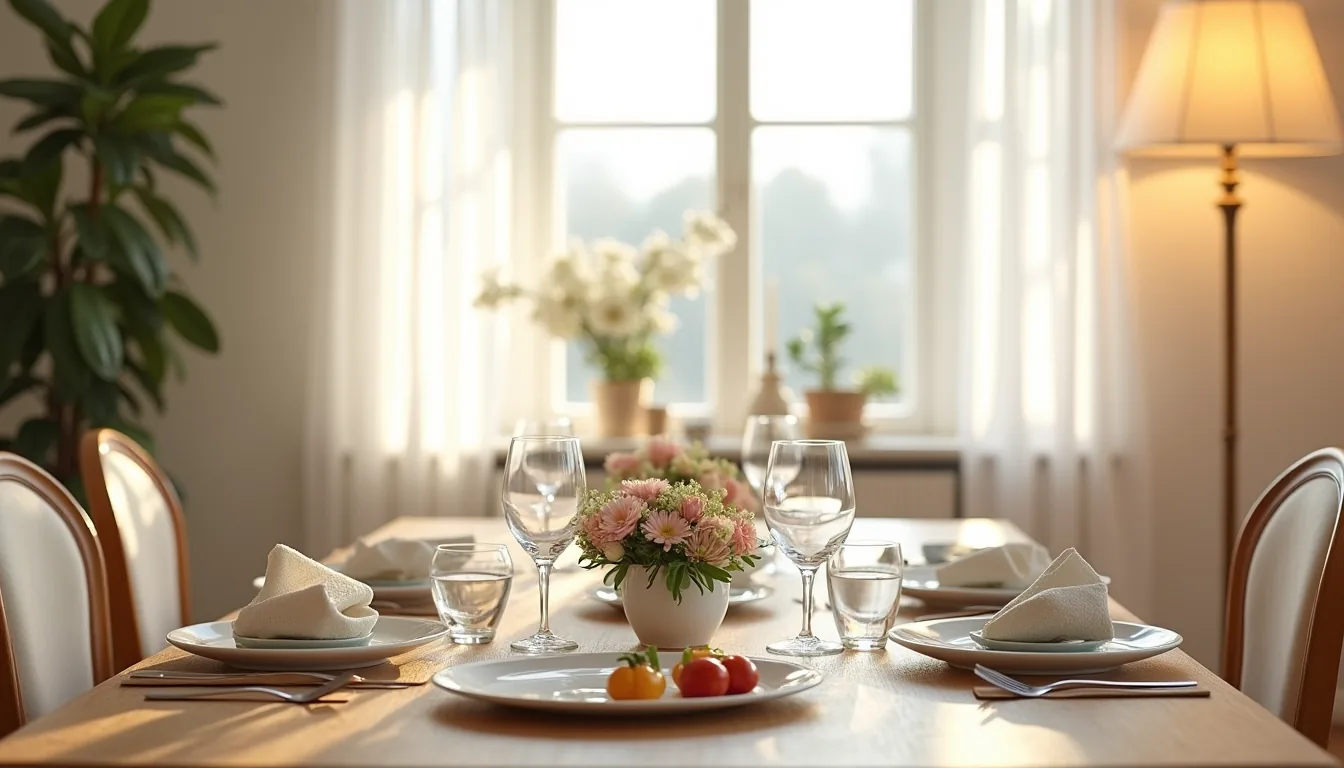

Before you buy a single shelf or cabinet, pull everything out of your dining room, dishes, linens, serving pieces, and that stack of board games, and sort it into three piles: keep visible, keep hidden, and donate or discard. This inventory is the single step that separates a styled storage wall from a cluttered catch-all. Once you know your true volume and daily-use patterns, you can match a system to your space, budget, and lease terms.
The six approaches ahead range from fixed built-ins to renter-friendly tension rods, each with clear trade-offs in capacity, access, and upkeep.
Key takeaways
Audit every item you plan to store before buying anything, separating daily-use pieces from occasional serveware to set your true capacity needs. Fixed built-ins shine in large rooms with unused wall depth, but they cost 2–3 times more than modular systems and require professional installation for load-bearing shelves. Open shelves suit frequent access but demand dusting weekly, while closed doors hide clutter and cut cleaning time to a monthly wipe-down. Renter-friendly options like tension rods and freestanding hutches deliver 70–80% of built-in function without drilling, provided you anchor tall units to the wall for safety.
Audit Your Dining Items Before Building
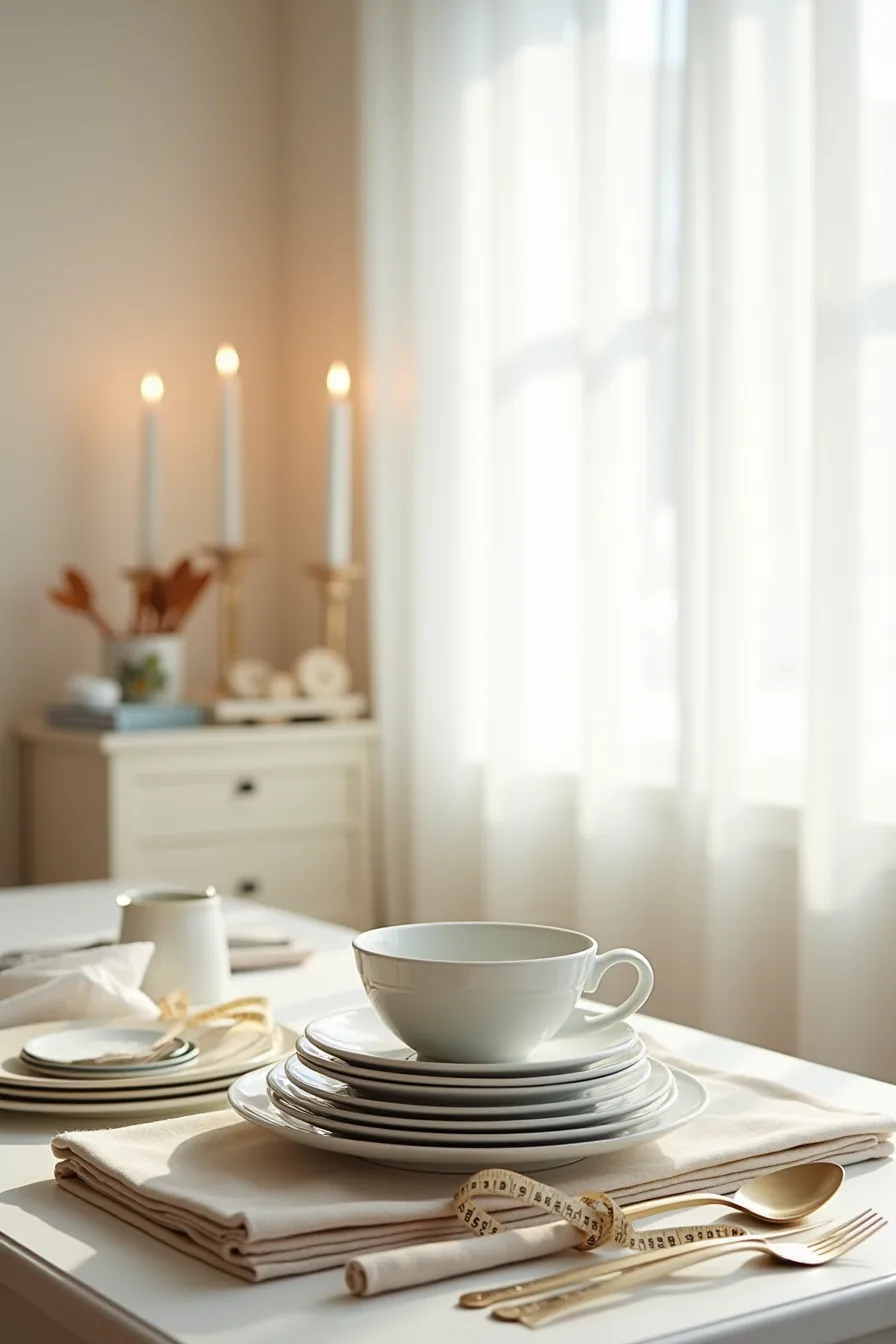
Before you commit to a single shelf or cabinet, take everything out and build an inventory. Gather your dinner plates, nested bowls, cutlery bundles, cloth napkins, and serving utensils; a flat lay on your table makes the volume of each category immediately visible. Keep a measuring tape coiled nearby to record the stack heights and footprint of each group.
Sort every pile by frequency of use. Everyday plates and cutlery go within arm’s reach, roughly 24–30 inches from the floor to your mid-torso. Occasional pieces, like a serving platter used four times a year, belong on high shelves or deep lower cabinets where access matters less.
If a dinnerware set is chipped or unused for two years, donate it before you build storage around it, this step shrinks your required capacity by 15–30 percent. Your finished Dining Room Storage Wall should fit the inventory you actually keep, not the collection you once had.
Fixed Built-In Dining Wall Systems
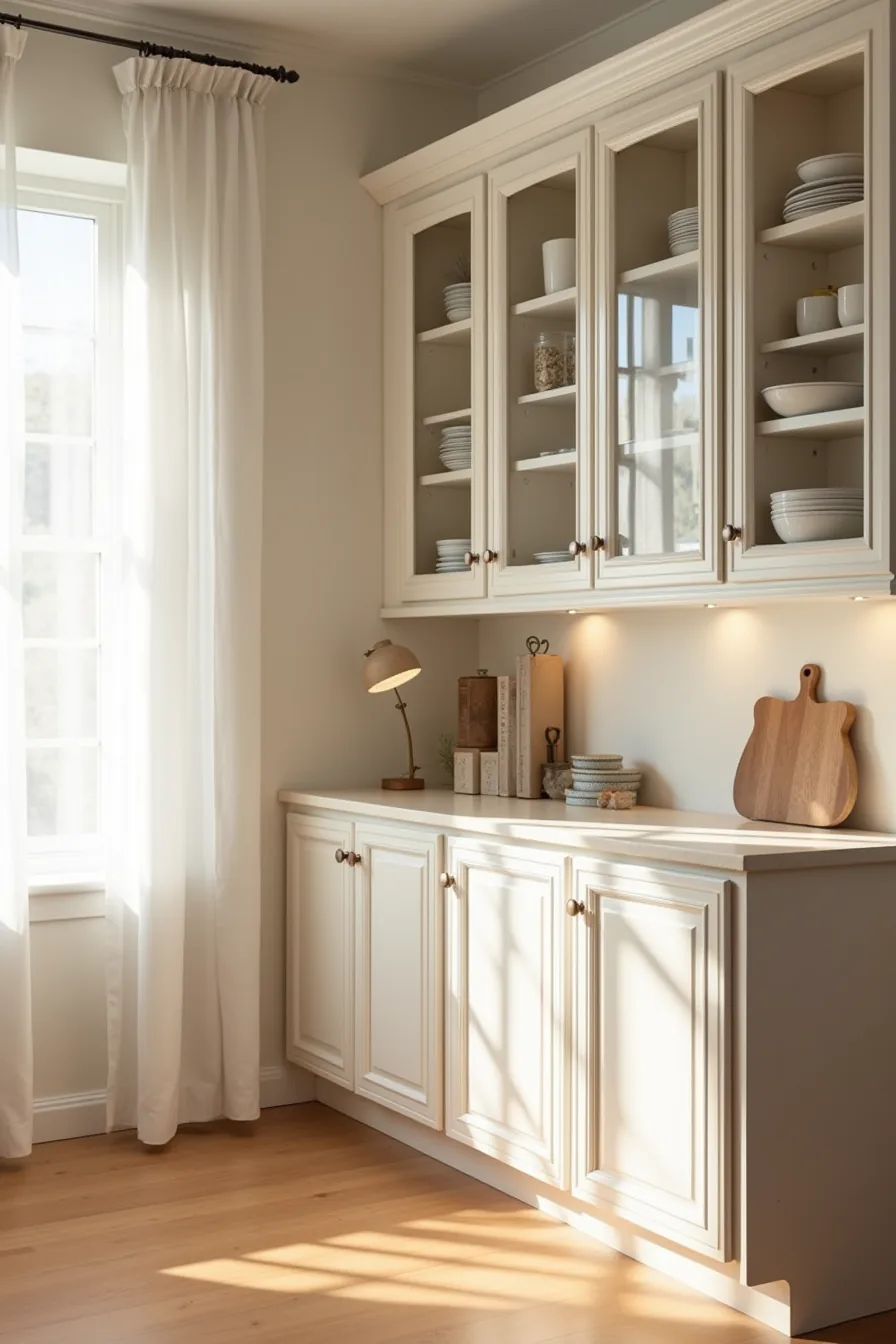
A fixed built-in dining wall is the most permanent and highest-capacity option you can choose. Custom millwork like floor-to-ceiling cabinetry typically runs 40–60 percent more than freestanding furniture of similar volume, with installation adding several days of carpenter labor. Because the framing is anchored to studs, you gain full-height storage that can hold up to three times what a sideboard offers, at the cost of committing your wall layout for the life of the room.
The setup you see here works because it separates functions by zone: upper glass-front cabinets display your dinnerware while keeping dust off, and lower solid wood cupboards with handles absorb the visual weight of bulky platters and mixing bowls. Crown molding at the top and a horizontal trim detail tie the unit to the room’s architecture, so it reads as original rather than added. The glass fronts demand regular wiping, expect to dust or clean the interior surfaces every one to two weeks to maintain the display effect, and be prepared for the cost of replacing a shattered pane if you’ve children or pets.
This system suits homeowners planning to stay five years or more, with a clear budget for custom joinery. Recessed built-ins can also reduce usable floor space by 6–10 inches of depth, so measure your room’s clearance before committing. If you want to adapt it later, you can’t, unlike modular options, a fixed built-in dining wall stays exactly as installed unless you pay for demolition and refinishing.
Open Shelves vs Closed Doors: Trade-Offs
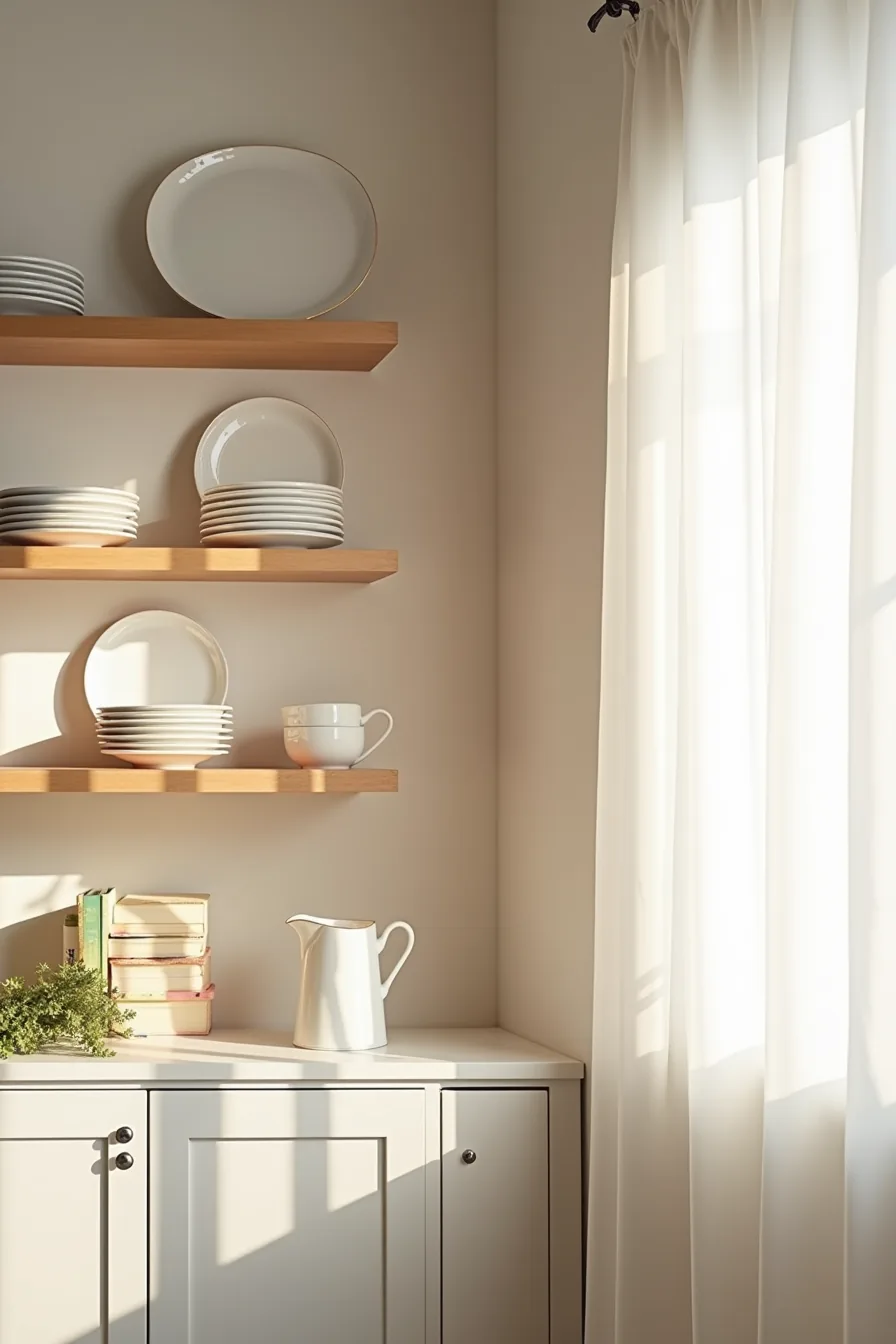
The split configuration here, three open wooden shelves beside a single closed cabinet door, illustrates the core tension in dining storage. Open shelving gives you instant access to stacked plates, bowls, and a serving pitcher, which makes daily table-setting faster and encourages you to actually use pieces you might otherwise forget. But everything on those shelves collects grease and dust, so plan to wash displayed items every two to four weeks or accept a visible film on frequently used surfaces.
Closed doors solve the clutter problem outright. A single cabinet door hides mismatched storage bins, bulky appliances, and items you use twice a year, cutting your visual cleanup time to zero. The trade-off is access friction: every retrieval requires opening and closing, and without glass fronts you lose the daily visual reminder of what you own.
Most dining rooms benefit from a 60/40 split favoring closed storage, reserving open shelves for items you use weekly that also earn their display space. When mixing both, keep heavy or fragile objects on lower open shelves and behind solid doors, and anchor upper open shelves with lightweight pieces only, reaching overhead with a full platter invites accidents. Confirm shelf weight ratings before loading; typical wall-mounted brackets support 30–50 pounds per shelf, but manufacturer limits vary.
Adjustable and Modular Storage Solutions
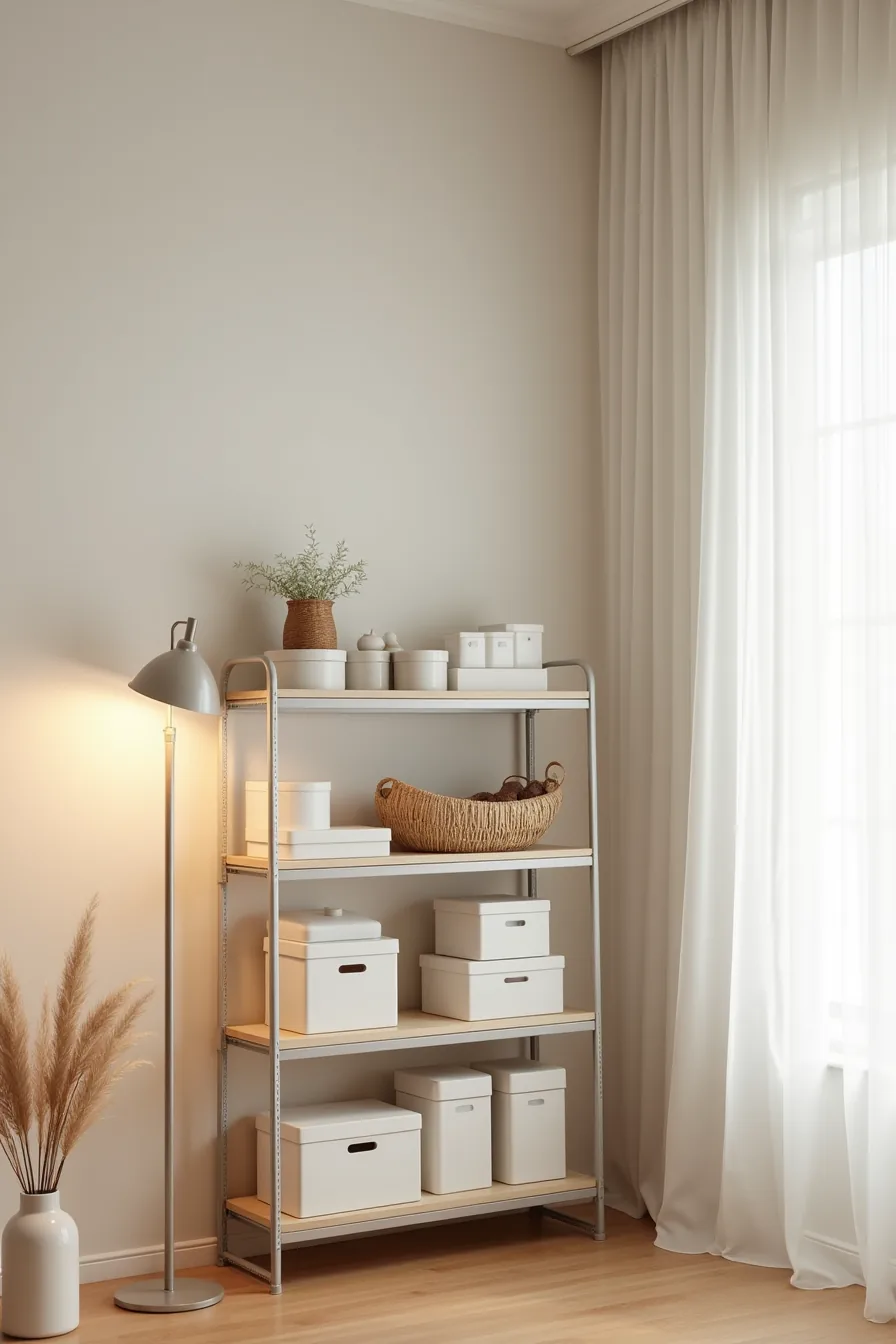
Freestanding metal shelving units solve the adaptability problem without committing you to wall anchors. The unit pictured here uses brackets you can reposition in minutes, letting you set three shelves at different heights to accommodate boxes, storage containers, and a decorative basket simultaneously. When your inventory shifts, say, you acquire a taller appliance or downsize your glassware, you reconfigure, not replace.
Before buying, measure your wall space and check the unit’s footprint against your room’s traffic flow. Most freestanding units run 12–18 inches deep and 60–72 inches tall, which suits medium dining rooms without overwhelming them. Look for leveling feet to compensate for uneven floors, and verify the per-shelf weight limit matches your heaviest item.
Modular systems extend the same logic: individual shelf panels, uprights, and brackets let you build a configuration that fits your exact wall dimensions now, then expand later. They cost roughly 15–30 percent more upfront than fixed shelving, but you avoid replacing the entire unit when needs change. Choose units with metal or coated-wood surfaces, porous particleboard absorbs food odors and stains.
For cleaning, wipe metal frames with a damp cloth monthly and vacuum shelf surfaces to prevent dust from settling into stored textiles.
Renter-Friendly Storage Without Damage
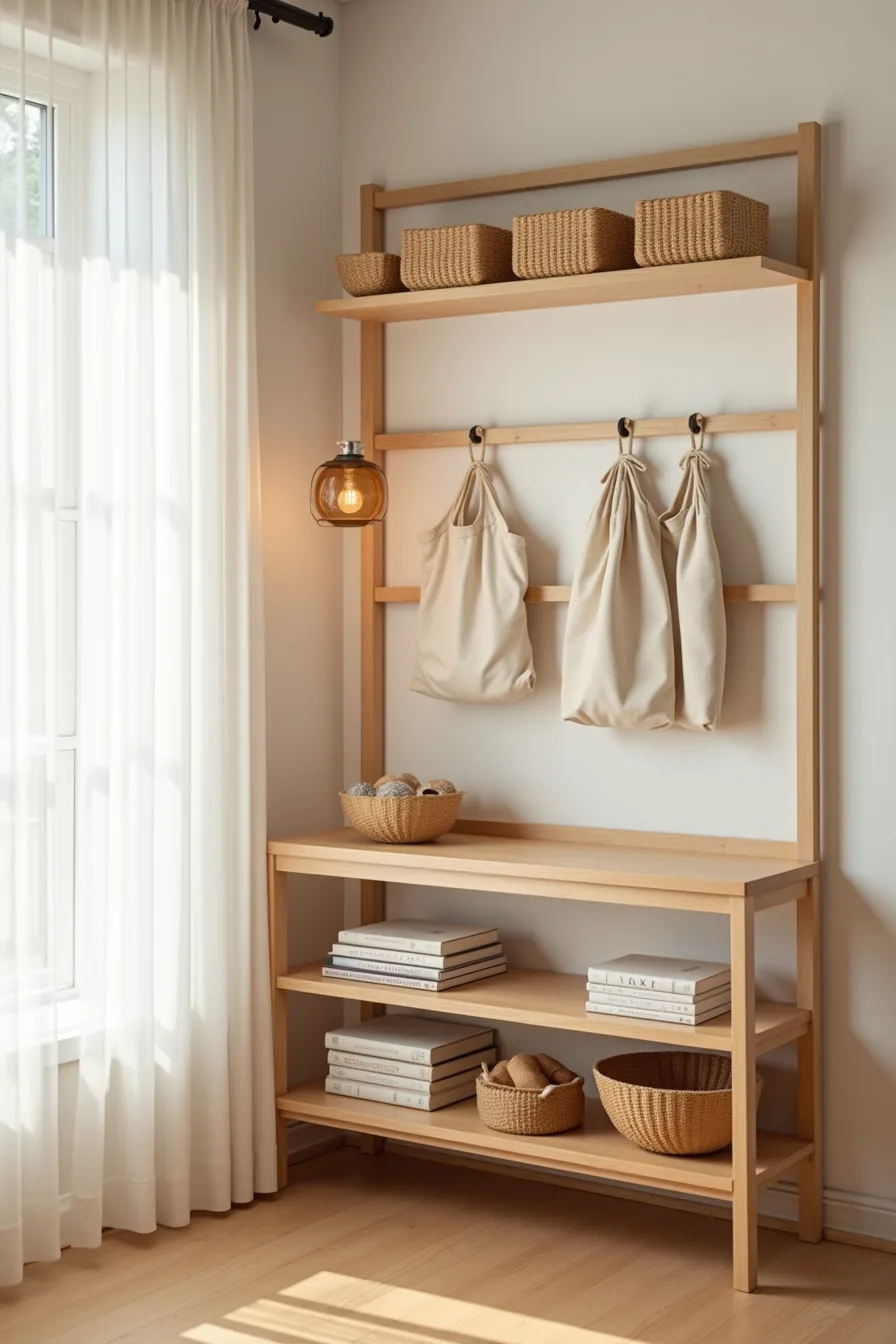
Tension rods give you vertical storage without a single screw hole. Position them between a shelf and the ceiling or between two sturdy shelving units, then drape fabric storage pouches across them for lightweight linens, napkins, and placemats, items under 5 pounds per pouch stay safely within the rod’s typical 15–25 pound capacity range.
Adhesive hooks rated for 5–10 pounds hold small baskets on the wall above your freestanding wooden shelving unit, keeping everyday essentials within arm’s reach while leaving the structure fully removable at move-out. Choose hooks with release tabs that stretch cleanly away from painted drywall, and avoid placing them on textured or freshly painted surfaces, you risk pulling off the top coat.
For a freestanding wooden shelving unit with no anchoring required, verify it comes with anti-tip brackets even if you skip installing them; a unit under 72 inches tall with a wide base stays stable for most dining room contents, but always place heavier items on lower shelves. When you leave, clean adhesive residue with rubbing alcohol and restore the wall to lease-compliant condition in under an hour.
Make Dining Storage Feel Like Part of Decor
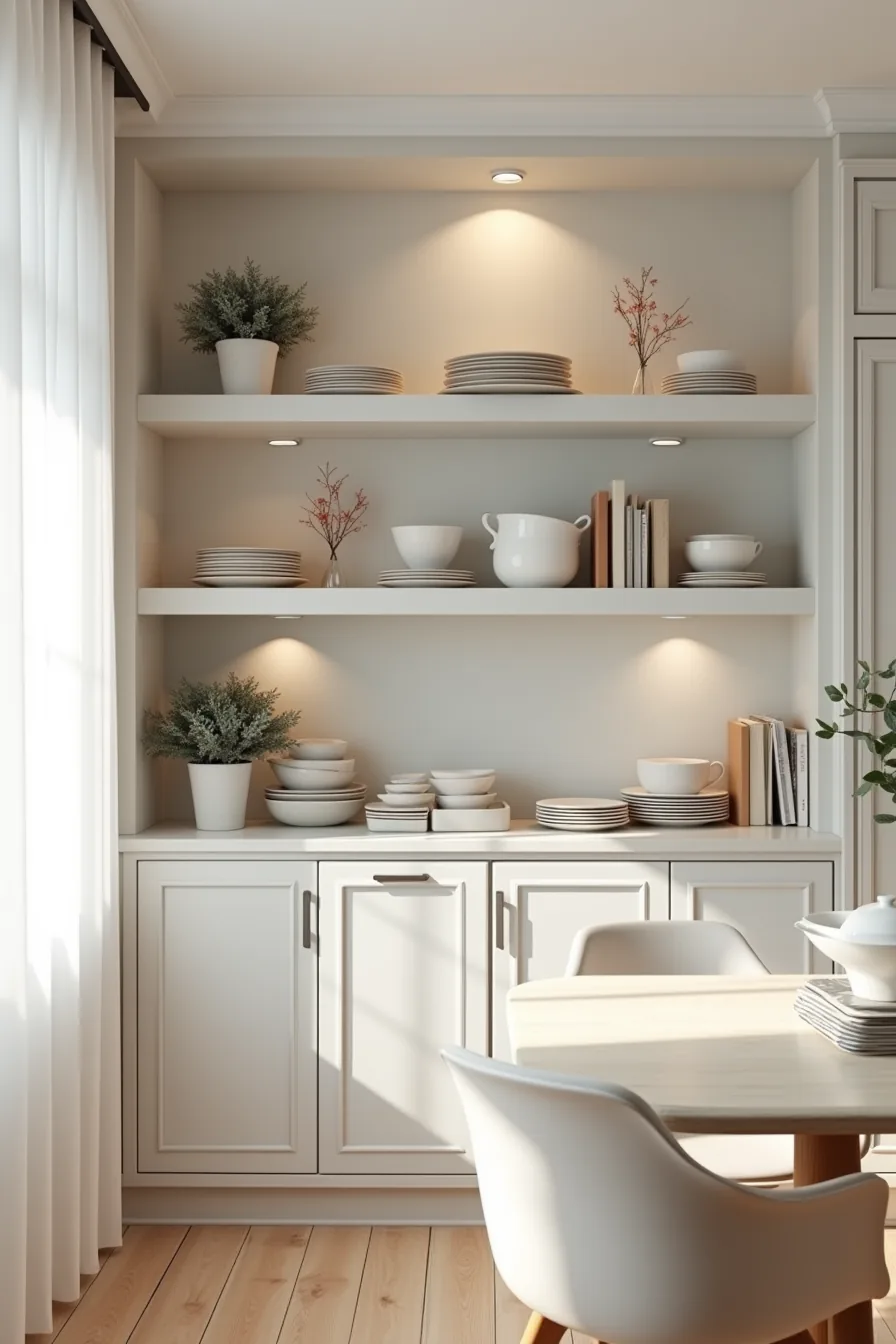
The gray cabinetry in this setup works because it matches the wall’s undertone rather than contrasting with it, pull a paint chip from your trim and select shelving two shades darker for the same cohesive effect. Displaying dishware on open shelves turns everyday ceramics into decor, but limit what you show to pieces in a single color family; mixing more than three hues reads as clutter within weeks.
Symmetry carries the arrangement: matching serving pieces on either side of the plant anchor the composition, so your eye lands on the display rather than the storage itself. Recessed lighting above the shelves casts even illumination across the fronts of items, which matters more than the fixtures themselves, position the light source 12–18 inches from the shelf edge to avoid shadows behind the dishware. For labeling, use small brass tags or handwritten chalk labels on the inside lip of baskets; they stay visible when you reach for items but disappear when you step back, preserving the clean visual line.
Where to Start
Before you buy a single shelf or cabinet, clear every surface in your dining room. Empty the sideboard, strip the walls, and pile everything on the table. Group items by category, table linens, serving pieces, glassware, and items that belong elsewhere in your home.
This inventory takes about 45 minutes and tells you exactly how much storage volume you actually need.
If most of what you own fits into two cabinets, a simple sideboard works. If you’re stacking platters in the garage, you need a full wall unit. Measure the wall space you’ve, then compare it against your pile.
That single comparison prevents the two most common mistakes: buying furniture that’s too small or too large for what you own.
Your next step is to measure the wall and photograph your inventory pile. Do that now, before you look at any products, it will keep every decision grounded in your actual needs, not a catalog photo.
Frequently Asked Questions
How deep should a dining room storage wall be to avoid blocking walkways?
Keep the total depth, cabinetry plus any countertop overhang, under 16 inches. This preserves a comfortable 36-inch clearance path, which is the minimum standard for most dining areas. For tight spaces, 12 inches still works beautifully.
Can I install a dining room storage wall if I rent?
Yes, absolutely. Focus on freestanding units like hutches, sideboards, or shelving systems that don’t require wall anchoring. Use removable adhesive hooks or tension rods for stability. Avoid built-ins, which typically demand drilling and permanent modifications to walls or floors.
What’s the best way to organize dishes and glassware on open shelves?
Group by frequency of use: everyday plates at waist height, glassware on the shelf above, and rarely used serving pieces on the top. Use stackable risers for plates and stemware racks for glasses to maximize vertical space. Add non-slip shelf liners to prevent shifting and reduce noise.
How do I prevent dust buildup on open dining storage?
Choose a shelf depth of 10–12 inches and place items with a 1-inch gap between them to allow airflow. Wipe surfaces weekly with a microfiber cloth. For extra protection, store delicate glassware in closed containers or use a clear acrylic dust cover on the top shelf.