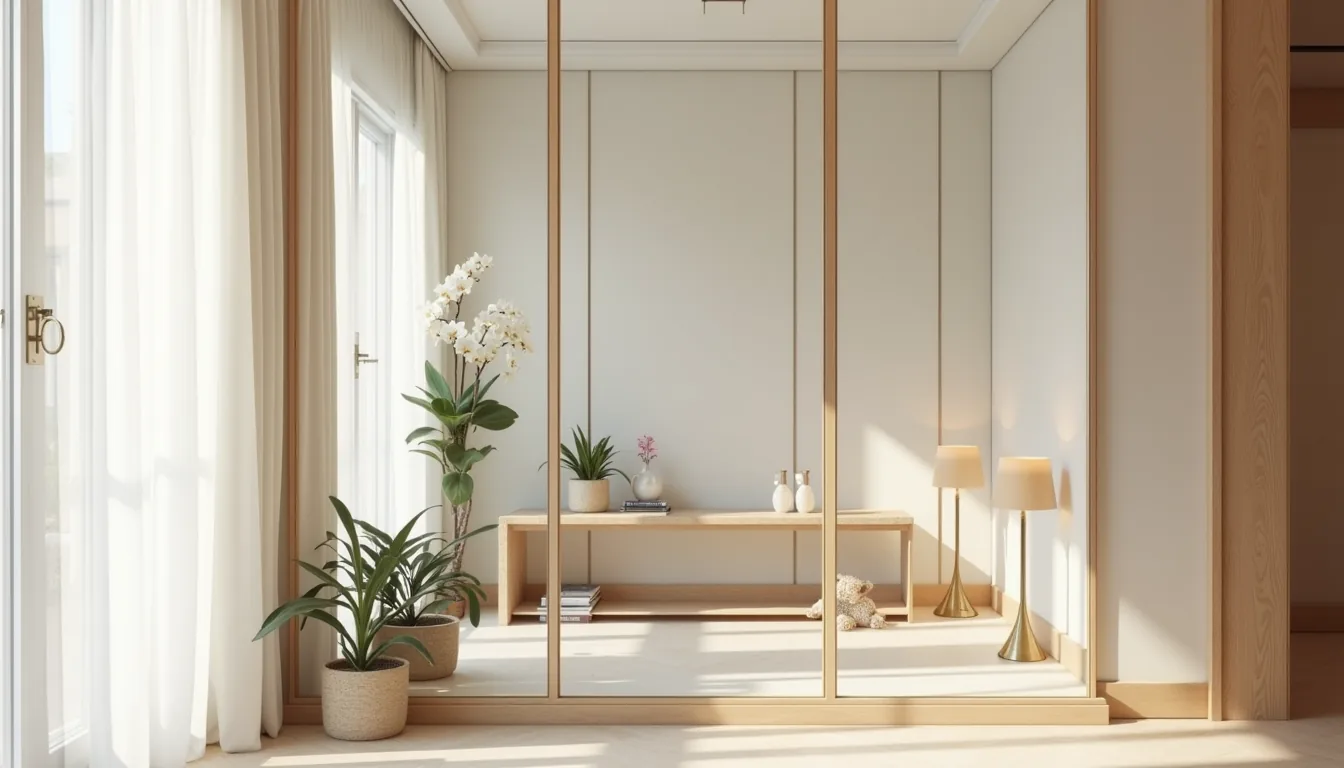
A luxury mirror wall is a design decision with real consequences: it can double the perceived square footage of a room, redirect natural light, or visually ruin a hallway if the scale is wrong. The difference between an opulent feature and a chaotic glare comes down to placement, finish, and frame strategy, not budget alone. Before you commit to floor-to-ceiling glass, you need to match the installation to your room’s proportions, traffic flow, and how much maintenance you can realistically tolerate.
The six approaches below range from renter-friendly adhesive panels to bespoke, light-correcting investments, each with its own trade-offs in cost, durability, and visual payoff.
Key takeaways
Floor-to-ceiling mirrored panels multiply perceived depth by roughly double, but require professional installation and tempered glass for safety in high-traffic areas. Slim metal frames deliver a quiet-luxury look at a lower cost than ornate options, and suit modern or minimalist rooms where the mirror should recede, not dominate. Ornate framed mirrors work best as a single statement piece opposite a window, needing at least 24 inches of clear wall space to avoid overwhelming a small room. Renter-friendly routes include adhesive-backed mirror film or leaning floor mirrors, both of which avoid wall damage but reduce light reflection compared to true glass panels.
Floor-to-Ceiling Mirrored Panels for Maximum Space Illusion
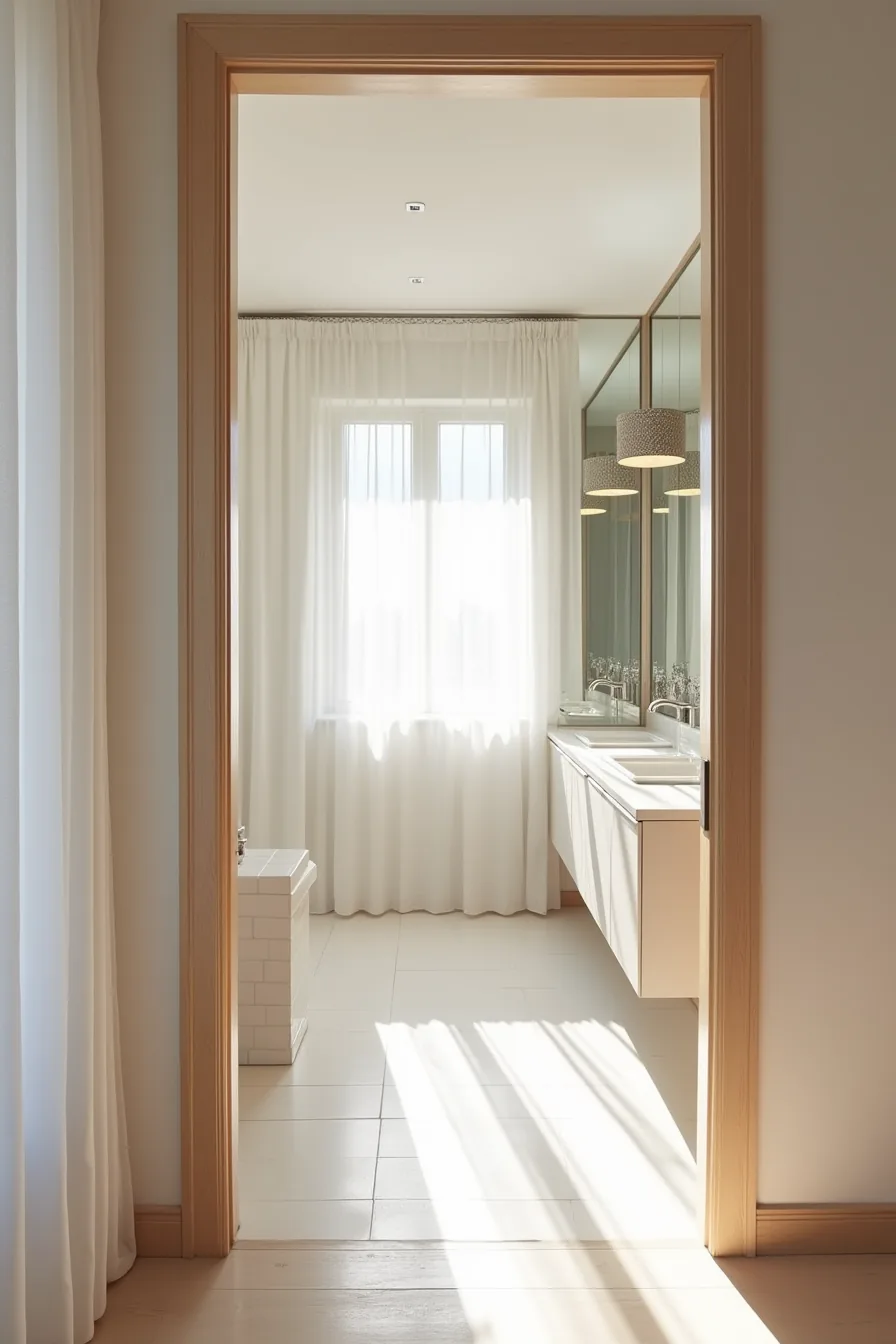
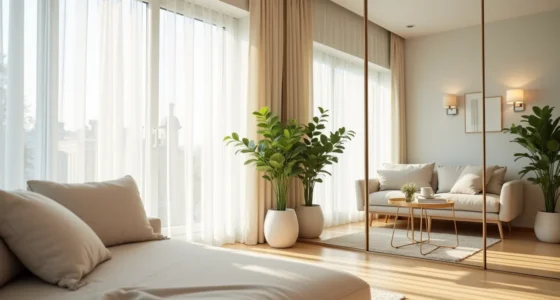
Continuous mirror panels running from floor to ceiling create the strongest possible depth illusion because there are no horizontal breaks to interrupt the reflection. In a narrow bathroom, this approach doubles the perceived width of the room while the mirrored far wall bounces light from the vanity fixtures across the entire space. The white subway tiles and brushed nickel fixtures reflect cleanly, making the room feel brighter without adding a single watt of lighting.
You need a perfectly flat wall with no outlets or fixtures in the mirror zone, since panels are typically 8–10 mm thick and installed with structural adhesive or aluminum channels. For a wall roughly 8 by 6 feet, expect to pay $800–$2,500 depending on whether you choose standard silvered glass or anti-fog treated panels. This works best in bathrooms or hallways 5–8 feet wide; anything narrower can feel disorienting, and anything wider over-amplifies every imperfection in the room.
Beveled edges or a thin metal trim at the seams prevent the “hall of mirrors” effect and keep the surface looking intentional rather than accidental.
Quiet Luxury Mirror Wall with Slim Metal Frames
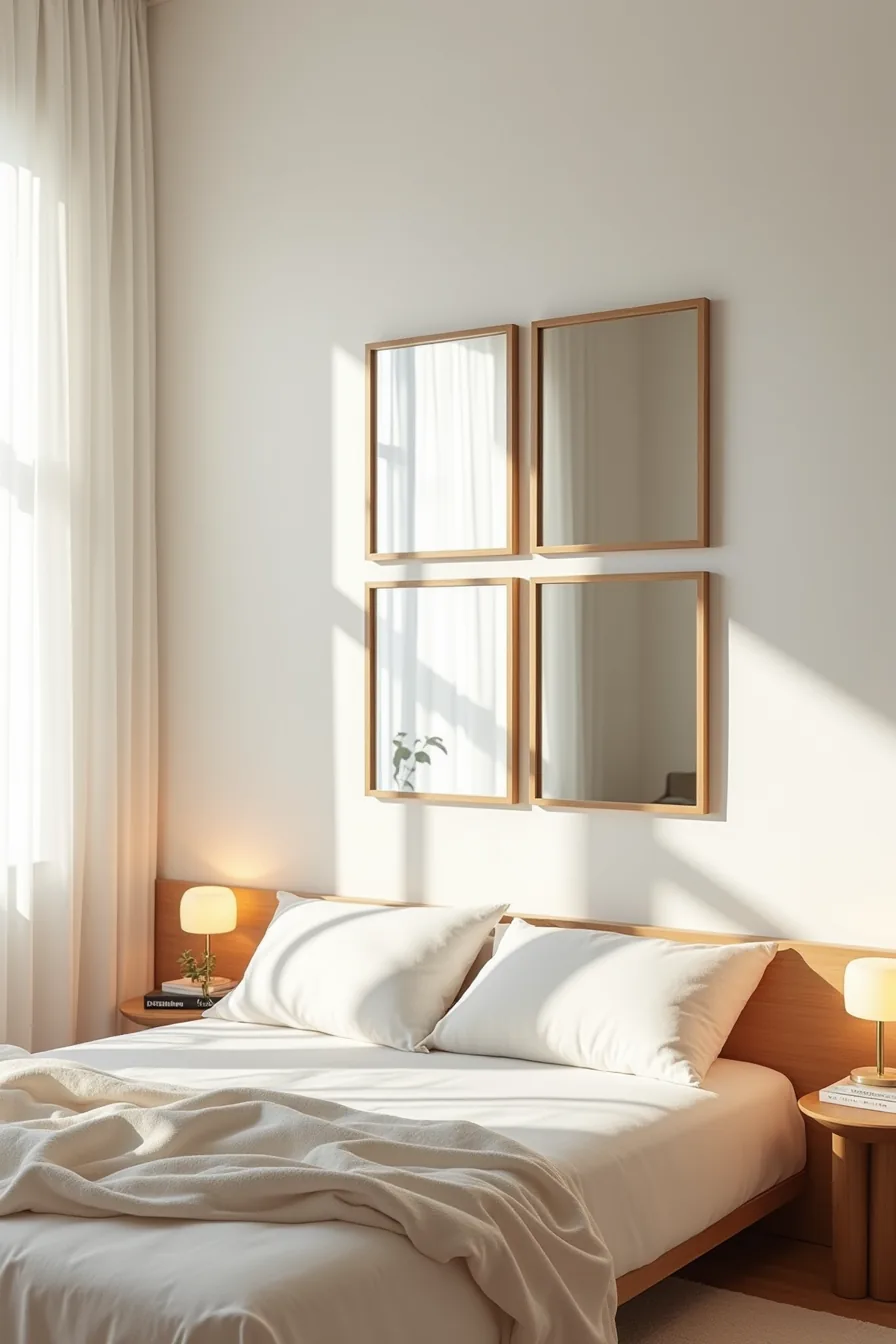
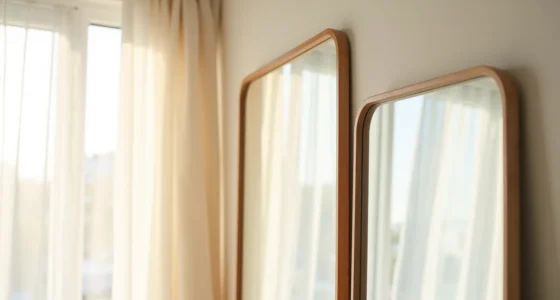
Frame thickness does the heavy lifting here. A 1–2 centimeter brushed brass or matte black profile reads as intentional and expensive; anything thicker veers traditional, anything thinner disappears into the wall. Four rectangular mirrors arranged in a 2×2 grid above a low platform bed echo the width of the mattress below, creating symmetry that anchors the sleeping zone without competing with linen bedding or a single sculptural wooden chair for attention.
The brushed finish is the practical choice: it hides fingerprints and water spots far better than polished metal, and you can clean it with the same glass spray you use on the mirror surface. Brass develops a natural patina over 2–4 years that some owners love and others find uneven; stainless steel and matte black stay visually identical for a decade. This arrangement suits primary bedrooms, powder rooms, or narrow entryways where you want the room to feel larger without shouting about it.
Mount each mirror with two heavy-duty wall anchors rated for at least double its weight, and keep a 6–10 inch gap between the grid and the ceiling to preserve breathing room.
Ornate Framed Mirrors as Focal Point Statements
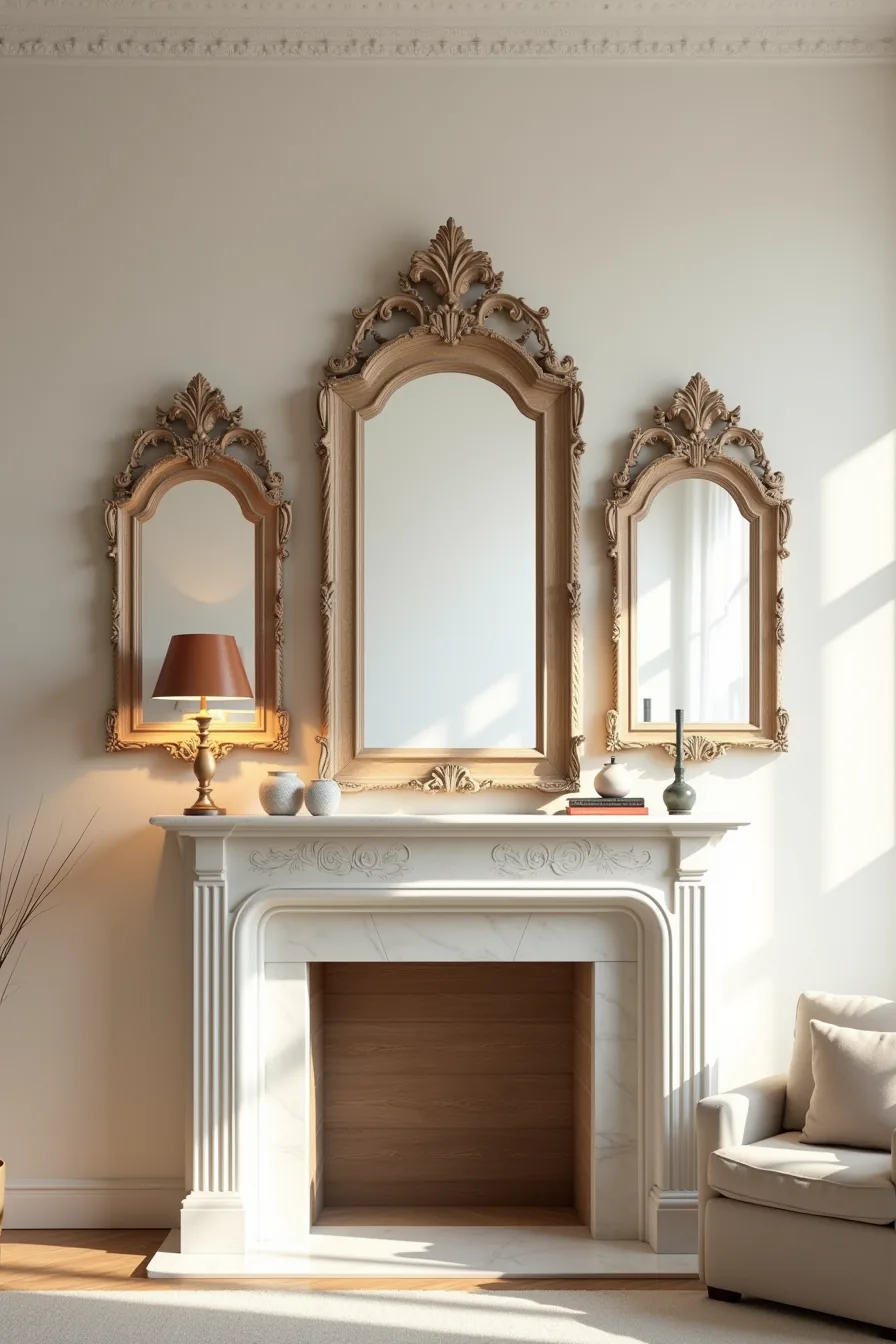
Ornate frames work best when treated as sculpture, not utility. Three carved wood mirrors in graduated sizes arranged asymmetrically above a marble mantel draw the eye upward and create a gallery-like rhythm that a single large mirror can’t match. The varied heights, typically ranging from 24 to 40 inches, give the composition movement while the mantel’s table lamp and small sculptural objects anchor the lower visual plane, preventing the wall from feeling top-heavy.
This approach suits living rooms, dining rooms, or stair landings where you entertain and want conversation-starting texture. Carved wood requires dusting every 2–3 weeks with a soft brush; resin and composite alternatives offer the same visual weight at roughly half the cost and resist warping in humid climates. Balance the ornate frames by keeping surrounding furniture low-profile and solid-colored, a tufted sofa or heavily patterned rug will compete rather than complement.
For a 12-foot wall, position the outermost mirrors 12–18 inches from each corner to maintain proportion without crowding the architectural trim.
Warm Lighting Effect Behind or Beside Mirror Walls
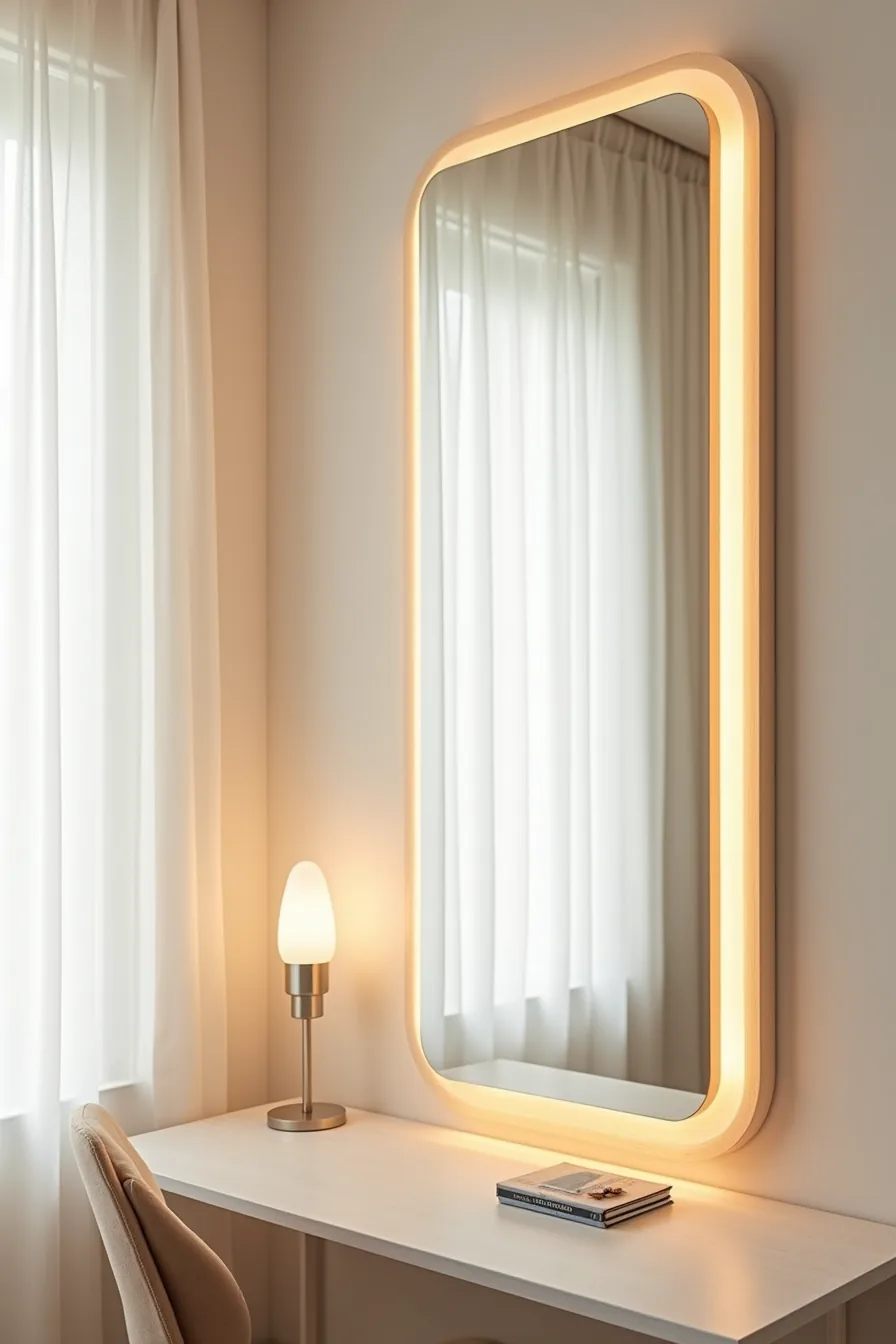
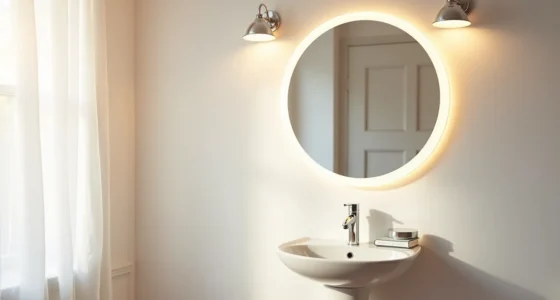
The quickest way to shift a mirror from functional to theatrical is backlighting. Install LED strips along the top and left edge of a large rectangular mirror, as seen in a dressing room corner setup, and the frame appears to float against the wall with a soft golden halo. The glow washes across the adjacent wall surface, adding depth that a single overhead fixture can’t achieve.
Color temperature matters more than brightness. Choose strips rated at 2700K–3000K for a warm, candle-like tone; anything above 3500K reads clinical and defeats the luxury effect. Pair the strips with a dimmer switch rated for LED loads, typically 100–150 watts maximum, so you can drop the light to 20 percent for evening dressing or raise it for makeup application.
Position the strips 2–3 inches from the mirror edge to avoid hot spots on the glass surface. Use diffused channel profiles, which spread the light evenly and prevent the individual diodes from creating visible dots. For hardwired installation, budget $150–$300 for materials and an electrician if you can’t tap into an existing junction box.
Plug-in battery options exist but limit runtime to roughly 6–8 hours, making them practical only for occasional use.
Renter-Friendly and Budget Mirror Wall Solutions
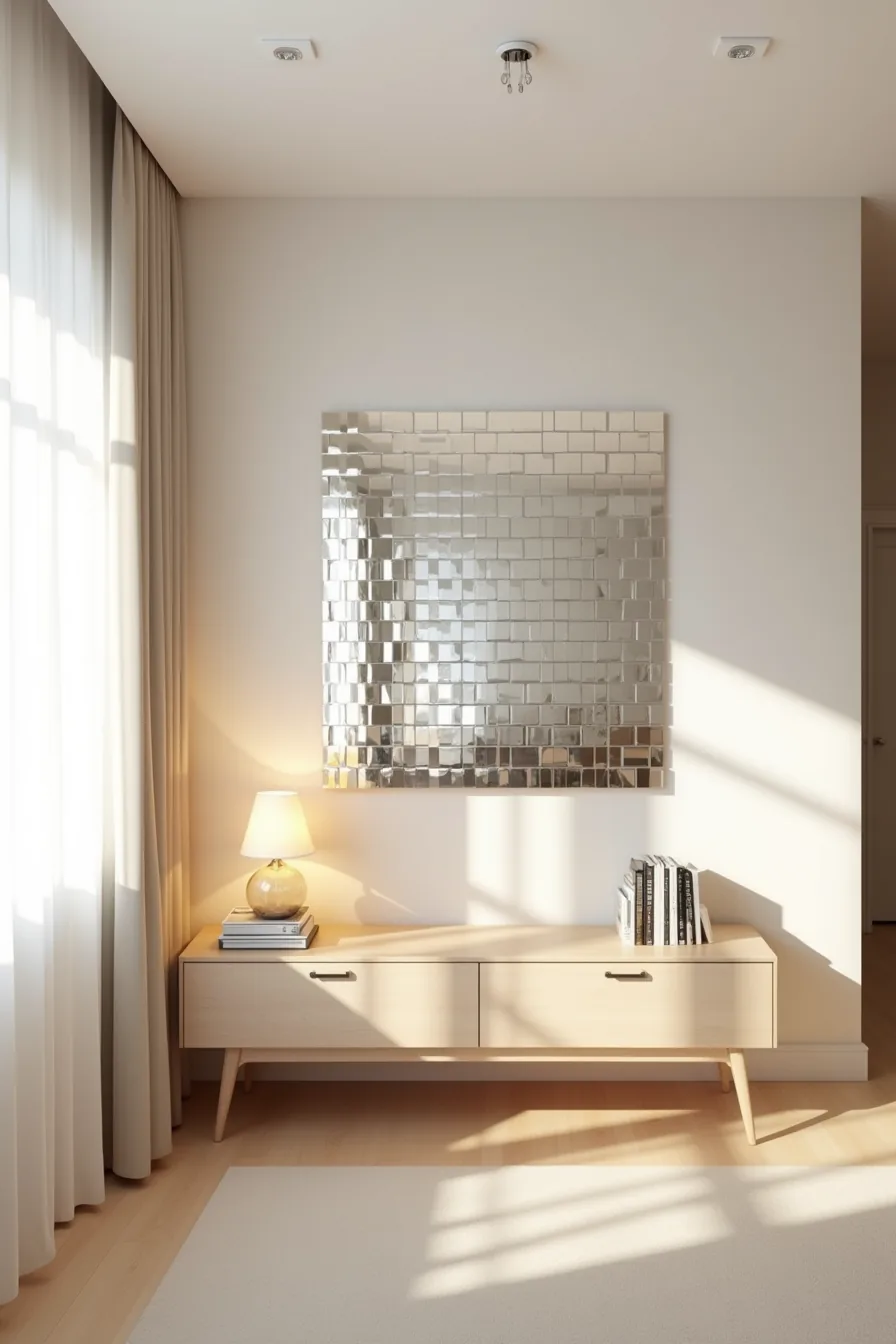
Adhesive-backed mirror tiles deliver the reflective impact of a custom wall without drilling a single hole. In a small apartment living room, arrange them in a geometric mosaic above a low credenza, the pattern reads as intentional design rather than a compromise. Most adhesive tiles come in 12-inch squares and stick directly to smooth, clean drywall; removal takes a heat gun and gentle prying, leaving minimal residue if you use the manufacturer’s recommended release agent (usually included or sold separately).
This route suits renters and first-time homeowners who want the look for under $200 for a 6-foot-wide section. The trade-off: adhesive tiles lack the crisp, smooth reflection of a single glass sheet, and the visible seams catch dust. For a temporary upgrade, frame the tile cluster with lightweight molding, attach it with double-sided tape rated for 10–20 pounds, and you get the appearance of one large mirror at a fraction of the cost.
Budget 2–3 hours for installation, plus another hour for sealing the edges with clear silicone if you want to prevent moisture from creeping behind the adhesive layer.
Adapting Luxury Mirror Walls to Room Size and Layout
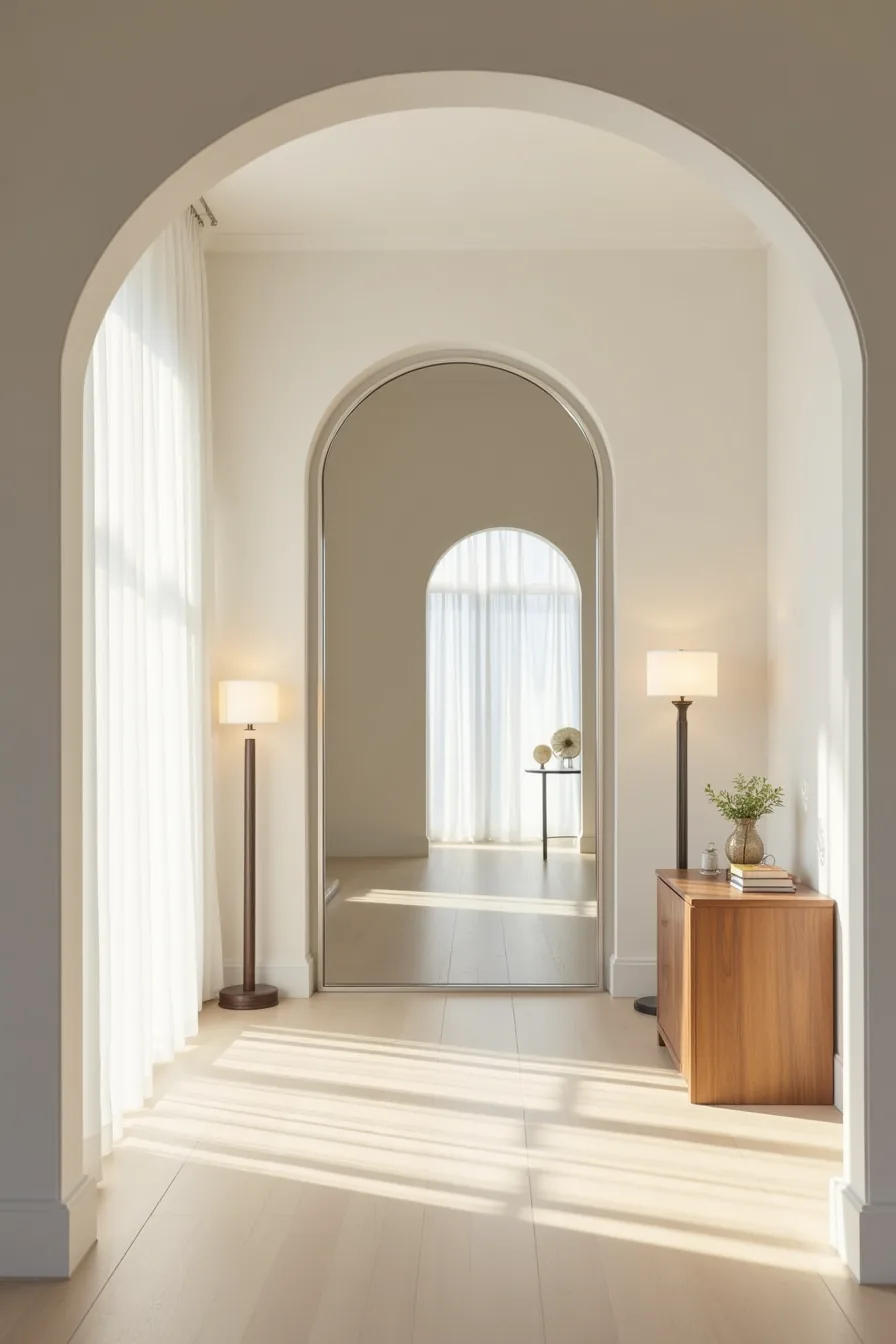
Scale determines whether a mirror wall enhances a space or overwhelms it. In a small bathroom, limit the reflective surface to a single panel behind the vanity, a 24–30-inch-wide mirror with a minimal frame keeps the room feeling larger without turning it into a funhouse. Skip ornate framing here; heavy moldings absorb visual space and collect condensation.
For a medium living room, a grid of three to five floor-to-ceiling panels behind a sofa creates depth without dominating. Position panels 4–6 inches off the floor and leave 18–24 inches of clearance on each side so the wall doesn’t feel crowded. In a large entryway, one oversized arched mirror placed off-center achieves more drama than a full wall, the arched mirror you see here, flanked by a narrow console table on one side and an open passageway on the other, balances the room’s symmetry without blocking foot traffic.
The small side table beneath anchors the composition. Maintenance scales with size: larger surfaces need twice-monthly cleaning with a microfiber cloth and a streak-free glass spray, while small bathroom mirrors require weekly attention to combat water spots.
Your Next Move
Start with budget, not square footage. Measure the wall you want to cover custody-free, tape off the exact dimensions on the floor, and live with that outline for 48 hours before buying anything.
That single step prevents the most common luxury mirror wall failure, scale miscalculations that read as clutter, not opulence. You’ll also know whether you need one oversized statement piece or a grid of four.
Order a swatch of your top finish this week from a supplier offering free samples contaminants. Compare it against your wall color at morning, noon, and evening light. That comparison alone will eliminate half your candidates.
Frequently Asked Questions
How do you hang a luxury mirror wall without damaging walls?
Use heavy-duty mirror clips rated for the mirror’s weight, or a French cleat system for larger panels. Both distribute load across studs. For rented spaces, adhesive mirror mounting tape works on smooth surfaces but fails above roughly 20 pounds per panel.
What is the best lighting color temperature for a mirror wall to look expensive?
Install 2700K to 3000K LED strip lighting. Warmer temperatures mimic hotel vanity lighting, soften skin tones, and cast a flattering glow. Avoid 4000K or higher, which reads clinical and washes out the reflective finish.
Can you create a luxury mirror wall effect in a small apartment?
Yes, use one floor-to-ceiling mirror panel behind a console or sofa rather than a full wall. This doubles perceived depth without overwhelming the room. Keep the frame slim, under 2 inches, so the mirror reads as architectural, not decorative clutter.
How often do you need to clean and maintain a large mirror wall?
Wipe down once weekly with a microfiber cloth and a 1:1 water-and-isopropyl-alcohol solution. Full-wall installations need quarterly edge inspection for sealant wear, especially in humid bathrooms. Avoid ammonia-based cleaners; they degrade backing paint over time.