A wardrobe interior layout is the difference between a closet that stores clothes and one that actually works for your morning routine. It’s the deliberate arrangement of hanging rods, shelving, and drawers to match how you dress, not just how much you own. Get it right, and you cut dressing time and clutter; get it wrong, and you waste space daily.
The six layouts below break down the trade-offs, clearances, and costs so you can pick what fits your room, not a generic Pinterest ideal.
Key takeaways
- Measure first: Reserve at least 60 cm (24 inches) of clear floor space in front of the wardrobe for comfortable opening and dressing, and check the door swing radius against nearby furniture or walls.
- Hang rods at 165–175 cm from the floor for long garments and 100–110 cm for shirts; ensure the rod depth is 50–55 cm so hangers clear the back wall and doors close without catching.
- Zone by frequency: Place daily-worn items at eye-to-waist height (80–140 cm), seasonal or bulky gear on the top shelf, and shoes on the lowest tier to cut morning reach time by roughly 30%.
- Choose drawers over shelves for folded knitwear and undergarments, drawers add 10–15 cm of usable depth compared to static shelves, reduce dusting, and let you stack items vertically without toppling.
Measure Your Space and Establish Clearance Rules
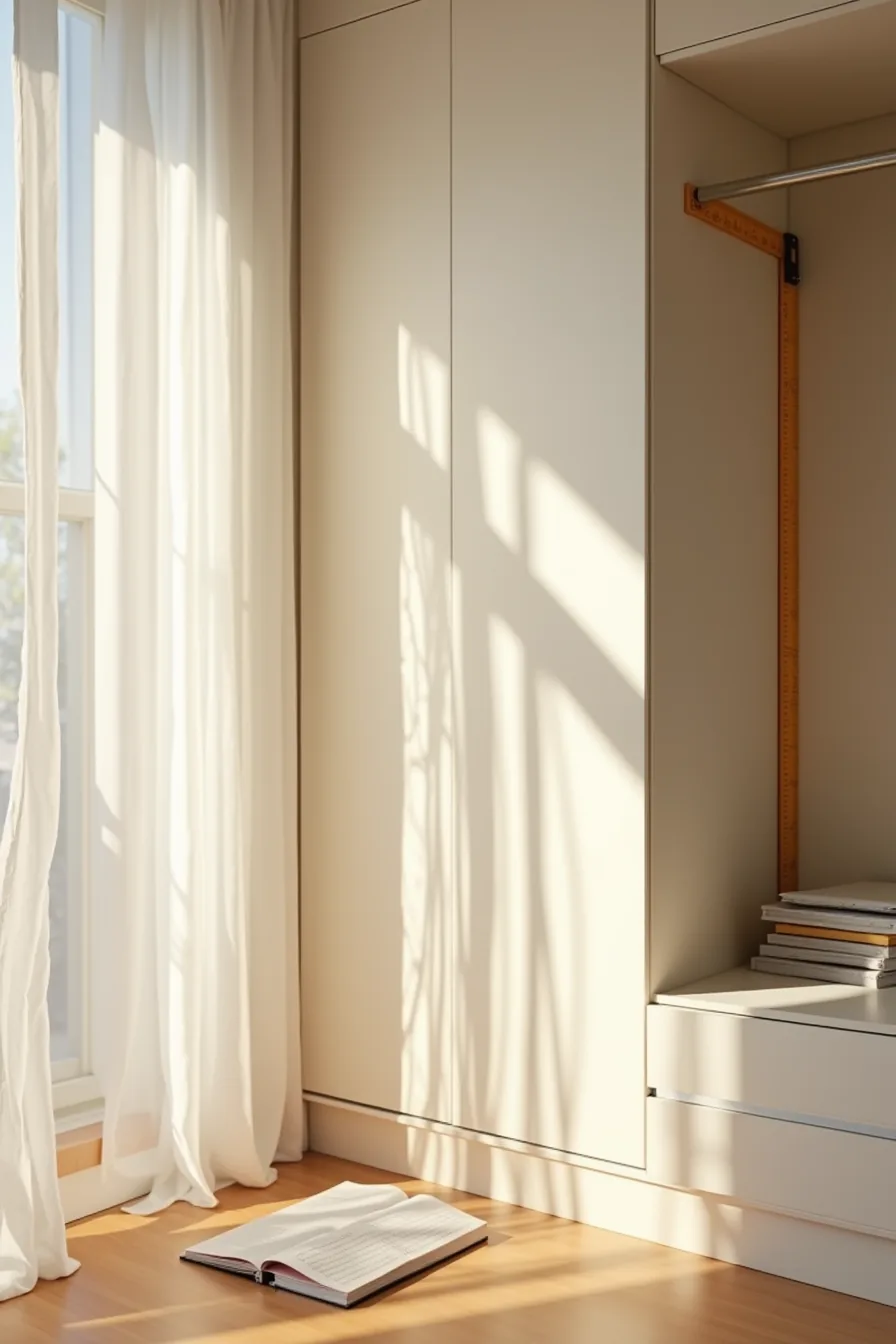
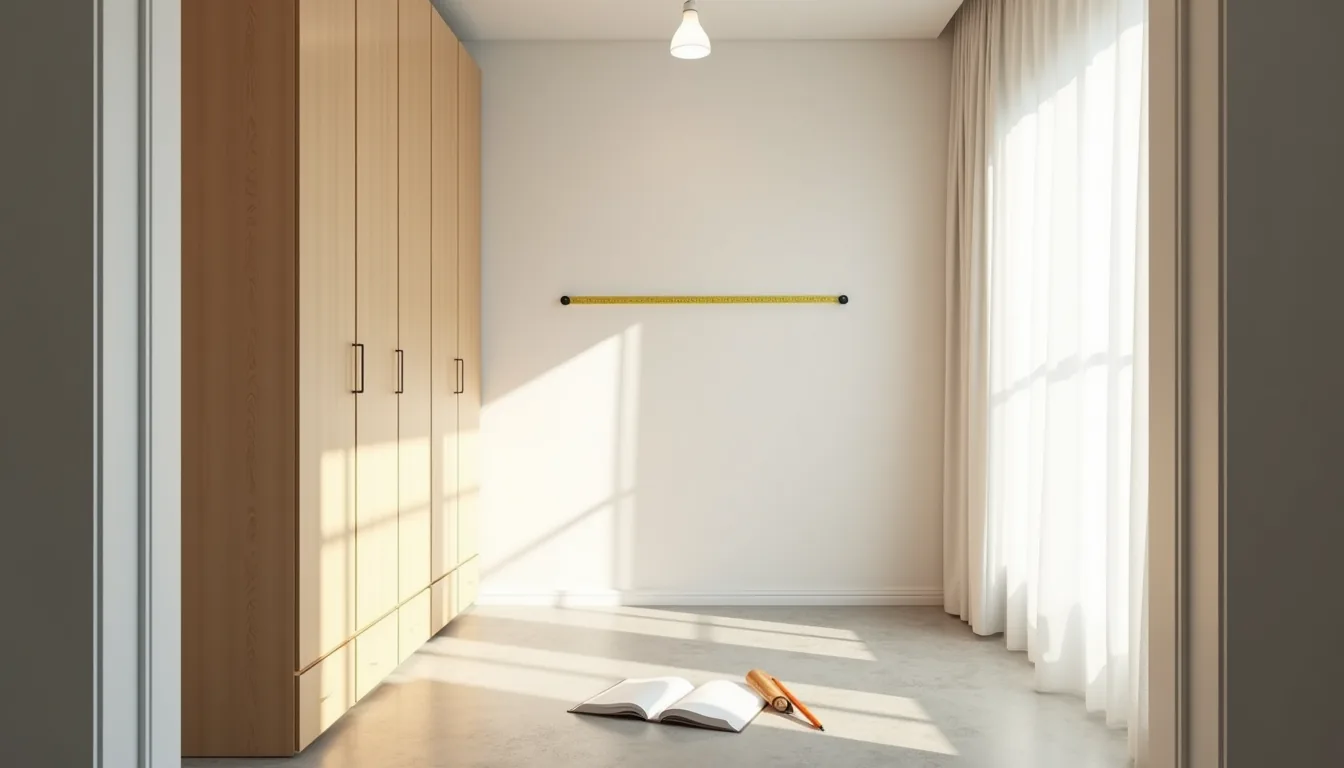
Start by capturing three dimensions: floor-to-ceiling height, full wall width, and depth from the wall to the opening edge. Record these in the notebook next to your tape measure, and sketch a simple grid while the folding ruler is still propped against the wall corner, you’ll reference this drawing when planning each zone.
Depth is where most layouts fail. A standard wardrobe interior runs 60–66 cm deep, but you need an absolute minimum of 55 cm for hanging clothes on a rail without the doors pressing fabric against the back wall. For drawers, subtract 5 cm from the interior depth so the front face clears the frame when fully extended.
Clearance rules protect function. Leave at least 45 cm of walk space in front of the wardrobe for comfortable access, and 60 cm if you plan to open drawers and doors simultaneously. Check that a door swinging open doesn’t collide with a bed frame, radiator, or light switch, measure the arc radius before committing to any layout.
Hanging Rod Placement: Height, Depth, and Load Capacity
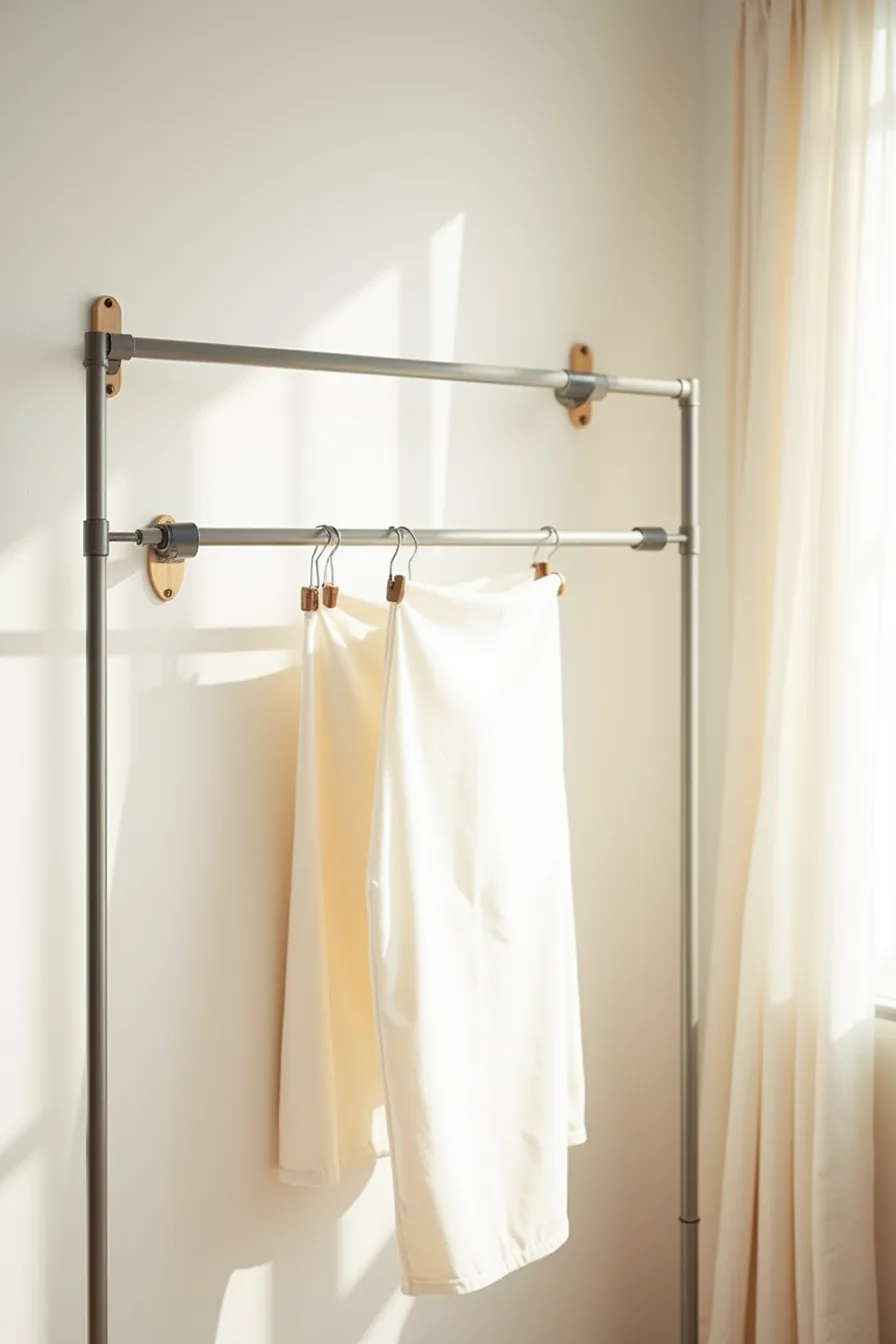
A full-length rod for coats and dresses sits 60–66 inches from the floor, leaving roughly 20 inches of clearance below for long garments to hang without crumpling. A second rod set 30–40 inches high, like the metal pair mounted on the wooden wall spacers in this setup, doubles your short-hang capacity for shirts, skirts, and folded trousers. The critical rule: measure your longest garment before fixing the hardware, add 4–6 inches for hanger hooks and rod hardware so nothing drags.
Rod depth matters as much as height. Mount the rod so the centerline sits 10–12 inches from the back wall; this prevents shoulder seams from pressing against the wall while keeping the door from catching fabrics. For weight, a single 1-inch-diameter metal rod anchored into wall studs, not drywall anchors, supports 30–60 pounds of clothing safely.
That fabric weight test hanging from the lower rod is your verification: if the rod bends noticeably under a full load, you’ve overcrowded it. Space garments so hangers slide freely, leaving 2–3 inches between shoulders; this prevents both crushing and the strain that bends rods over time.
His and Hers Zoning: Dividing Space for Multiple Users
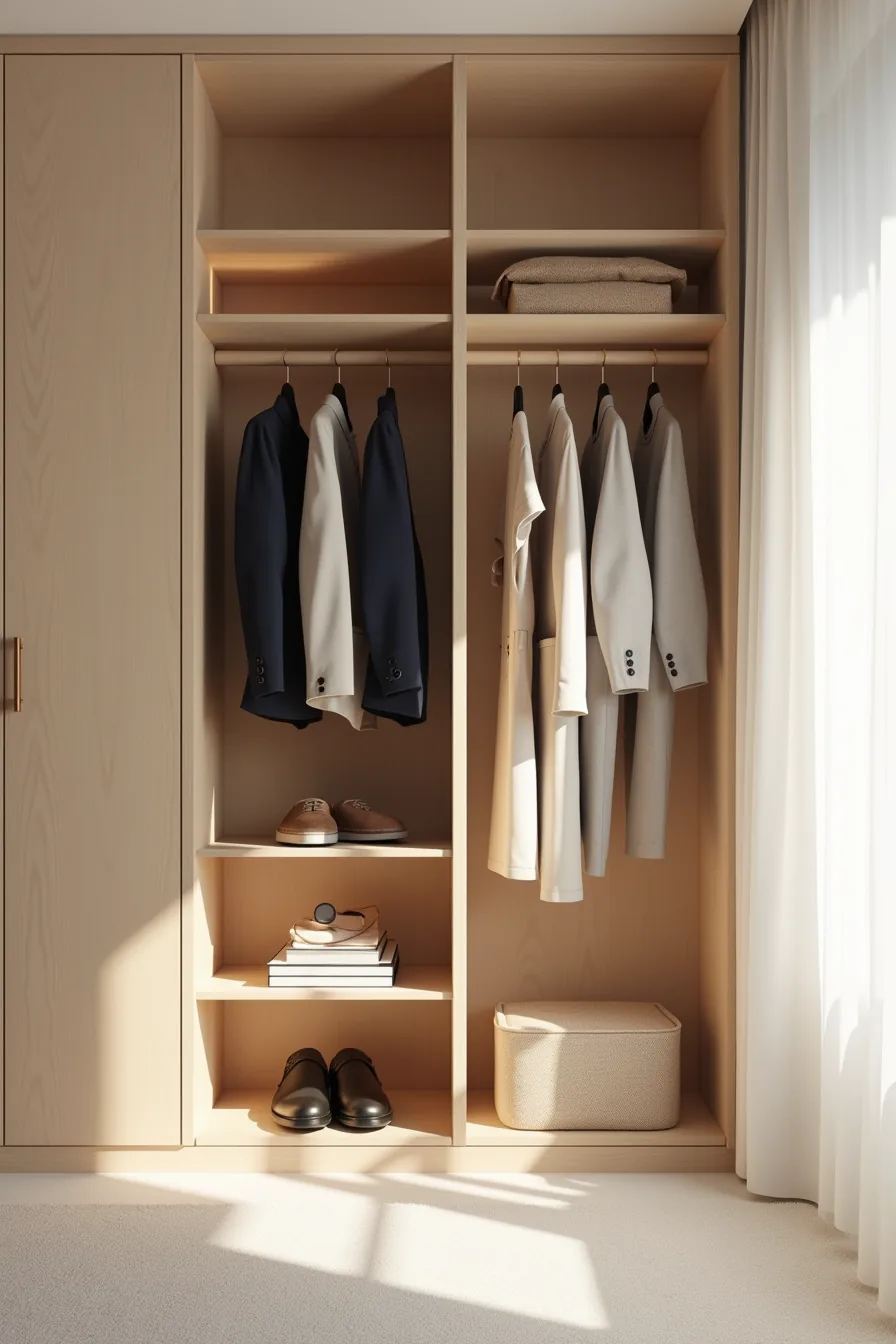
A vertical divider panel running floor-to-ceiling down the center creates the cleanest boundary for shared wardrobes, each user gets a dedicated column with no visual overlap or accidental mingling of garments. In this arrangement, the left side holds men’s tailored jackets on a single rod, while the right side accommodates women’s dresses; separate shelf units below each rod keep folded knitwear and accessories within arm’s reach of the owner. This symmetrical split works best when both partners have similar total garment volumes, but real life rarely balances that way.
For asymmetrical needs, shift the divider off-center, 60/40 instead of 50/50, or adjust rod heights independently on each side. A taller rod on the dress side and a double rod on the jacket side reclaims vertical space without expanding the footprint. Ensure each section has its own lighting source, ideally motion-activated LED strips, so one person can dress without casting shadows or waking the other.
Access points matter too: if the wardrobe sits in a narrow hallway, a sliding door on one side and a hinged door on the other prevents both users from needing the same clearance zone simultaneously. Assign the shallower side to the person with fewer bulky items, and test that both sections offer at least 24 inches of clear floor space for comfortable stooping and reaching.
More Drawers vs More Shelves: Trade-Offs and Best Use Cases
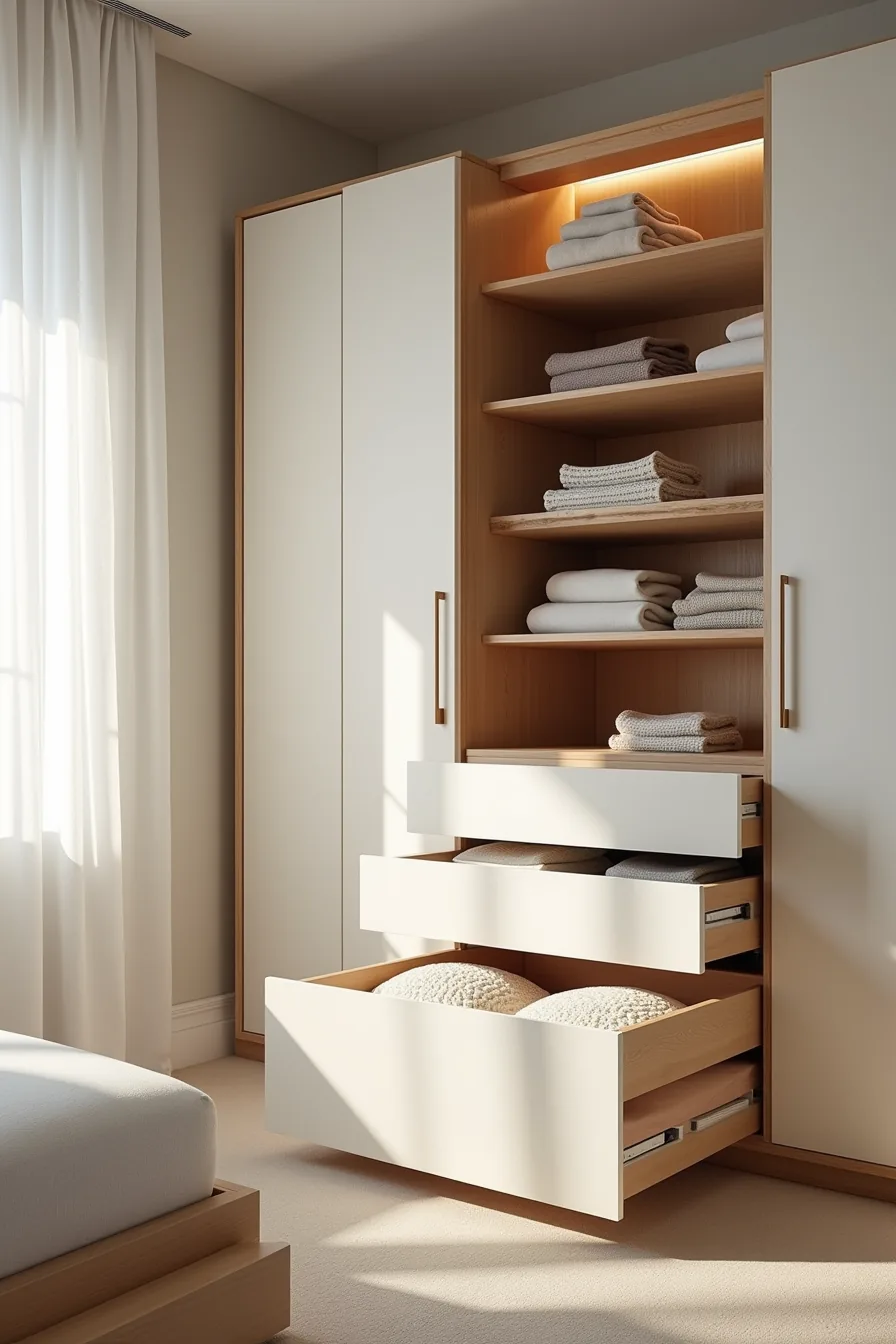
Drawers win when you need to hide visual clutter or protect delicate fabrics from dust, but they cost roughly 30–40% more per linear foot than open shelving due to hardware and box construction. Shelves, by contrast, give you instant sightlines, you can scan every folded sweater without opening anything, which cuts retrieval time to under five seconds for most items. The trade-off is stacking discipline: soft knits stack safely to about four or five items before the bottom layers crease, and bulky sweaters lose their shape past three.
A four-drawer column on one side paired with three open shelves on the other balances both priorities. Put everyday knitwear in the drawers, pulled open, you can see the folded stacks at a glance, and reserve the shelves for heavier sweaters that tolerate stacking. Limit shelf stacks to two garments high for bulky knits, and keep the most-worn items at waist-to-chest height on the shelf side, where you can grab them without bending.
If you lean toward more drawers vs more shelves, choose drawers for anything you wear weekly; reserve shelves for seasonal overflow or items you can afford to fold evenly.
Accessory Storage Zone: Placement, Visibility, and Retrieval
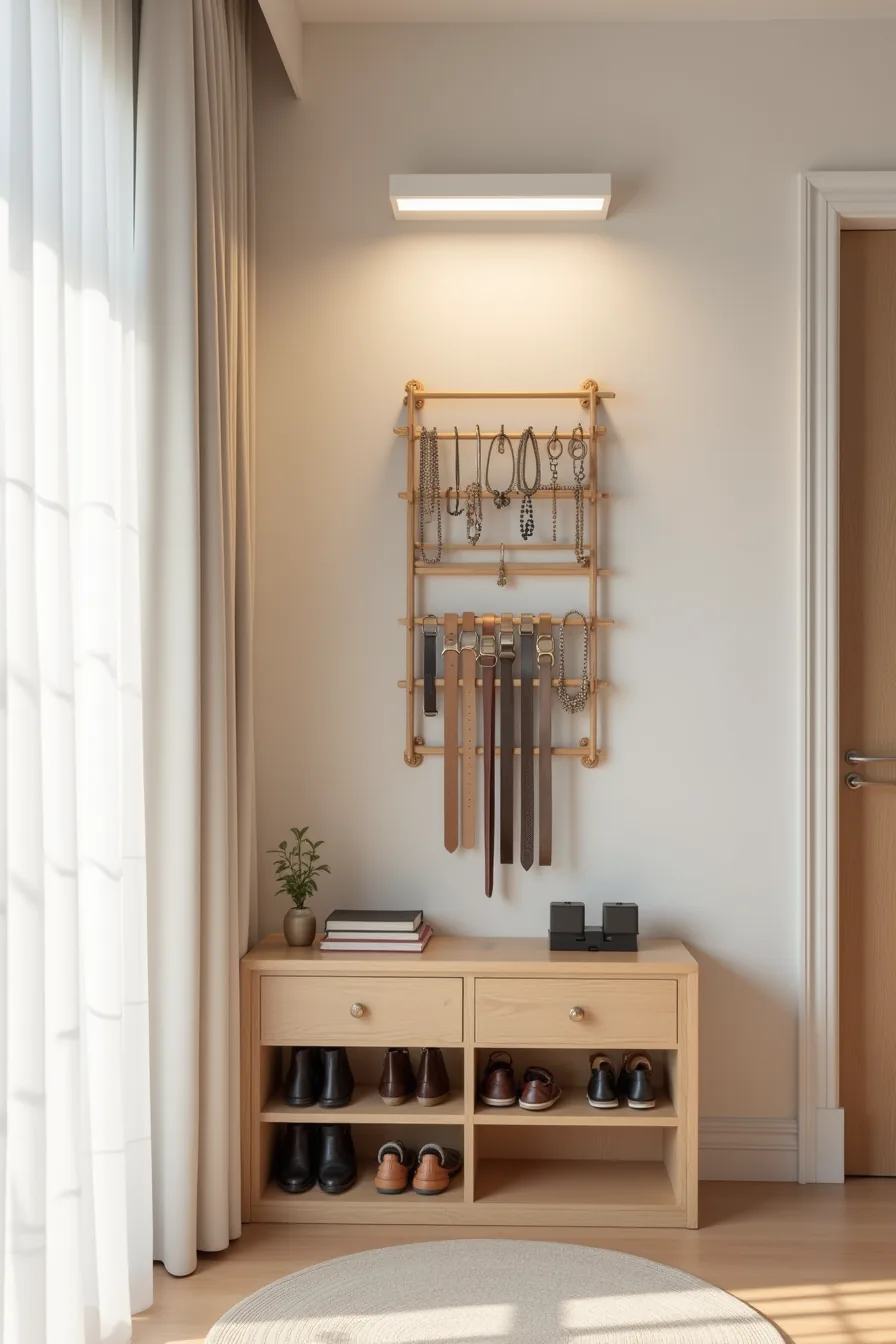
Build your accessory zone as a vertical column beside your main hanging rail, not scattered across separate drawers. A wall-mounted tiered jewelry organizer keeps necklaces tangle-free because each tier hangs independently, letting you see every piece without digging. Mount it at eye level, roughly 55–60 inches from the floor, so you can match metals and stones while standing naturally.
Pair that with a belt rack holding five rolled belts and shoe cubbies below, all under a warm LED strip light mounted to cast light downward. That placement matters more than brightness: forward-facing light eliminates shadows across jewelry surfaces, so you can distinguish silver from white gold instantly. This setup suits daily-use pieces you reach for every morning; seasonal accessories belong in labeled bins on the top shelf where they won’t compete for sightlines.
For retrieval speed under ten seconds, keep your three most-worn necklaces on the outermost tiers and rotate weekly.
Wardrobe Layout Ideas for Faster Morning Routines
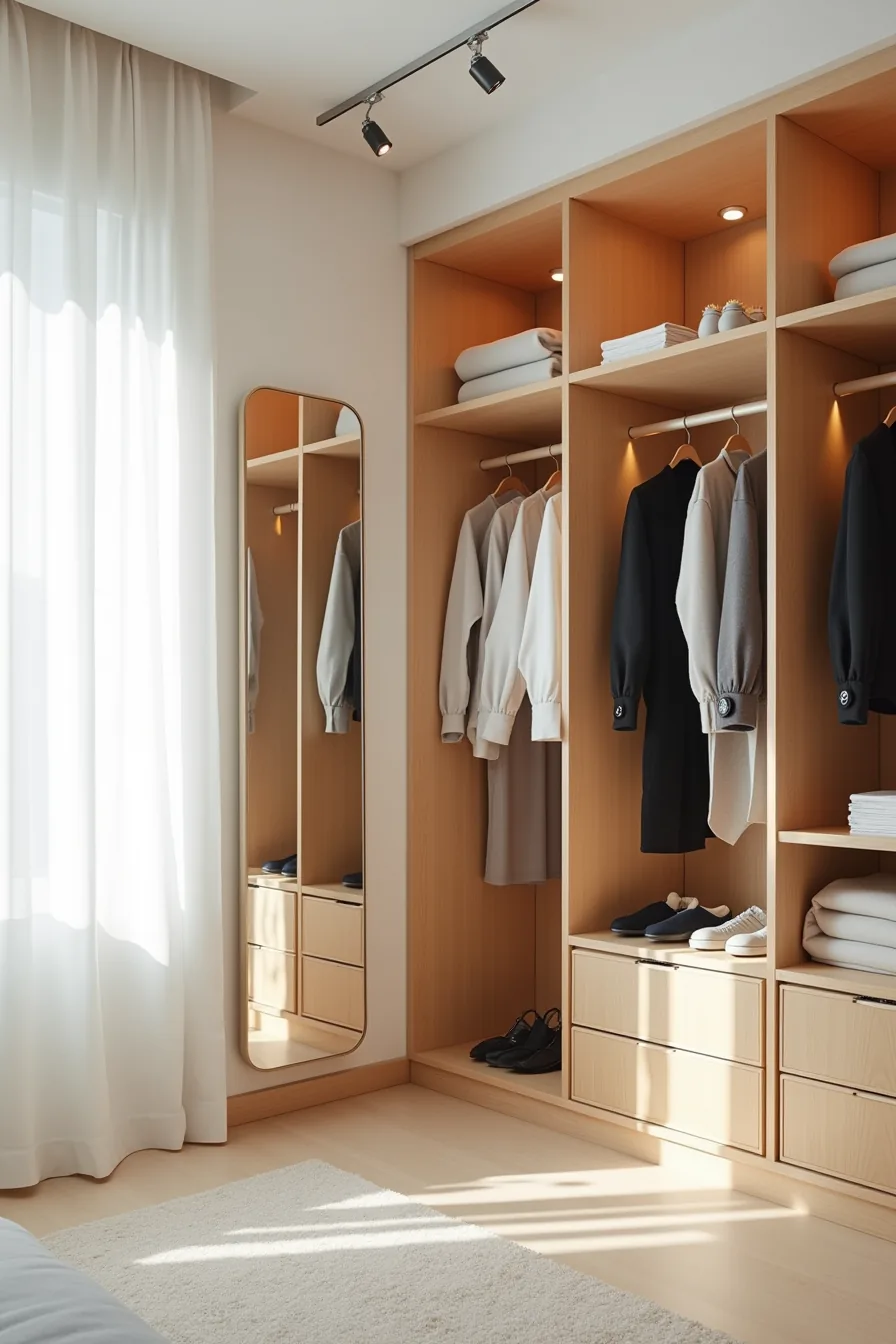
Arrange your wardrobe into three dedicated zones, everyday casual, work outfits, and evening wear, running left to right in the order you typically need them throughout the day. The full-length mirror mounts on the interior left wall, so your first move each morning is a quick self-check before you pull anything off the rack. Overhead track lighting runs the full depth of the wardrobe, with each fixture positioned to cast even light across its zone; a single ceiling light leaves shadows in the corners and makes colors harder to judge.
Color-coded hangers are the key to cutting decision time. Assign one color per category, black for work, wood-tone for casual, metallic for evening, so your brain identifies the section before you even open the door. That visual shorthand trims morning selection to roughly 20–30 seconds per outfit.
Store items you reach for only after 5 p.m. In the evening zone’s highest rail, and keep your most-worn work pieces at chest height, 50–60 inches from the floor, where your hand lands naturally. Reassess the zone arrangement quarterly; if you replace five casual outfits in a row over two weeks, swap that zone closer to the mirror.
What to do first
Start with your real wardrobe, not an ideal one. Measure the interior depth, height, and width, then map your current storage gaps: what ends up on the floor, what you can’t reach, what you own more of than you thought.
Choose one layout scenario from the six above and commit to it for a season. Adjust based on what you actually use, not what looks organized. That single week of tracking your morning routine will tell you more than any guide.
Your next step: grab a tape measure and sketch your current interior dimensions on paper before you buy a single shelf or rod.
Frequently Asked Questions
What is the minimum depth required for a wardrobe interior to hang full-length garments?
You need at least 24 inches (61 cm) of interior depth for hangers to clear the back wall and door. Shallow 18-inch wardrobes force angled hanging, which wrinkles coats and dresses.
How do I divide a wardrobe between two people with different clothing volumes?
Assign hanging rods proportionally: the heavier user gets two-thirds of the rod, the lighter user gets dedicated shelf cubes. Install a central divider to prevent items migrating into each other’s zones.
Should I install more drawers or more shelves in a small wardrobe?
Drawers win for small spaces because they store folded items vertically and hide clutter. Limit shelves to one adjustable unit per person, since open shelves invite stacking that becomes unstable and hard to retrieve.
How can I organize accessories so I can find them quickly in the morning?
Use shallow pull-out trays (2–3 inches deep) for belts, ties, and scarves, mounted inside a drawer bank or on the door. For jewelry, a velvet-lined insert with 1-inch compartments beats tangled chains in a bowl.