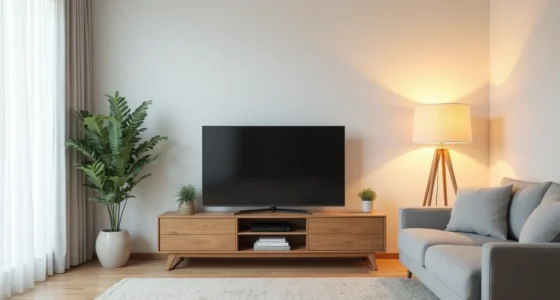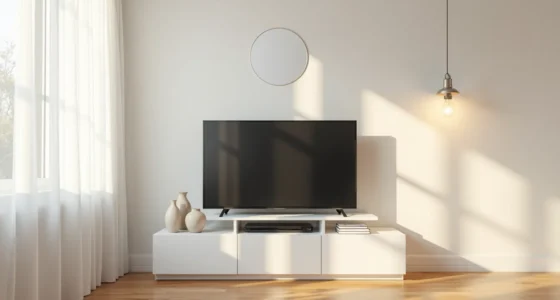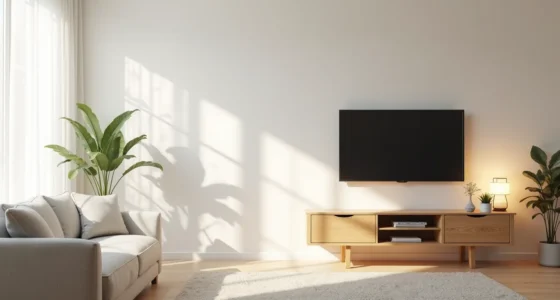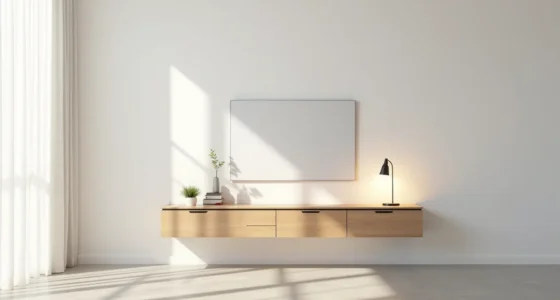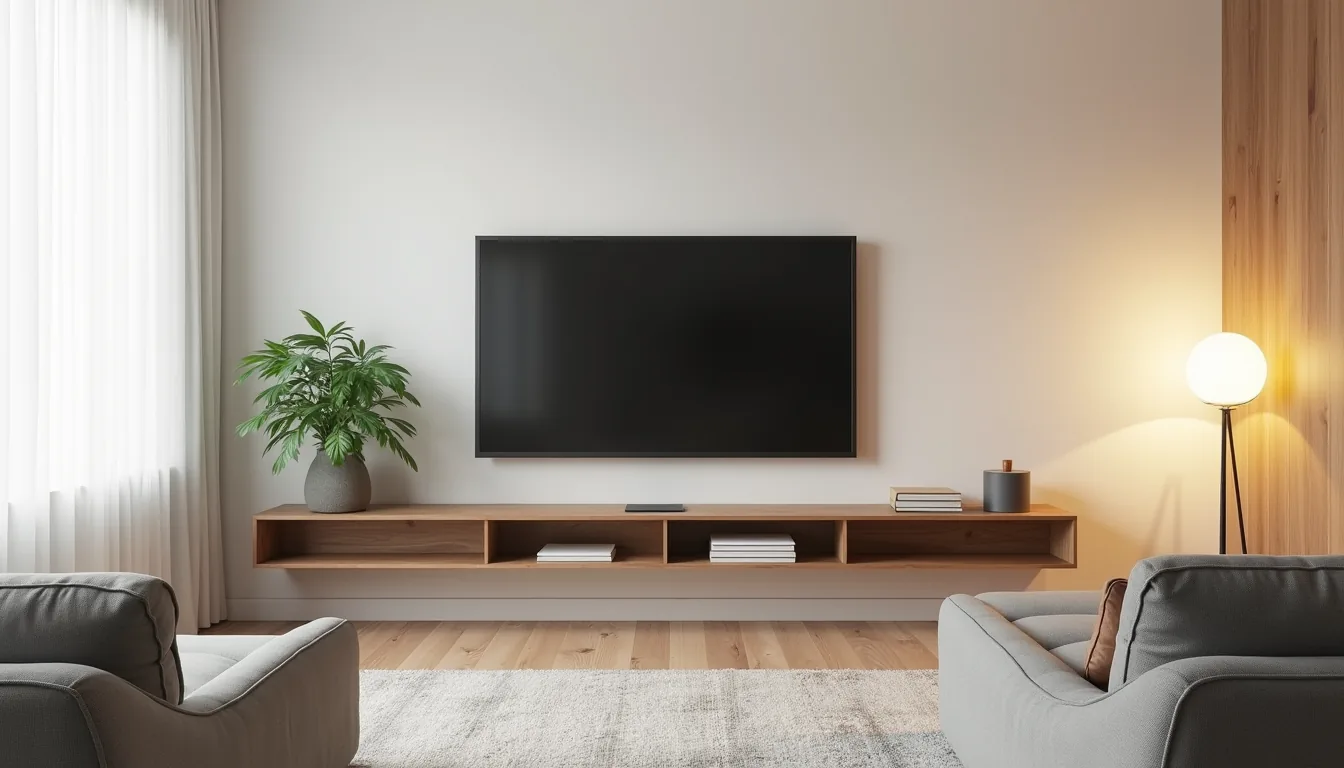
Your TV cabinet does more than hold a screen, it sets the visual weight of the entire room, and choosing the wrong one makes the space feel cramped, cluttered, or undersized. The fix isn’t a single style but a set of spatial rules you can apply to floating consoles, closed credenzas, or ladder shelves. Six cabinet approaches follow, each matched to a room size, a budget tier, and a specific living pattern.
Key takeaways
- Match cabinet width to at least two-thirds of your TV’s width; a 55-inch screen pairs comfortably with a 40–48-inch console for balanced proportions.
- Choose a storage-first cabinet with closed doors or drawers when you need to hide cables, remotes, and children’s toys, and opt for open shelves only if you’ll style them weekly.
- Prioritize solid wood or laminate for durability, veneers over MDF resist scratches better than painted particleboard, which chips within a year of heavy use.
- Select a wall-mounted floating cabinet for renter-friendly setups (no floor anchor needed) but verify it supports at least 25–30 pounds per linear foot to hold your TV safely.
Console or Built-In: Choosing Your Foundation
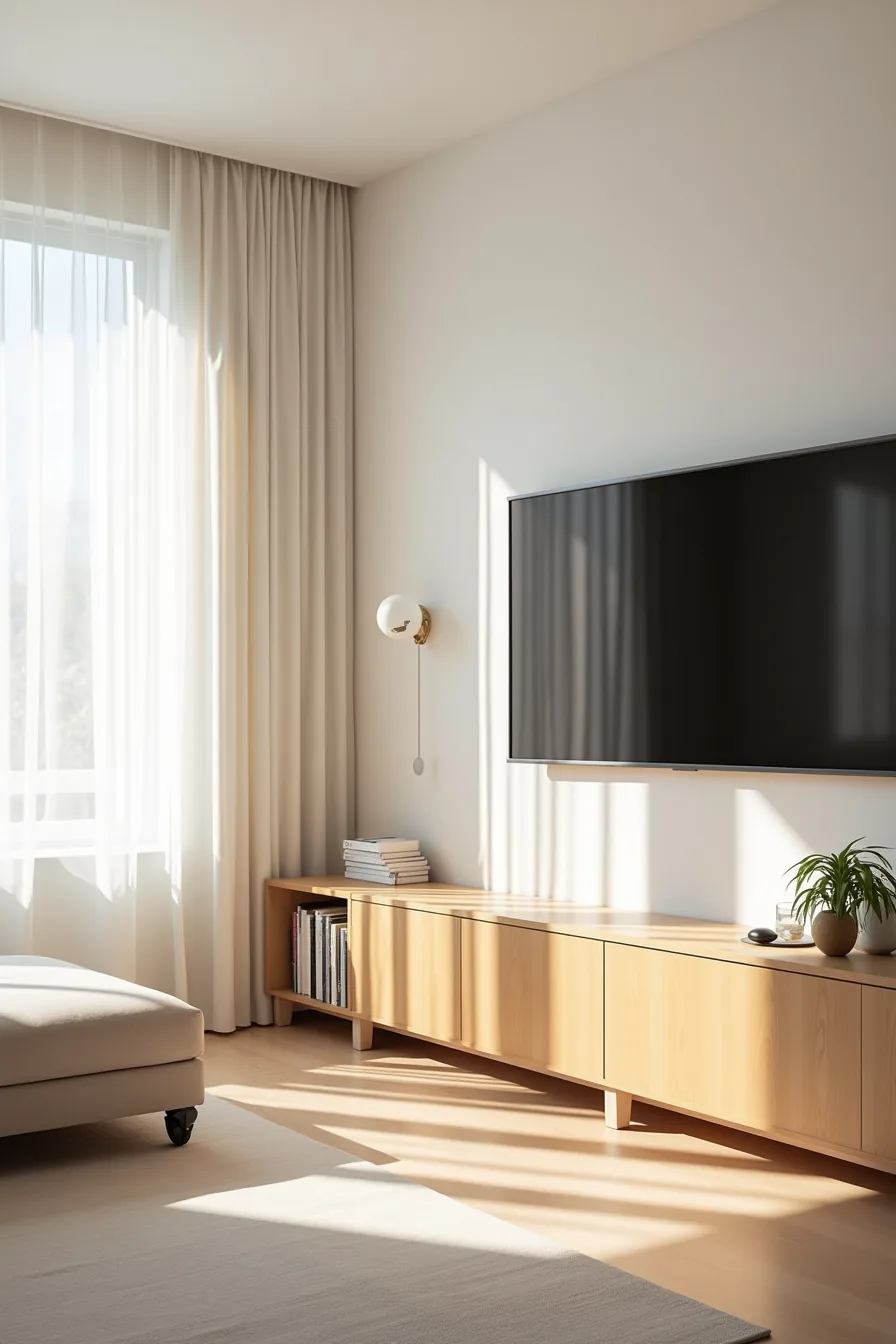
Your first decision is structural: a freestanding console on casters or a recessed built-in. The console wins on flexibility. You can move it for cleaning, swap rooms when you redecorate, and take it with you if you rent.
Cable routing underneath keeps the visible mess contained, and the raised legs make vacuuming straightforward. Expect to spend two to four hours assembling a quality unit, and check that the casters lock if you’ve small children.
A built-in cabinet, flush with the drywall and paired with a mounted TV above, commits you to the room. It maximizes floor space in tight layouts and creates a smooth, custom look that raises resale appeal. However, installation involves framing, drywall work, and typically a carpenter, plan for several days of labor and a budget at least three times that of a good console.
If you might remodel within five years, the built-in is a poor investment; the console is the safer bet for most renters and first-time homeowners.
Screen-to-Cabinet Scale: Getting Proportions Right
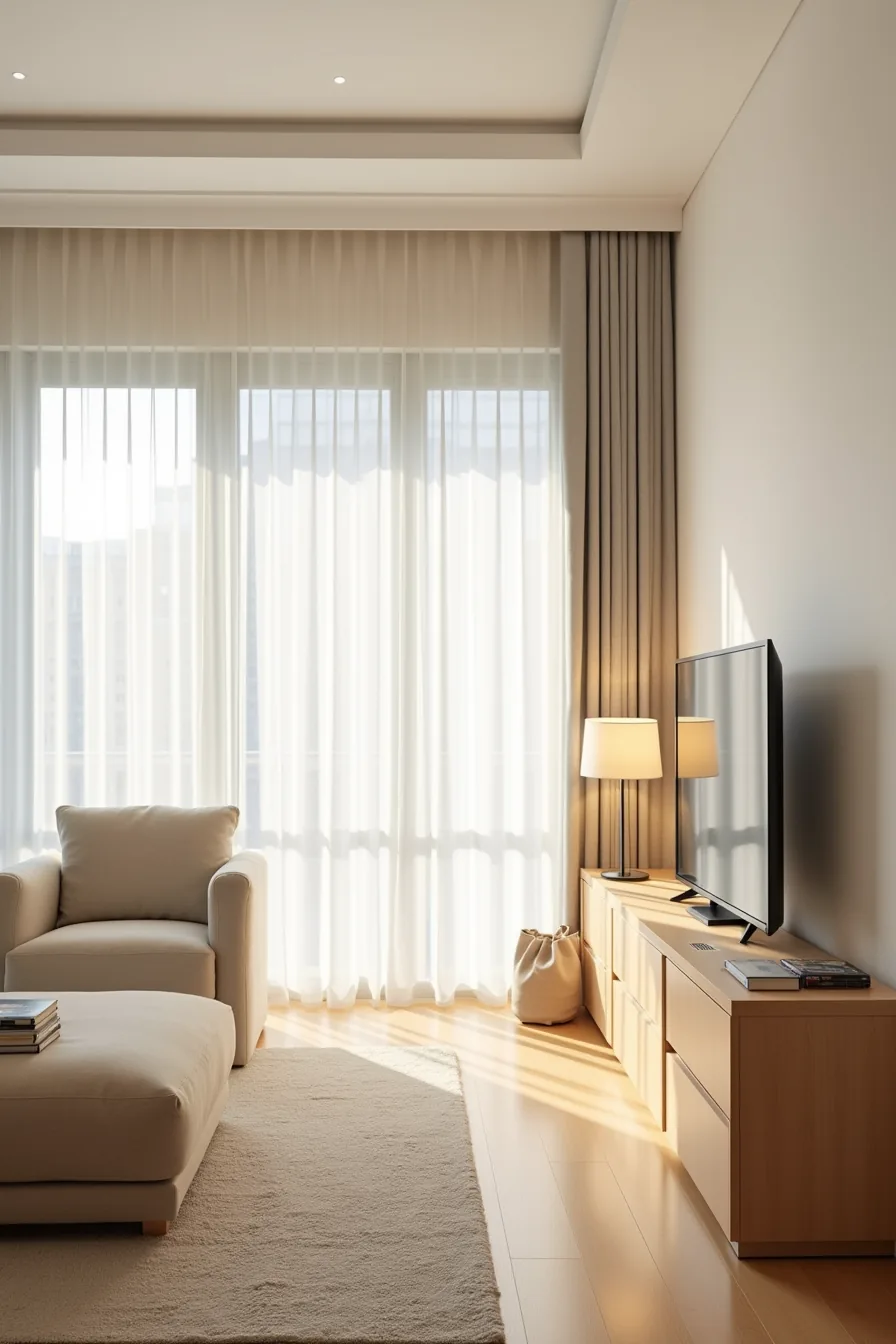
The cabinet should be wider than the TV, not equal to it. A 43-inch TV on a narrow 36-inch console works well in a compact apartment corner because the unit reads as a deliberate, space-saving choice rather than an afterthought, you lose no floor space, and the visual balance comes from the TV dominating the piece. For a standard living room, a 55-inch TV pairs naturally with a 60-inch cabinet, leaving roughly 2.5 inches of cabinet visible on each side, which anchors the screen without making the furniture feel oversized.
In a spacious great room, a 75-inch TV on an 80-inch credenza creates the right proportion: the cabinet grounds the large screen, and the extra width supports decorative objects or soundbar placement without competing. Depth matters just as much as width. Shallow cabinets (12–14 inches deep) suit small and medium rooms by keeping circulation clear, while deeper credenzas (16–18 inches) work in large spaces where you need storage for media components with ventilation.
In every case, the cabinet should be at least 2 inches wider than the TV on each side, anything less looks cramped, and anything more than 12 inches of overhang starts to dwarf the screen.
Storage-First Selection: Hiding Everyday Living Room Clutter
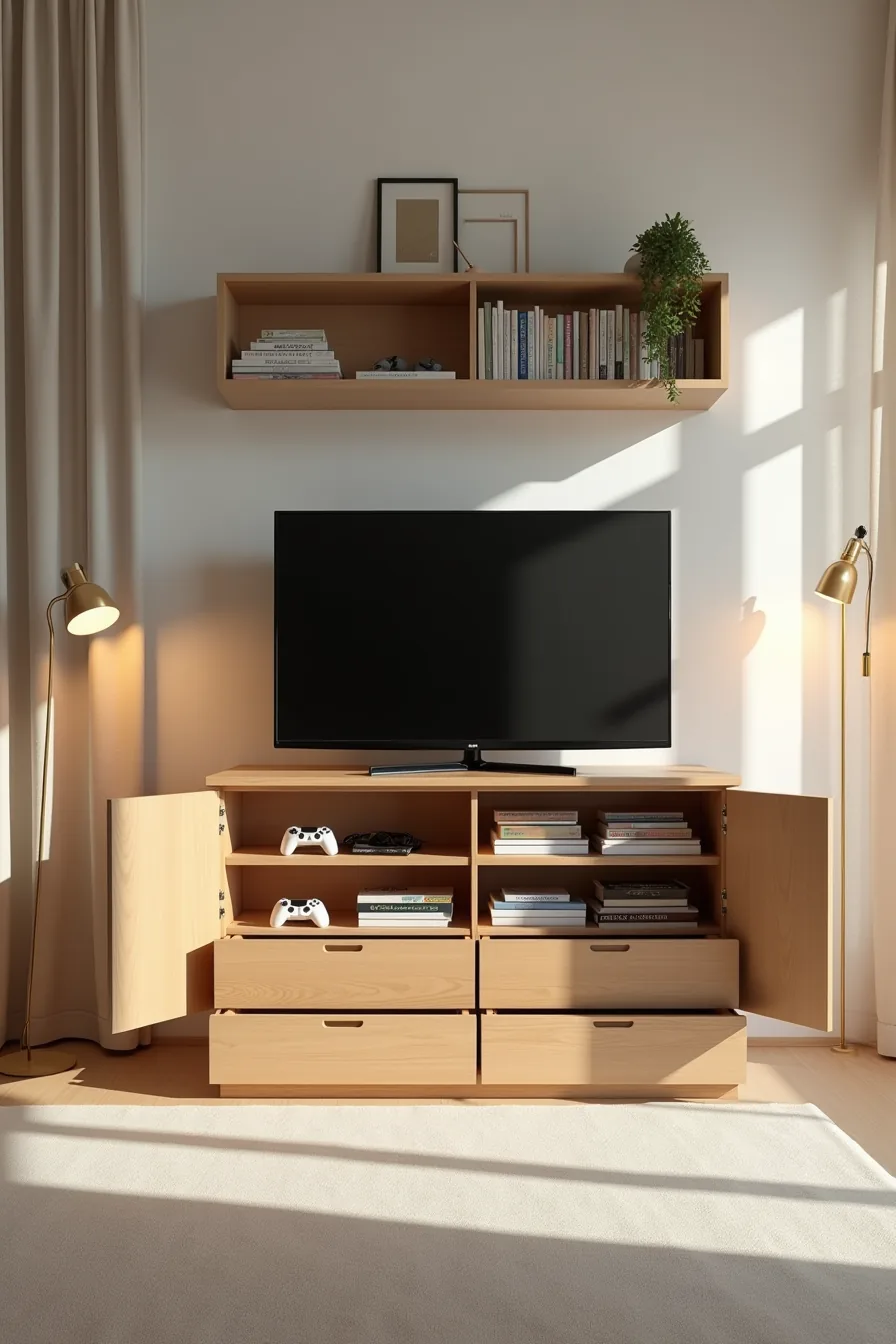
When your living room doubles as the family hub, the TV cabinet becomes less about display and more about containment. A storage-first selection prioritizes closed doors and deep drawers over open shelving, so remotes, gaming controllers, and bundled cables disappear behind solid wood while the screen stays the focal point. This approach suits busy households, homes with young children, or anyone who prefers a calm, uncluttered visual line, the trade-off is that you must commit to the habit of putting things away, or the cabinet simply becomes a larger surface for the same mess.
Look for units with drawer depths of at least 6–8 inches, which accommodate stacked board games and media components without jamming. Compartmentalized interiors with removable dividers let you assign a dedicated spot for each item type, so you never dig through a pile to find the remote. For cable-heavy setups, confirm the cabinet has a cutout or grommet hole in the back panel, without one, you’ll either drill your own hole or let cords spill out the sides, defeating the purpose of closed storage.
A medium-density fiberboard door with a real wood veneer hits the sweet spot between cost and durability; solid wood is sturdier but typically adds 30–50% to the price tag.
Material and Finish Decisions for Durability
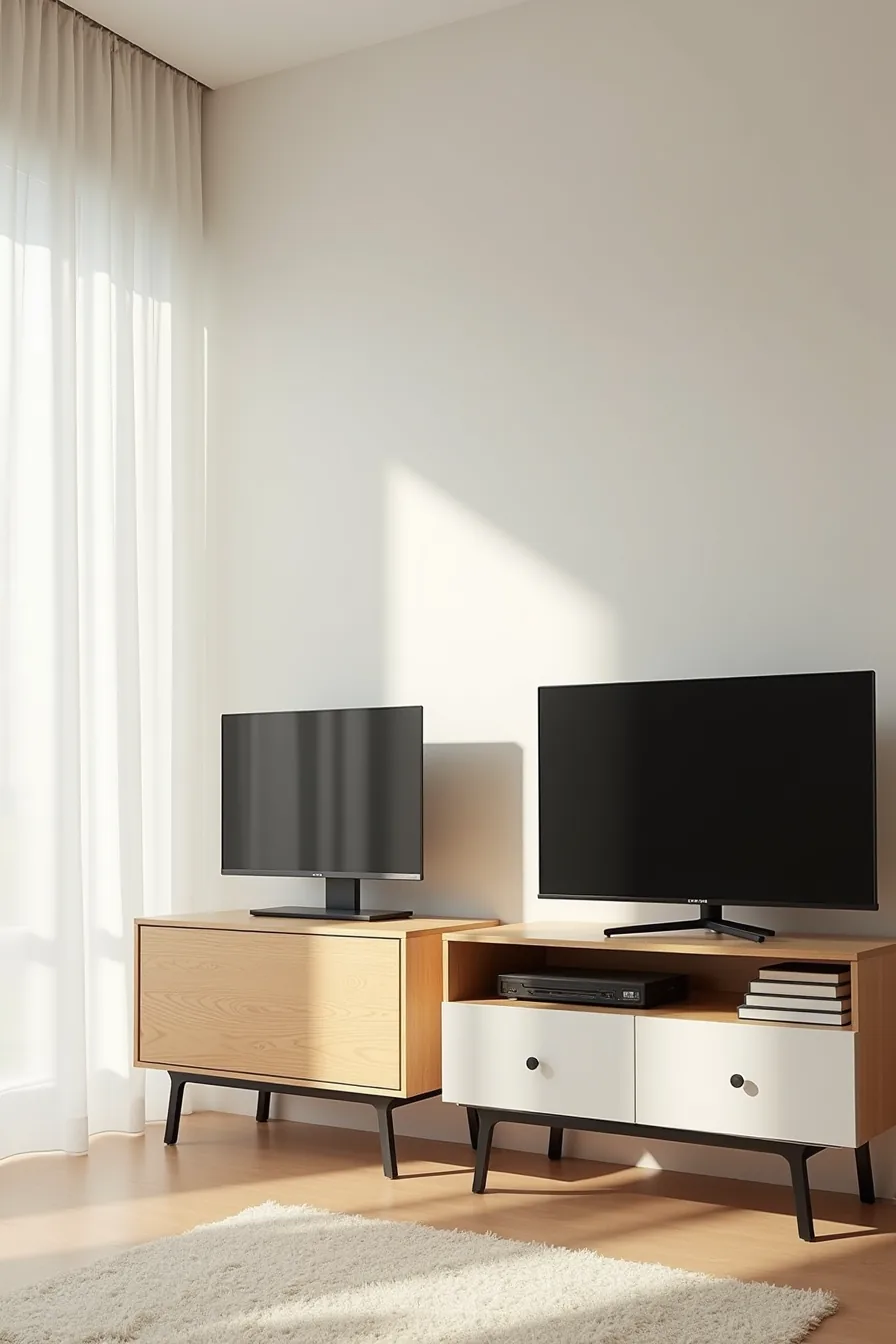
Your material choice determines more than looks, it dictates how long the cabinet survives the heat, dust, and static that electronics generate. Solid oak with a natural grain finish resists scratches and ages well, but it needs annual conditioning with furniture oil to prevent drying near warm equipment; budget for that maintenance or the wood will crack within five to seven years. White engineered wood with a laminate top handles heat and spills better than raw MDF, though the laminate can peel along edges if moisture sits there, wipe it dry rather than letting it air-dry.
A black metal frame with glass shelves is the easiest to keep dust-free but the hardest to keep clean: glass shows every fingerprint, and metal frames conduct heat from the TV, so leave at least 2–3 inches of clearance above the cabinet for airflow. The wood base with metal legs hybrid offers the best durability-to-maintenance ratio, solid wood where you need warmth, metal where you need ventilation, and it’s the only option that keeps cable management visible, which suits anyone who wants quick access to connections. For most homes, engineered wood with a matte finish delivers 80% of solid wood’s lifespan at 40% of the cost; choose solid oak only if you plan to keep the cabinet for fifteen years or more.
Budget, Renter, and Investment Routes
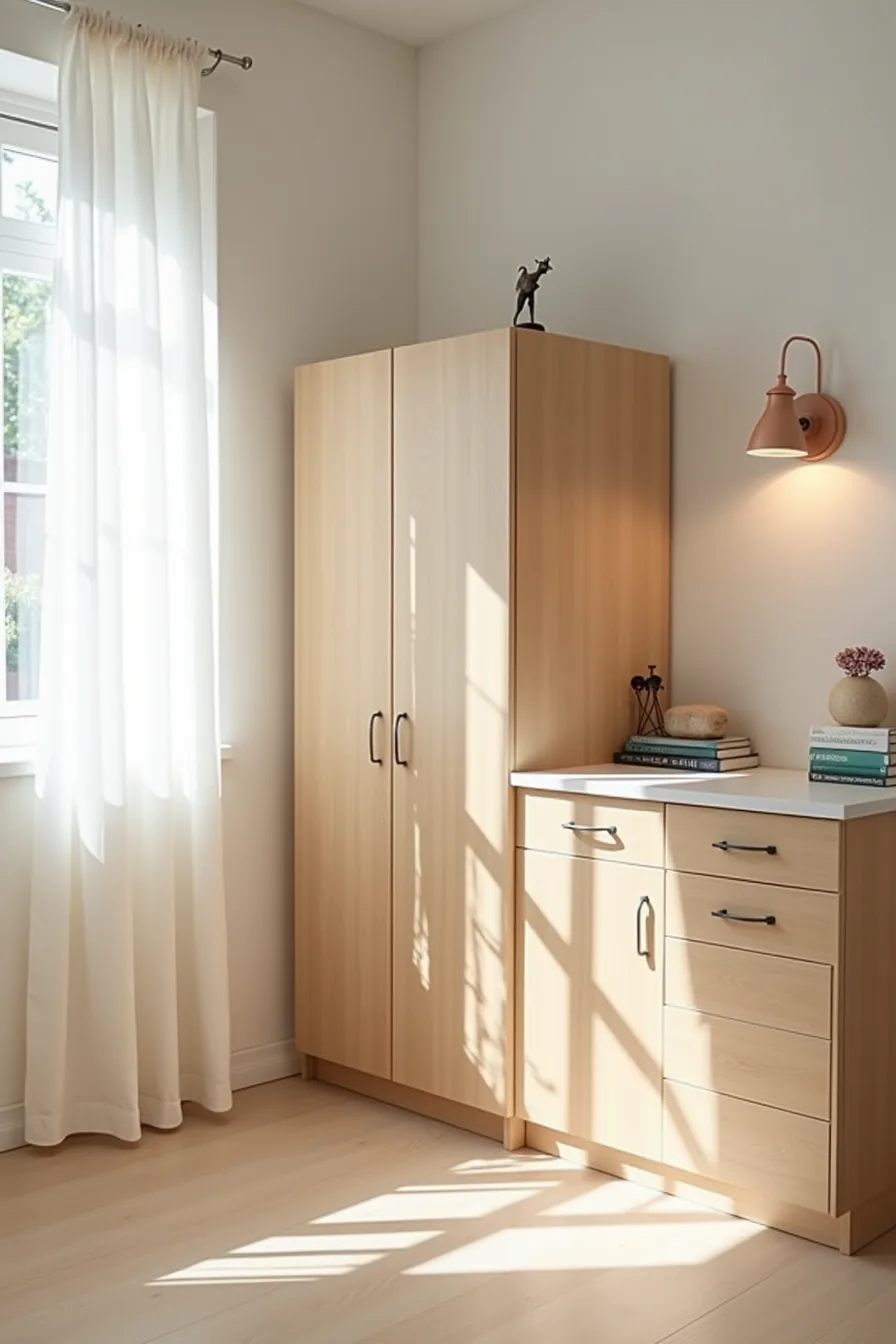
The budget path starts with a flat-pack cabinet and an Allen wrench you’ll use for roughly two hours of assembly. Expect realistic trade-offs: particleboard with a paper laminate finish, cam-lock joints that loosen after two or three moves, and a lifespan of four to six years before sagging appears on the top panel. This route suits a first apartment, a guest room, or anyone who plans to upgrade within five years, put the saved money into a better TV or soundbar instead.
For rentals, a modular system with adhesive feet and no-drill wall brackets protects your security deposit while still giving you a grounded, custom look. Adhesive feet rated for 50-pound loads lift the base off the floor without leaving marks on hardwood or tile, and brackets with a VHB tape backing hold the cabinet to the wall without screws, just check the surface temperature stays above 50°F during installation. Pair it with stacking cubes or freestanding side panels you can rearrange room-to-room, and every piece moves with you when the lease ends.
The investment route is a custom built-in with detailed joinery and premium hardware, dovetail drawers, soft-close slides rated for 100,000 cycles, and a face frame cut from the same board as the doors. Expect to pay three to five times what a mid-range retail cabinet costs, and budget six to eight weeks for fabrication. This choice pays off if you own your home and plan to stay a decade or more, a well-built piece becomes part of the architecture, not a piece of furniture you eventually replace.
Placement and Cable Management Essentials
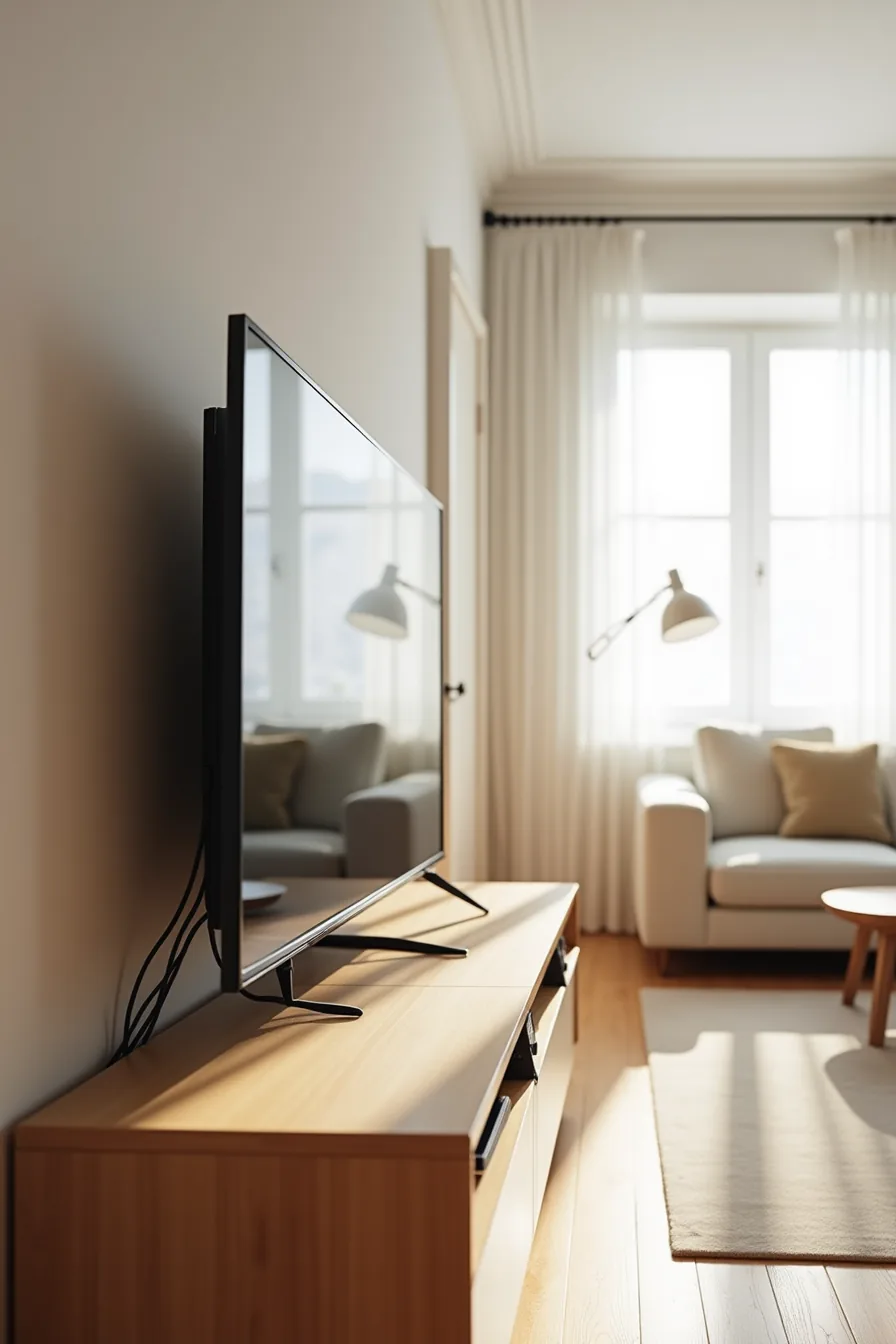
Position the cabinet so the TV’s center sits at seated eye level, typically 40 to 45 inches from the floor, and leave at least 36 inches of walkway clearance in front. Angle the unit 45 degrees across a corner to open sightlines from adjacent seating, but verify the swivel range of your TV mount before committing to the layout.
Route power and HDMI cables through a surface-mounted conduit along the cabinet’s back panel, where they stay accessible but hidden. Bundle cords with clips every 12 to 18 inches, then run HDMI cables through a fabric sleeve to keep signal lines separate from power, this prevents interference and makes future swaps painless.
Leave a 2- to 3-inch gap between the cabinet’s back and the wall to allow heat from the TV and components to dissipate naturally. Blocked ventilation shortens electronics lifespan; if the gap feels intrusive, install a low-profile fan kit rated for cabinet use. For floor placement, split the bundle into two tracks: power cables along one side, AV cables along the other, so the conduit stays flat against the wall.
Start with your room’s math
Measure your wall length and viewing distance before you browse a single cabinet. Your TV’s width should sit at roughly two-thirds to three-quarters of the cabinet’s total width, and the cabinet itself needs at least 6 inches of clearance on each side for airflow and visual balance. If you rent, the floating shelf route requires zero wall damage beyond two small brackets.
Budget shoppers should prioritize solid MDF over particleboard, and long-term buyers should budget for hardwood or powder-coated steel. Match the cabinet’s height to your seated eye level, typically 40-42 inches to the TV’s center.
Take your measurements and one room photo to a store or online chat today. Ask one question: does this piece fit my viewing distance and floor plan? That single filter eliminates half your options immediately.
Frequently Asked Questions
What size TV cabinet do I need for a 55-inch TV?
Choose a cabinet at least 48–52 inches wide; the TV’s width (about 48 inches) shouldn’t exceed the cabinet’s width. Depth of 16–18 inches works for most stands, with height around 24 inches for comfortable viewing.
Can I use a TV cabinet in a rental apartment?
Yes. Choose a freestanding unit on legs rather than wall-mounted, and protect floors with felt pads. Avoid drilling by using anti-tip straps with adhesive mounts, which leave minimal damage and are easy to remove when you move out.
How do I hide cables and cords in a TV cabinet?
Drill or use pre-cut holes in the back panel, then route cables through a cable management sleeve. For open shelves, use a cord cover painted to match the wall, and plug everything into a power strip with a surge protector inside the cabinet.
What’s the difference between a TV console and a TV stand?
A TV stand is typically a simple, low unit focused solely on holding the TV, often with open or closed storage. A TV console is broader, it can include drawers, shelves, and media compartments, and is designed as a furniture piece that anchors the room, not just a TV holder.