Your TV feature wall is the single highest-impact surface in your living room, and the right approach depends less on aesthetics and more on your budget, tenancy status, and available square footage. Before you buy paint or panic over cable management, you need to decide whether you’re building for permanence, planning for a security deposit return, or stretching a modest budget across a large blank wall. The six options below range from a 2-hour renter-friendly fix to a full built-in investment, so you can match the solution to your actual constraints rather than a Pinterest fantasy.
Key takeaways
- Paint-only walls deliver the fastest transformation in under a weekend, but require a matte or satin finish to avoid glare reflecting off the screen.
- Timber cladding adds lasting warmth but demands 1–2 inches of depth, so measure your room’s clearance and budget for professional installation if you’ve outlets or cables to relocate.
- Texture-led options like acoustic panels or 3D tiles suit renter-friendly setups since they mount with adhesive strips, yet they reduce sound echo and need dusting monthly to stay crisp.
- Scale your feature by keeping the wall’s visual weight proportional to your TV, on a 55-inch screen, aim for a backdrop 1.5 to 2 times the screen’s width, not an oversized slab that dwarfs the room.
Paint: The Fastest Route to Drama
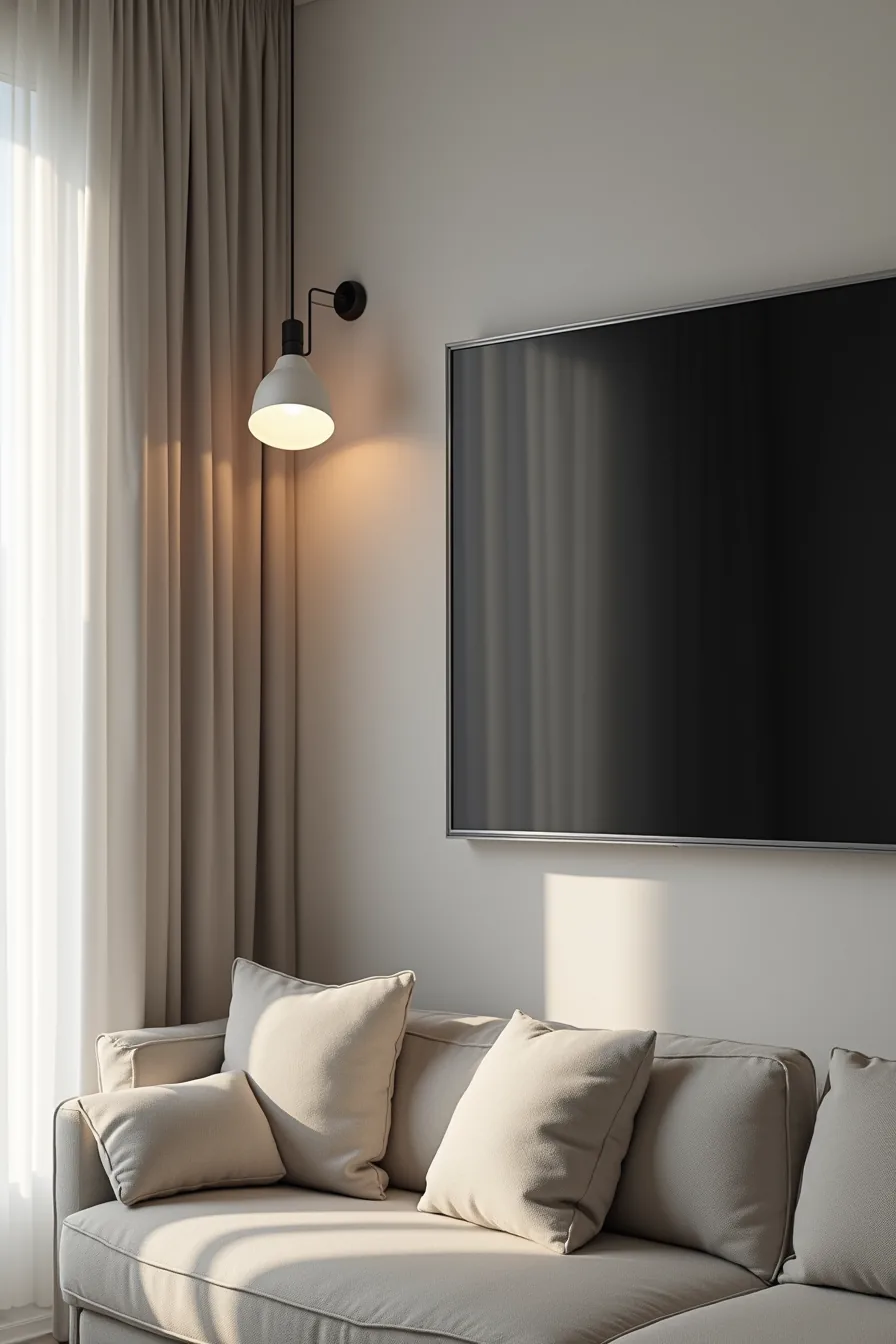
A single accent wall in a deep charcoal transforms your TV wall into the room’s anchor without a single structural change. The dark paint recedes visually, letting the screen and the white trim around it claim the attention, while the gray upholstered chair grounds the seating area. This approach suits medium to large living rooms best; in a compact space, a very dark shade can shrink the perceived dimensions, so test a sample first.
Choose a matte or eggshell finish to minimize glare and hide minor imperfections. Prep matters more than the color, patch holes, sand, and prime, especially if the wall has a sheen. Budget-wise, this is the cheapest route at roughly $40–$75 for paint and supplies, and you can repaint it in a weekend.
For renters, a dark removable wallpaper offers similar drama without the commitment, though the paint route is simpler for homeowners.
Timber Cladding: Long-Term Investment with Warmth
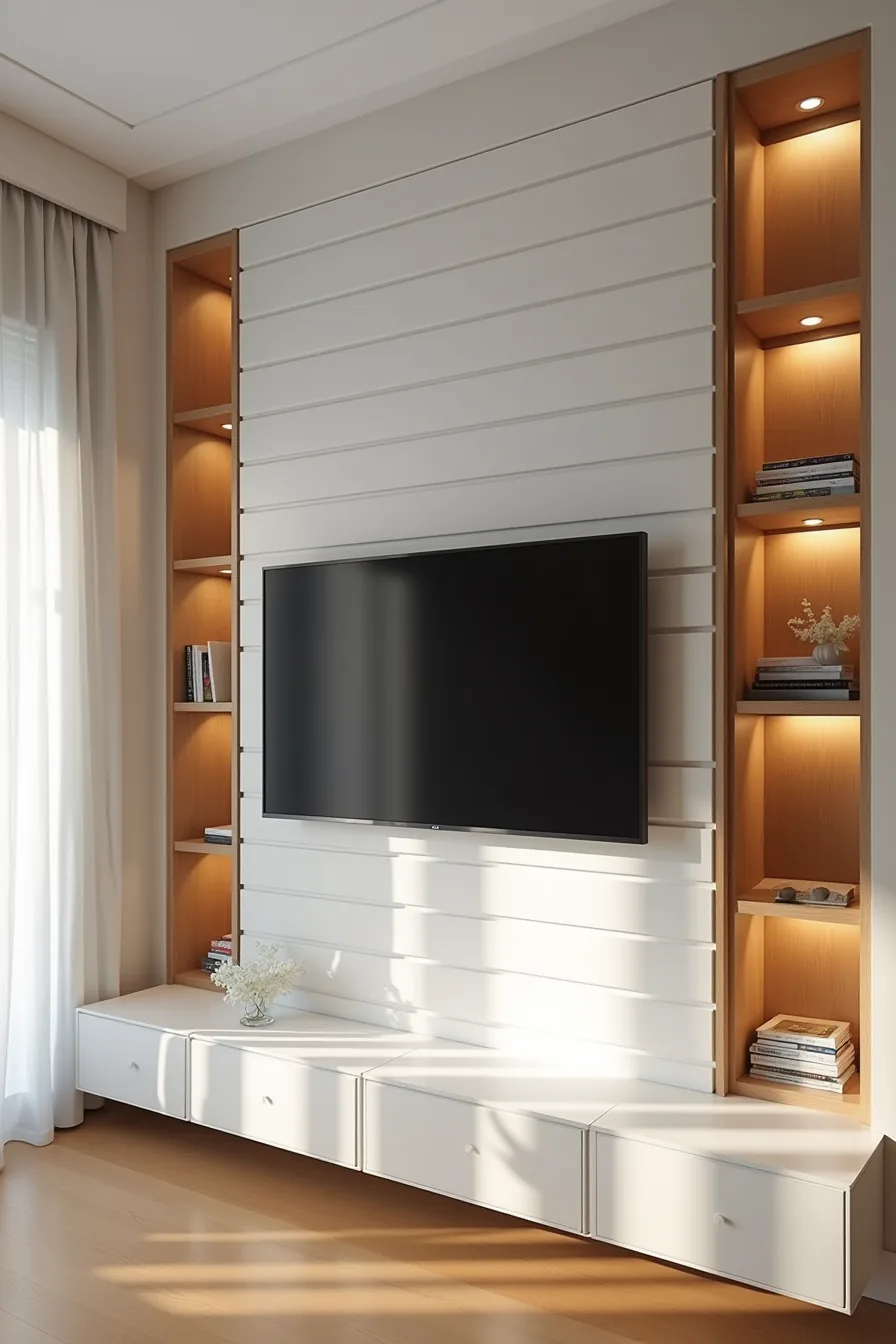
Horizontal shiplap in a natural light oak finish delivers texture and permanence that paint can’t match. The boards run continuously behind your mounted TV, and the horizontal lines visually widen the wall, an effect that suits medium to large living rooms where you want the screen to feel grounded rather than floating.
The recessed shelving cut into the wood on either side of the TV serves a practical purpose: it holds media components and decor without adding depth to the room. This setup requires planning before installation, because you need to route power and HDMI cables behind the cladding and confirm shelf depth against your equipment. Expect to pay $6–$12 per square foot for materials, plus $300–$800 for professional installation if you don’t DIY.
Oak and other light woods suit Scandinavian, Japandi, and coastal interiors, while walnut or smoked oak leans traditional or industrial. Maintenance is modest, dust the boards every few weeks and re-oil annually to prevent drying. Unlike paint, timber cladding is a permanent commitment, so it fits homeowners rather than renters.
Texture-Led Feature Wall Without Paint or Wood
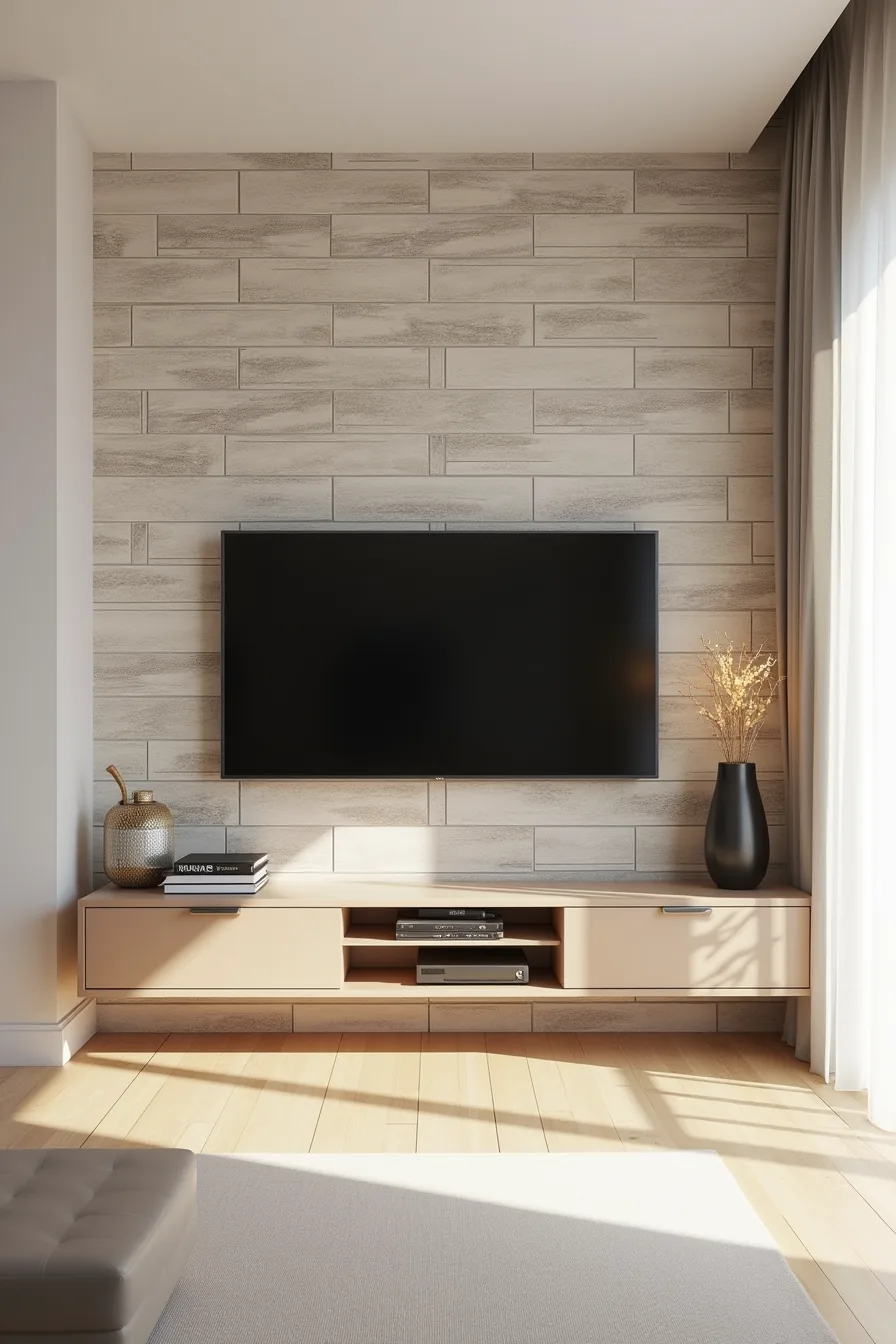
Peel-and-stick stone veneer tiles deliver the tactile depth of a natural material wall without the permanence or cost of real masonry. The warm gray and cream tiles in this setup create soft, organic variation across the surface while the mounted TV sits centered against them, letting the texture read as a deliberate backdrop rather than a competing focal point. Because the tiles are removable, this route suits renters and anyone who wants to change the wall when trends shift.
Application is straightforward: clean the wall, peel the backing, and press each tile into place, most brands cover roughly 8–10 square feet per pack, and a standard 10-by-8-foot wall runs $150–$400 in materials. The key trade-off is surface prep, because peel-and-stick veneer needs a smooth, dust-free base and won’t hide existing damage or uneven drywall. The low-profile media console beneath the TV keeps the composition grounded, while soft indirect lighting catches the tile ridges and reinforces the texture after dark.
Dust the crevices monthly with a soft brush attachment; avoid abrasive cleaners, which can dull the stone finish.
One-Material Focus: Simplicity as Strategy
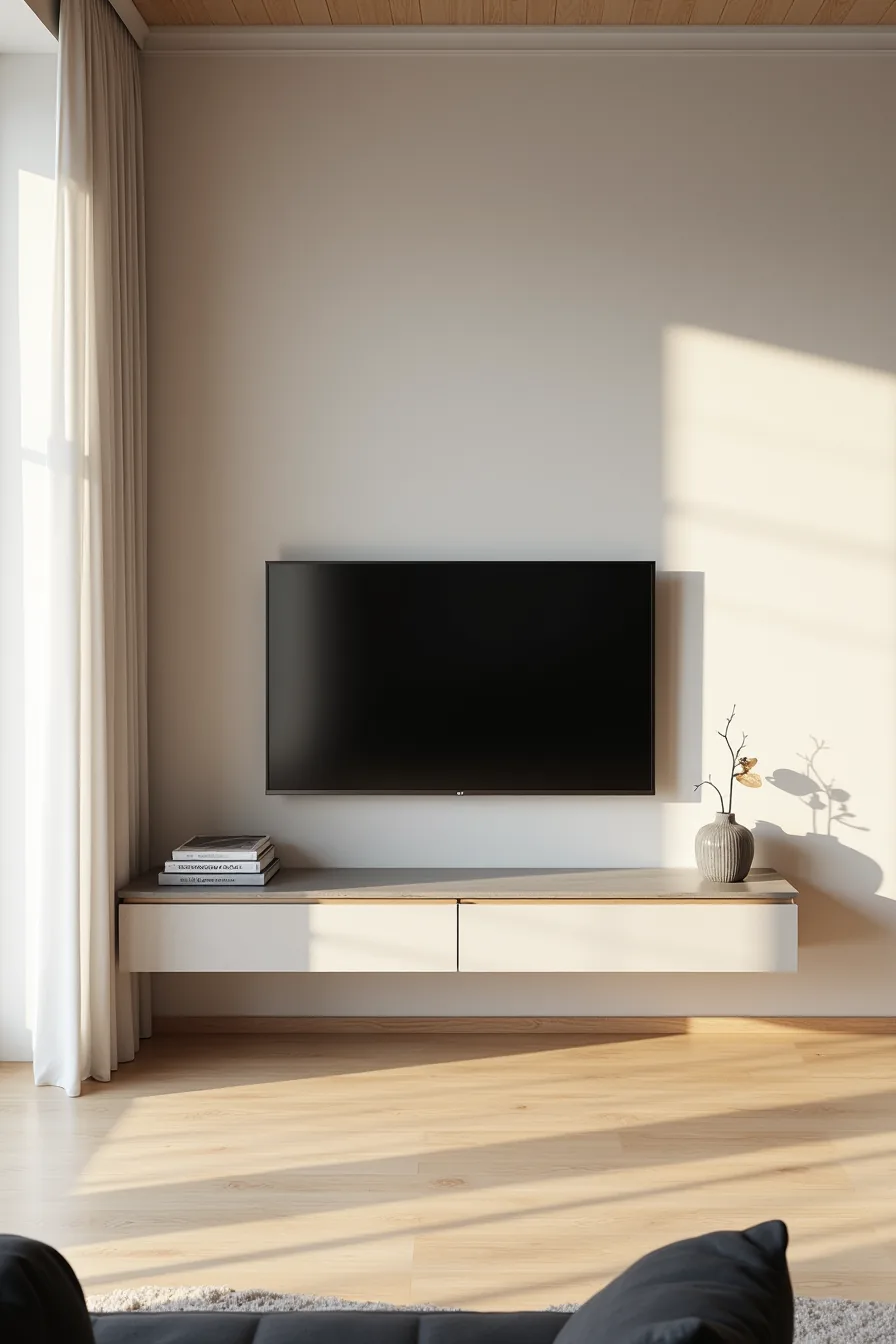
A single-material TV feature wall, raw concrete, limewash plaster, large-format tile, or brushed metal, eliminates the visual noise that competing textures create. The one-material focus works because it lets the television and its content become the room’s sole focal point, rather than fighting a busy backdrop for attention. In smaller rooms, this restraint prevents the wall from visually shrinking the space, while in larger rooms it provides a calm anchor for surrounding furniture.
The raw concrete wall finished matte and unsanded creates subtle tonal shifts across its surface without demanding attention. An off-center mounted TV breaks the symmetry and adds intentionality to the composition, while a floating brushed steel shelf provides a minimal perch for a soundbar or decorative objects. The dark furniture silhouette at the base grounds the wall visually and prevents the concrete from feeling cold or industrial.
Reproducing this requires deciding between true poured concrete (expensive, permanent, and a professional job) or a troweled microcement overlay (more forgiving, typically running $6–$12 per square foot installed). Both need a perfectly flat substrate and are best suited to rooms with ample natural light; in dim spaces, matte concrete can read as flat gray instead of textured. Sealing the surface annually protects against staining and makes dusting with a microfiber cloth sufficient for routine maintenance.
Combining Materials: Layered Depth and Movement
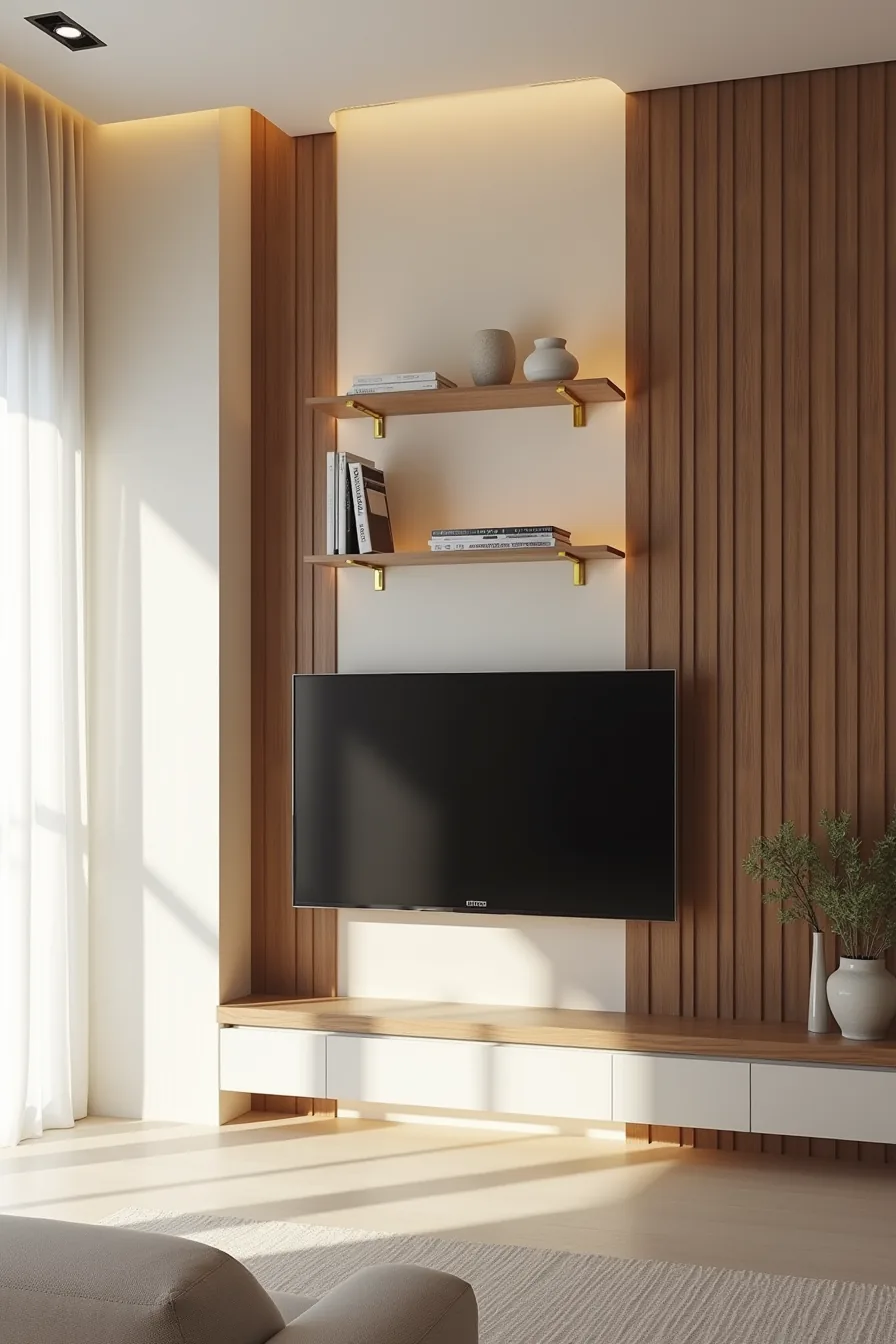
Mixing two or three complementary materials creates a TV feature wall with genuine depth, but the trick is limiting yourself to a tight palette. This setup pairs vertical walnut slats with sections of soft cream plaster, letting the wood’s warmth offset the plaster’s cool neutrality. The slight off-center TV placement keeps the composition dynamic without looking accidental, while brass metal brackets supporting a floating shelf add a third texture that ties the wood and plaster together.
This approach suits medium-to-large living rooms where a single material might feel sparse but a full gallery wall would overwhelm. The walnut slats are typically 2–4 inches wide with a 1/8-inch gap between them, which softens sound and hides imperfect walls behind them. Budget-wise, slat panels run roughly $4–$8 per square foot for MDF veneer versions; solid walnut costs two to three times more but takes staining better if you refinish later.
The cream plaster sections require a smooth drywall base and periodic touch-ups if you mount anything directly into them. Warm recessed lighting is non-negotiable here, it prevents the darker walnut tones from swallowing the wall’s lower half in rooms without strong ambient light.
Scaling Your TV Feature Wall to Your Room
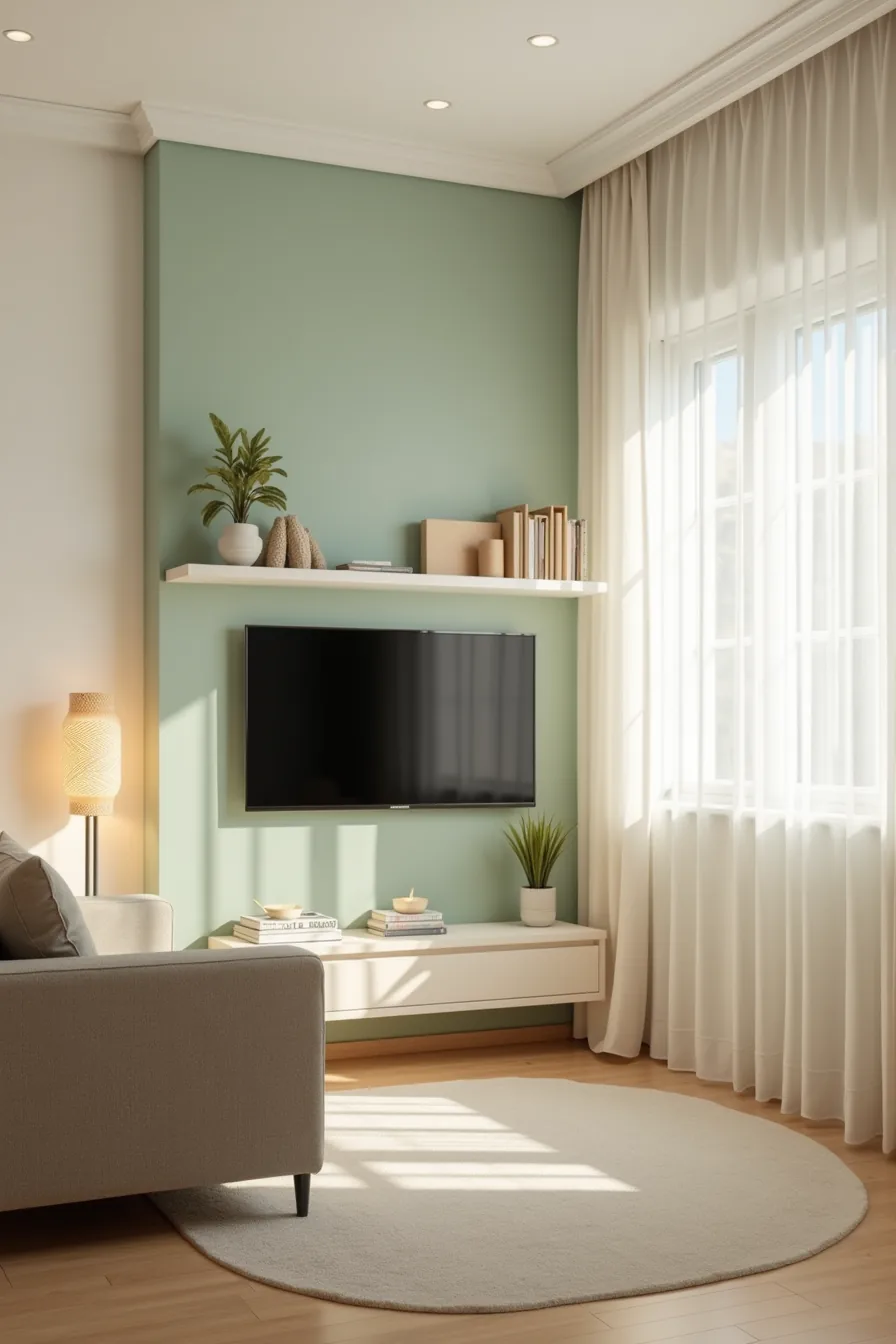
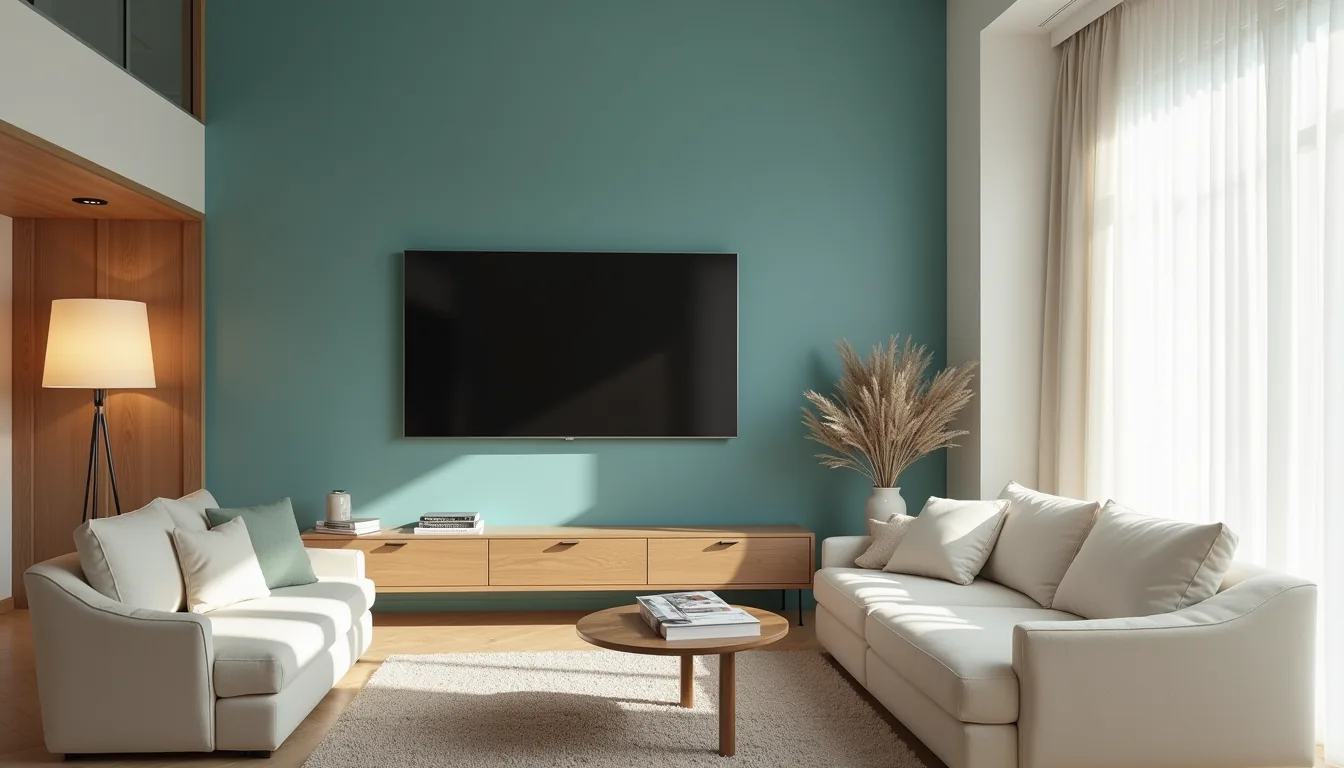
The sage green accent wall in this compact studio works because it follows a simple rule: the feature wall should never exceed the visual mass of your seating arrangement. Here, the painted wall spans roughly 8–10 feet, while the compact sofa sits 6–8 feet away, a distance that puts a 55-inch TV at the ideal 8–10 foot viewing range without dominating the room.
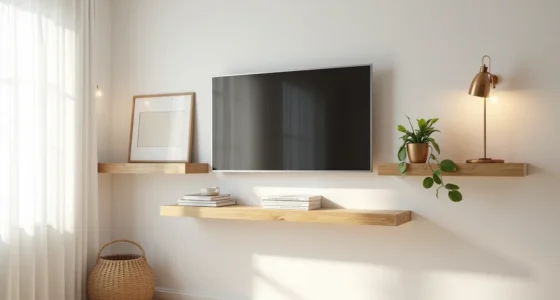
For small apartments, skip heavy materials entirely. A single painted wall with a floating shelf above the TV adds dimension without consuming floor space or visual weight. The shelf should sit 6–8 inches above the TV’s top edge, and its length shouldn’t exceed the TV’s width by more than 12 inches on each side.
Medium living rooms (250–400 square feet) can handle slat panels or textured plaster, but keep coverage to one wall only. In large open-plan spaces, extend the feature wall to include built-in cabinetry flanking the TV, this anchors the viewing zone and prevents the screen from floating awkwardly in a cavernous room. A common mistake is overscaling: a 75-inch TV on a 20-foot wall still looks lost unless you add surrounding millwork to balance the proportions.
Where to start
You don’t need to commit to a full renovation to see whether a TV feature wall works in your room. Measure your wall width and viewing distance first, then sketch the silhouette of your preferred option in painter’s tape. Live with the outline for two days before buying anything.
That single step reveals proportion problems, circulation issues, and glare angles you can’t anticipate from photos. It costs under ten dollars and saves you from the most expensive mistake: building a feature that fights the room. Tape the outline today, and you’ll know exactly which of the six approaches deserves your budget.
Frequently Asked Questions
Can you install a TV feature wall in a rental apartment?
Yes, use renter-friendly options like peel-and-stick wallpaper, freestanding panels, or a large floor-mounted TV frame. Avoid drilling into plasterboard; instead, lean on adhesive strips or tension rods that leave no permanent marks.
How much does a TV feature wall cost to install?
Costs range widely: a DIY paint-and-shelf approach runs $50–$200, while a custom built-in with cabinetry and lighting starts around $1,500 and can exceed $5,000. Materials and labor drive the final figure.
What color works best for a TV feature wall?
Dark, matte finishes, charcoal, navy, or deep green, reduce glare and make the screen recede visually. For small rooms, choose a mid-tone gray or warm taupe to add depth without shrinking the space.
Do you need to hire a professional to build a TV feature wall?
Not always. Painting, wallpapering, or mounting a pre-fabricated panel are solid DIY projects. For structural changes, electrical outlets, or heavy stone/wood cladding, hire a licensed contractor to ensure safety and proper load-bearing support.