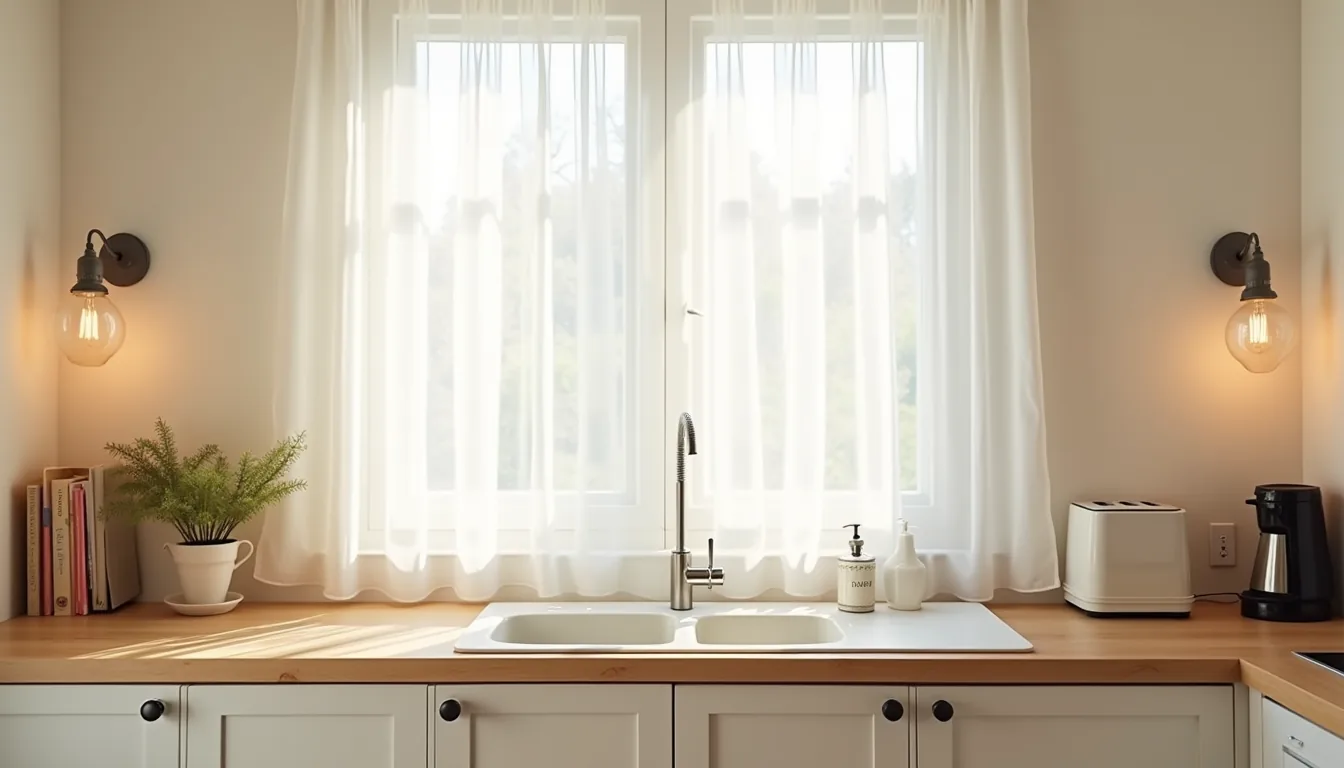
A hidden appliance cabinet is the single most effective way to reclaim your countertops without sacrificing access to your coffee maker, toaster, or stand mixer. The concept is simple: you build or install cabinetry that conceals small appliances behind doors, then open them only when needed. But the execution varies widely, from a rolling butcher-block cart that tucks under a counter to a full-height pantry with a dedicated coffee station.
The right choice depends on your kitchen’s footprint, your daily habits, and whether you own or rent. Below are six distinct interpretations, each with the specific dimensions, materials, and trade-offs you need to decide which one fits your home.
Key takeaways
- Frame-and-panel doors require matching your cabinet’s wood species and stain to blend smoothly, so order samples before committing.
- Tambour doors save 12–18 inches of swing space, making them ideal for galley kitchens where hinged doors would block traffic.
- Drawer-style pullouts cost roughly 30–50% less than full built-in niches and need just a 15-amp outlet, not dedicated wiring.
- Roller-shade covers on open shelves cost under $40 per window, work in rentals since they mount with tension rods, and hide appliances without altering cabinetry.
Frame-and-Panel Door System for Existing Cabinets
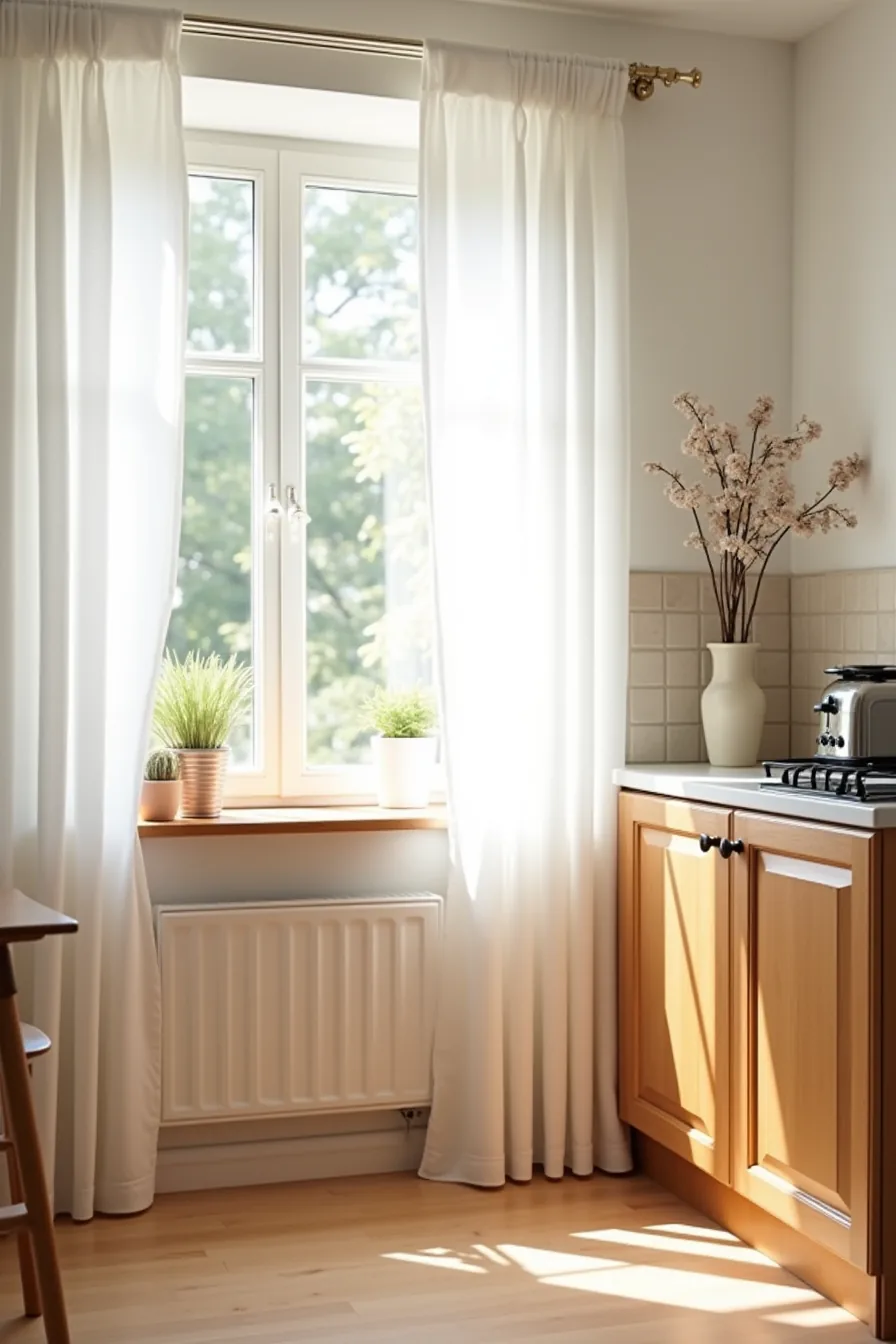
This is the lowest-lift interpretation of a hidden appliance cabinet: you keep your current base cabinet structure and swap the standard doors for matching frame-and-panel doors. The raised-panel detail mirrors the wood grain of your existing kitchen cabinetry, so the unit reads as furniture rather than an appliance garage. A toaster or coffee maker sits on the interior shelf, and a small gap at the cabinet bottom, typically 1–2 inches, lets the crumb tray slide out for cleaning without opening the doors.
The system works best for small countertop appliances you use daily, where the trade-off is convenience versus a completely clean face. You’ll need doors that match your cabinet overlay (inset, partial, or full) and soft-close hinges rated for the door weight; expect to pay $150–$400 per door depending on wood species. It suits renters who own their cabinets but can’t alter the box structure, and DIYers comfortable with a jig and hinge alignment.
The backsplash tile above stays visible, which anchors the cabinet visually and prevents the unit from feeling like a closed box.
Appliance Garage with Tambour or Bifold Doors
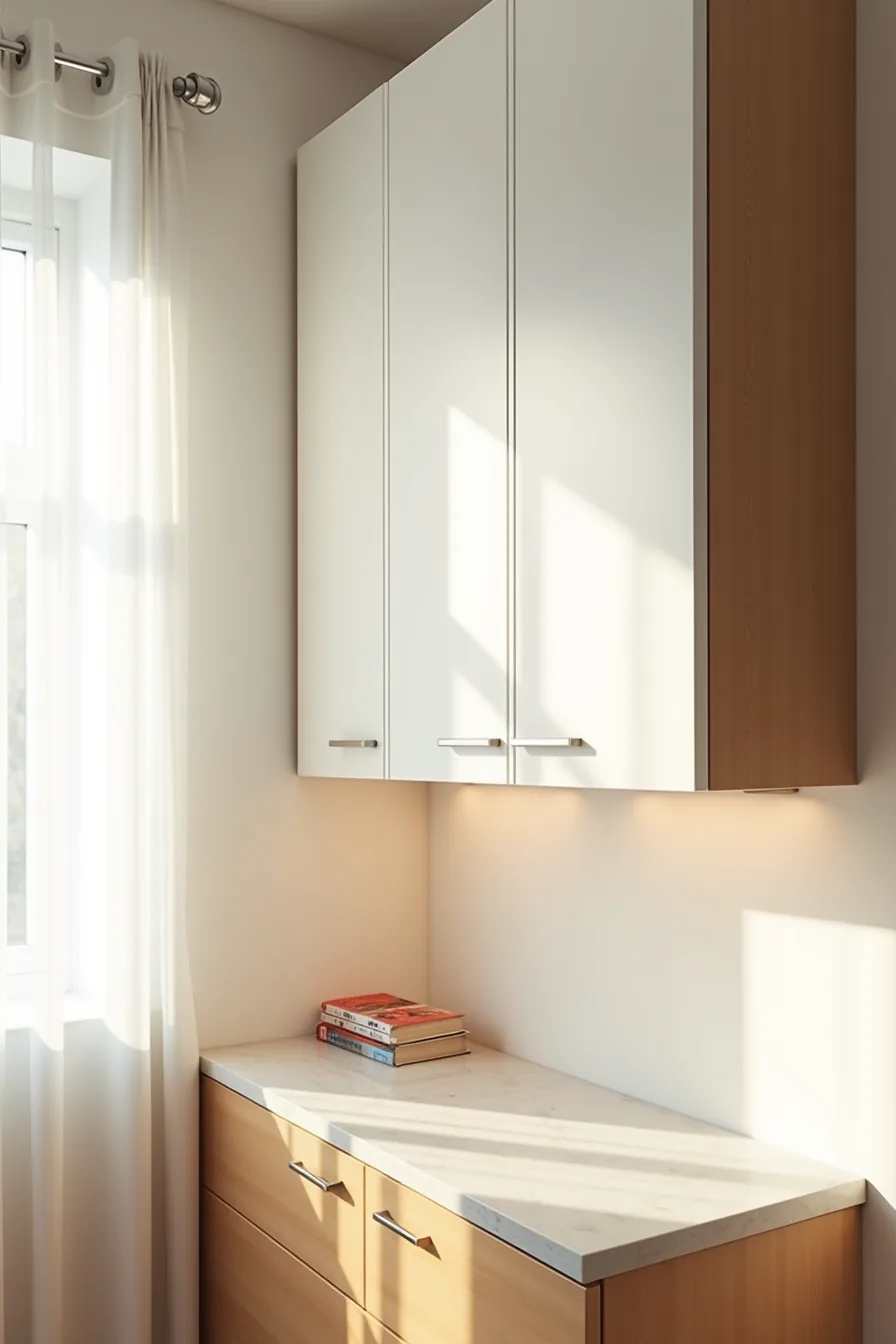
When you’ve 24–36 inches of wall space and multiple countertop devices that see daily use, a dedicated appliance garage delivers the most functional version of a hidden appliance cabinet. The horizontal bifold doors in this setup fold upward and stack flat against the cabinet face, so they never swing into your workspace or block a neighboring drawer. Stainless steel handles run the full door width, giving you a grip point that works whether you’re left- or right-handed and signaling the unit’s purpose without breaking the furniture illusion.
The countertop below, here, a granite slab, continues uninterrupted beneath the cabinet, which is the key detail that makes the garage read as intentional design rather than a box bolted to the wall. You’ll want the cabinet depth to match your upper cabinets (typically 12–15 inches) and the interior shelf set 16–18 inches above the counter to clear a stand mixer with attachments. Tambour doors, which roll on tracks, cost $200–$500 for a 30-inch unit and require 2–3 inches of header space for the rolled drum; bifold doors run $150–$350 and need less clearance but expose a thin seam when closed.
This is a permanent installation, you’re anchoring into studs and possibly adding electrical outlets inside, so it suits homeowners, not renters. For a budget route, retrofit an existing upper cabinet with a tambour door kit ($80–$150) and cut a hole in the bottom panel for cord pass-through.
Coffee Station Behind Cabinet Doors
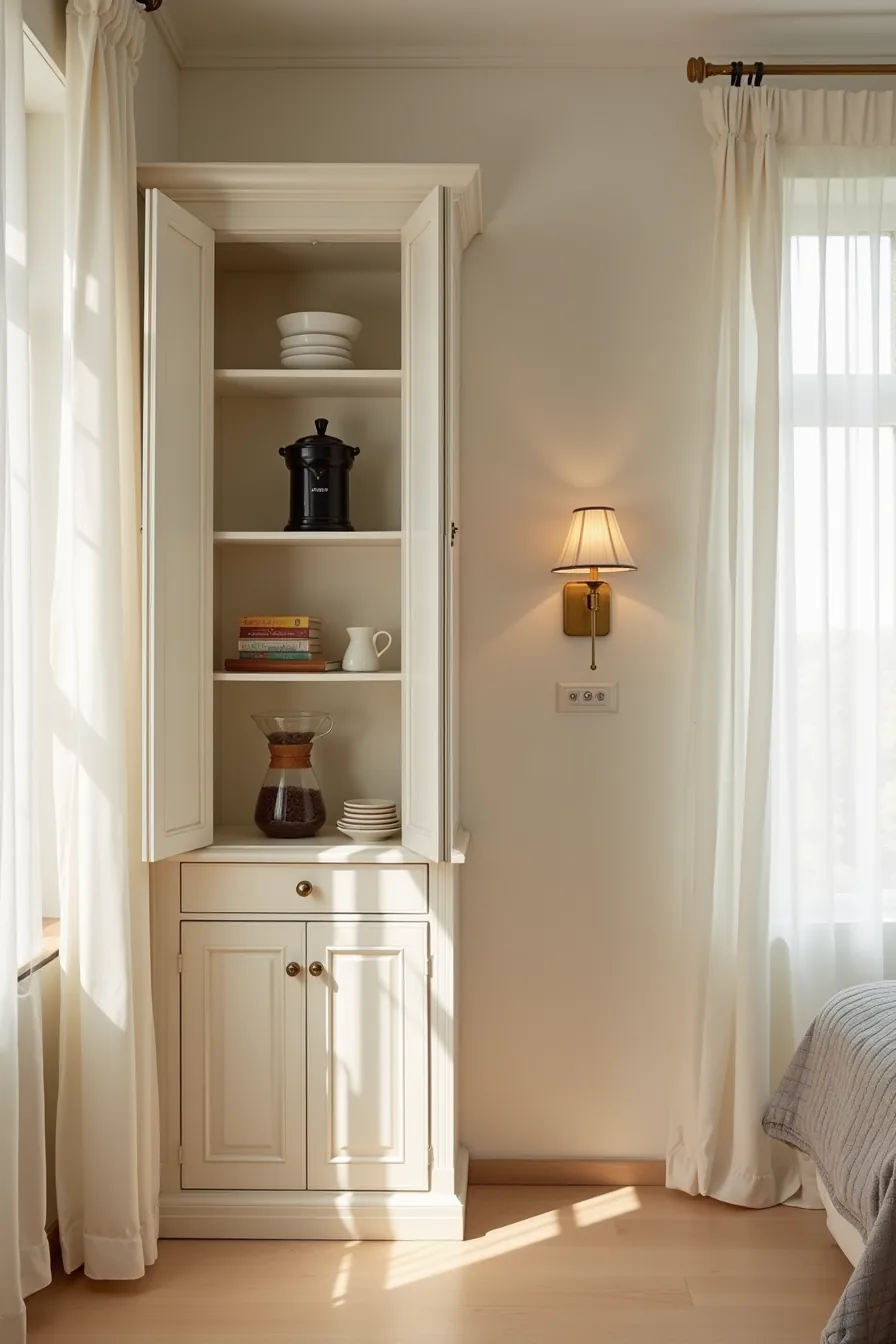
A coffee station behind doors works best when you treat it as a dedicated zone for daily brewing rituals, not a catch-all for kitchen clutter. This setup uses two interior tiers: the upper shelf holds a coffee grinder and a sealed bean container, while the lower tier clears enough height for a pour-over dripper and your mug. The visible electrical outlet on the interior back wall is the detail that makes this functional, without it, you’d be lifting appliances out every morning.
Choose a cabinet depth of at least 12 inches to accommodate a grinder, and position the outlet 6–8 inches above the counter so the cords stay hidden behind the appliances. This suits medium-to-large kitchens where you’ve an upper cabinet near the sink or prep zone but want to reclaim counter space. It’s a renter-friendly route if you rely on an existing cabinet and a plug-in strip; drilling for a dedicated outlet turns it into a long-term investment.
For small spaces, dedicate just one 18-inch-wide cabinet and store beans and filters on the door’s interior rack.
Drawer-Style Appliance Pullout for Compact Spaces
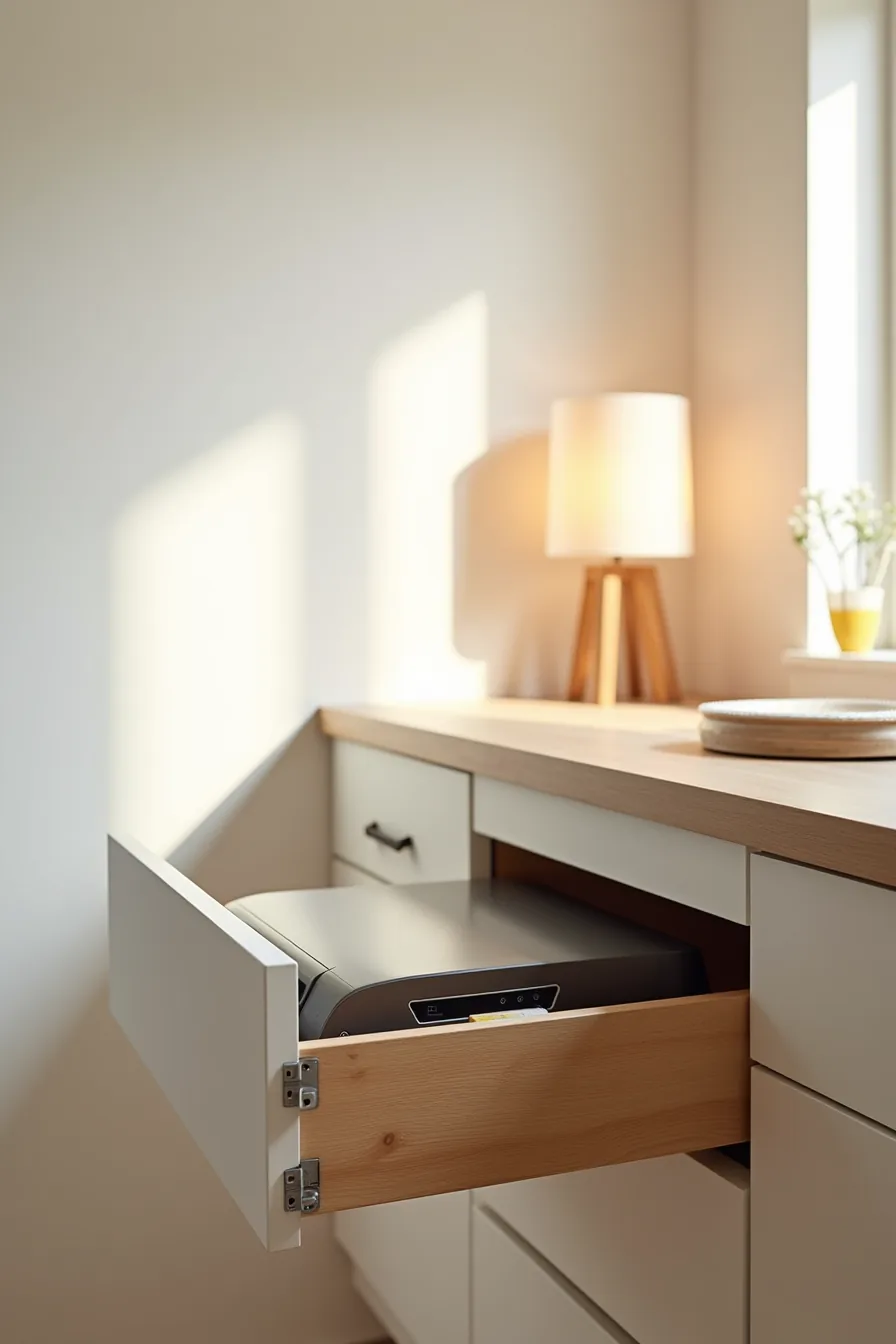
A drawer-style pullout shifts the hidden appliance cabinet idea from vertical to horizontal, which makes it the strongest option for galley kitchens and tight L-shaped layouts where upper-cabinet depth is already committed to dishware. The setup mounts a shallow drawer on full-extension metal slides rated for 75–100 pounds, so the toaster oven and food processor can stay plugged in and simply glide forward on a wooden drawer base when needed. When closed, the facade reads as standard cabinetry and keeps the counter completely clear.
This route suits renters because it requires no electrical work, you run a power strip through a cutout at the drawer’s rear, and the slides carry the cord strain. Budget-wise, expect to pay $150–$400 for drawer hardware and a custom front, versus $800-plus for a built-in niche. For small spaces, keep the drawer to 24 inches wide and store only two appliances; medium kitchens can stretch to a 30-inch pullout with a shallow insert for measuring cups.
Clean metal slides monthly with a dry cloth to prevent grease buildup from the toaster oven.
Built-In Appliance Niche with Pocket Doors
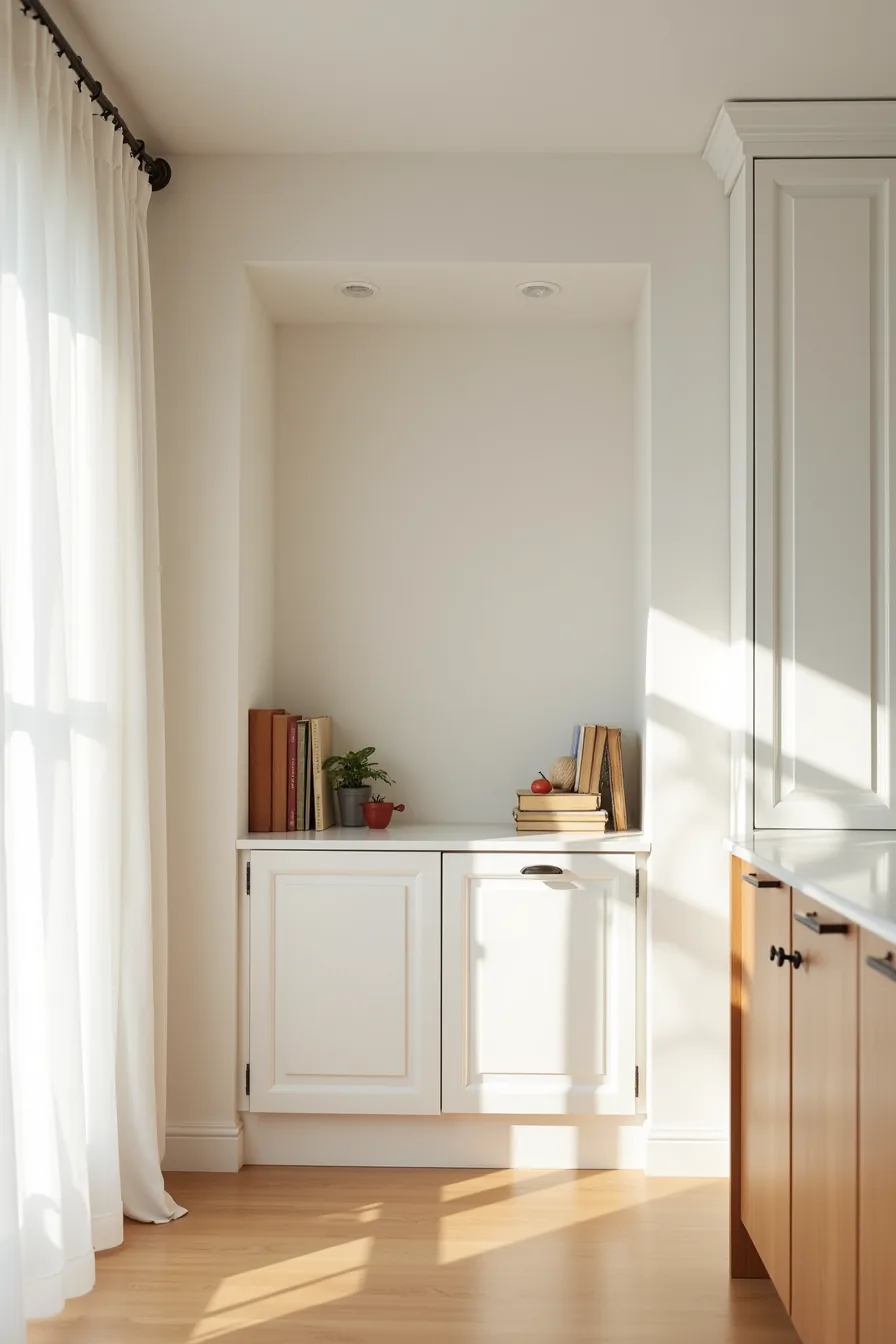
A recessed cavity with pocket doors creates a permanent hidden appliance cabinet for large devices like stand mixers, air fryers, or a coffee station. The pocket doors slide into the wall cavity on a top-hung track, leaving the opening entirely clear when you need full access to the countertop depth inside. When closed, the doors sit flush with the wall plane, making the niche disappear into the architecture rather than read as a cabinet.
This approach suits homeowners in medium to large kitchens who are already renovating, because it requires framing out the wall cavity and coordinating the track hardware with the drywall finish. Budget realistically for $1,200–$2,500 for the pocket door system and carpentry, plus electrical rough-in if you add outlets inside the niche. You need at least 6 inches of wall depth for the door pocket, so this works best on a partition wall rather than an exterior one.
Keep the niche opening around 28–32 inches wide; anything wider demands heavier doors and a reinforced header. Wipe the track quarterly and vacuum the cavity to prevent dust from settling on appliance vents.
Open Shelving with Decorative Roller Shades
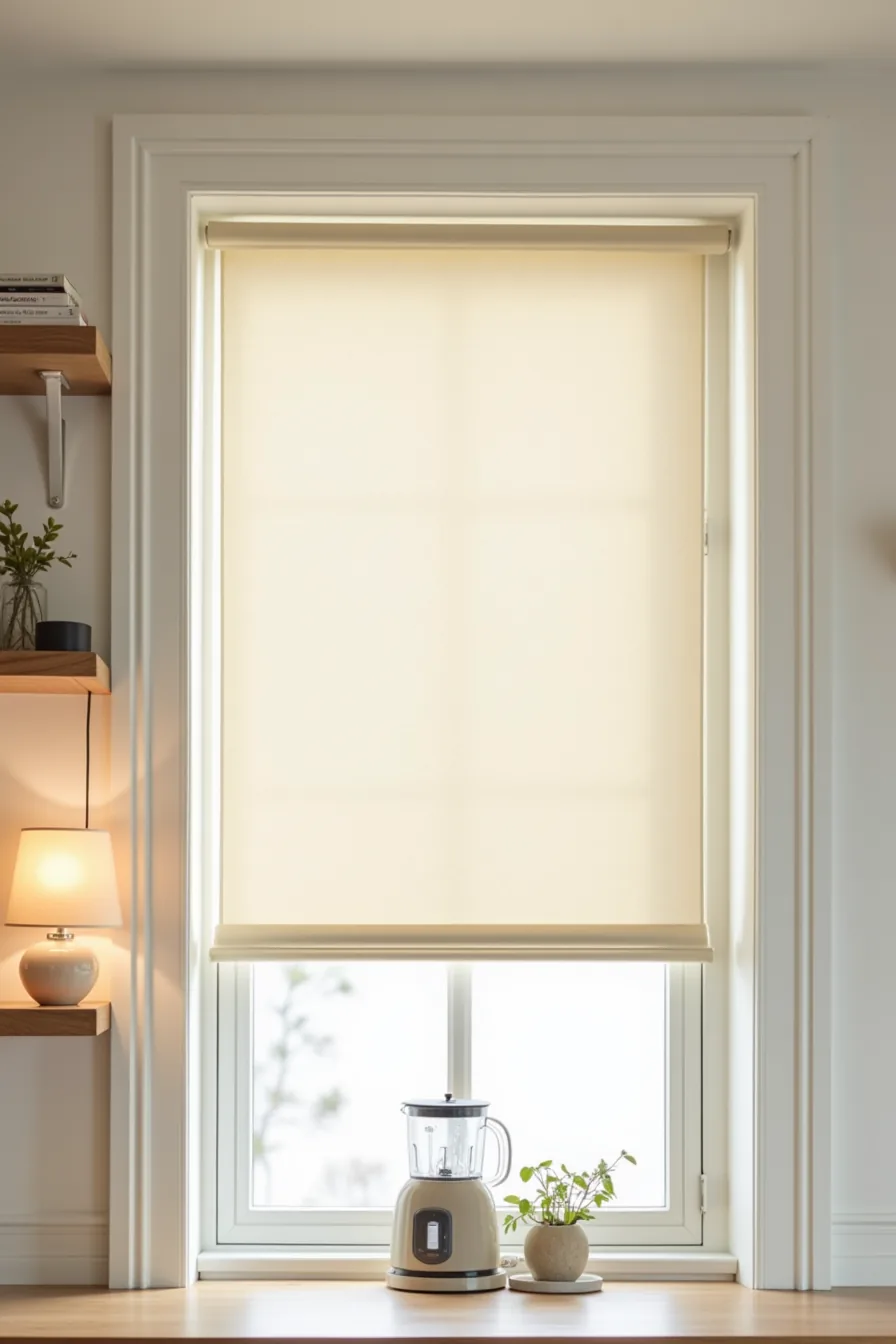
Mount a tension rod or standard roller shade hardware above your upper shelving unit, then lower a single fabric shade to conceal the entire appliance zone. This setup hides a coffee maker, blender, and daily-use gadgets behind one continuous panel of fabric while keeping everything plugged in and ready behind the drop. The shade rolls up completely when you need counter access, and the open shelves remain fully usable without lifting or unlatching anything.
This works best for renters since it requires only two small mounting brackets and zero permanent modification. Choose a blackout or heavy linen-blend fabric so the outline of appliance cords and carafes doesn’t silhouette through the front. Keep the shade width 2–3 inches wider than the shelf span to prevent light gaps at the edges.
Dust the shade monthly with a brush attachment, and expect to replace standard roller shade mechanisms every 3–5 years under daily use.
Your decision checklist
Before you commit to a hidden appliance cabinet, run through this list. Measure your available depth and clearance, most built-in installations need at least 24 inches of cabinet depth plus 2 to 4 inches of ventilation space behind the appliance. Confirm whether your unit is freestanding or built-in rated, because sealing a freestanding model into an enclosure voids warranties and risks overheating.
Match the solution to your living situation. Renters should stick with freestanding rolling carts or tension-mounted panels; homeowners with permanent layouts can justify full millwork. Budget-wise, a simple sliding barn door costs roughly $100–$300 in materials, while a custom built-in with electrical relocation typically lands between $1,500 and $5,000.
Your next step: grab a tape measure, photograph your existing appliance setup, and decide which of the six approaches fits your space, lease, and budget, then sketch the cabinet dimensions before you shop for hardware.
Frequently Asked Questions
What size appliances fit inside a standard hidden appliance cabinet?
Most standard hidden appliance cabinets accommodate countertop models up to 18 inches deep, 24 inches wide, and 36 inches tall, think microwaves, toasters, or coffee makers. Built-in columns for full-size refrigerators or dishwashers require custom dimensions, typically 30–36 inches wide and 70–84 inches tall.
Can I install a hidden appliance cabinet in a rental kitchen without damaging walls?
Yes, if you choose a freestanding cabinet or a retrofit with push-to-open hinges on an existing door. Avoid cutting into walls or cabinetry; instead, use adhesive-mounted panels or tension rods inside a pantry. Always confirm your lease terms before making any permanent modifications.
How do I ensure proper ventilation for appliances stored in an enclosed cabinet?
Install a vent grille or louvered panel on the cabinet door or side, and leave at least 2–3 inches of clearance around heat-generating appliances like toasters or microwaves. For built-in units, add a small exhaust fan rated for the appliance’s BTU output. Never seal the cabinet completely.
What is the typical cost difference between a budget door retrofit and a built-in appliance niche?
A budget retrofit, adding push-to-open hinges and a matching door panel, runs $50–$150 per door. A built-in niche with custom framing, electrical outlets, and ventilation costs $800–$2,500 per appliance, depending on materials and labor. The retrofit suits renters; the niche suits long-term homeowners.