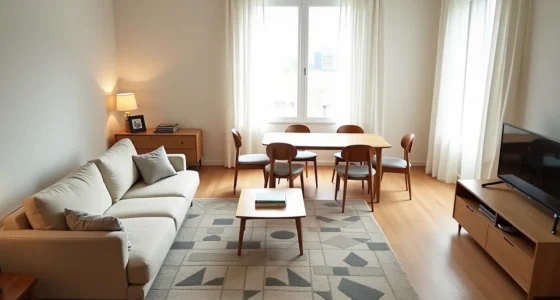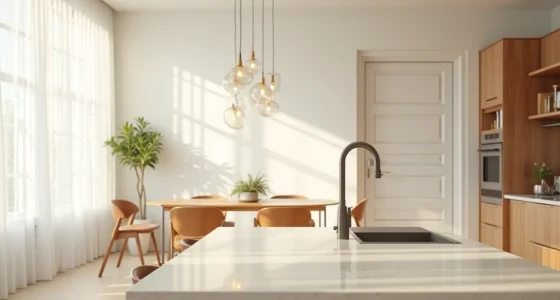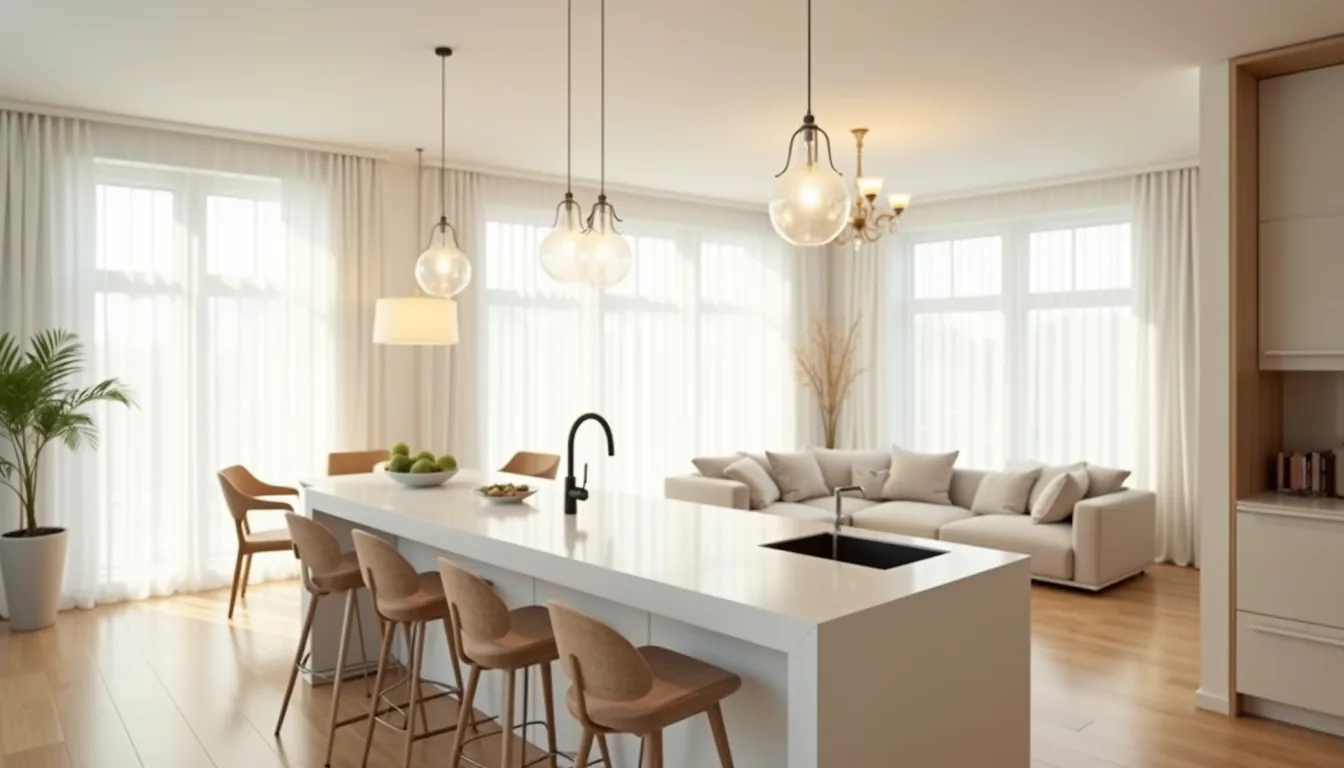

An open floor plan kitchen dining living space is one continuous room where the kitchen, dining area, and living room share a single footprint, and making that footprint work demands deliberate zoning, not just knocking down a wall. The difference between a cohesive great room and a chaotic echo chamber comes down to six repeatable strategies, each with specific scale, material, and cost trade-offs. Before you pick paint colors or order a sofa, you need to decide which zoning logic matches your square footage, your cooking habits, and your tolerance for visible clutter.
Key takeaways
- Anchor the layout with a central island that aligns with your range hood and sink, keeping the work triangle under 26 feet for medium-to-large rooms.
- Float your zones by repeating one flooring material and one wall color across kitchen, dining, and living areas, using area rugs only to define each function.
- Layer three light circuits, task, ambient, and accent, on separate dimmers, aiming for 3-5 light sources per zone to avoid a flat, cavernous feel.
- Scale furniture by sightline so the tallest piece in each zone stays below the top of your door frame, creating connectedness without blocking sightlines or airflow.
The Island-Anchor Model for Medium to Large Spaces
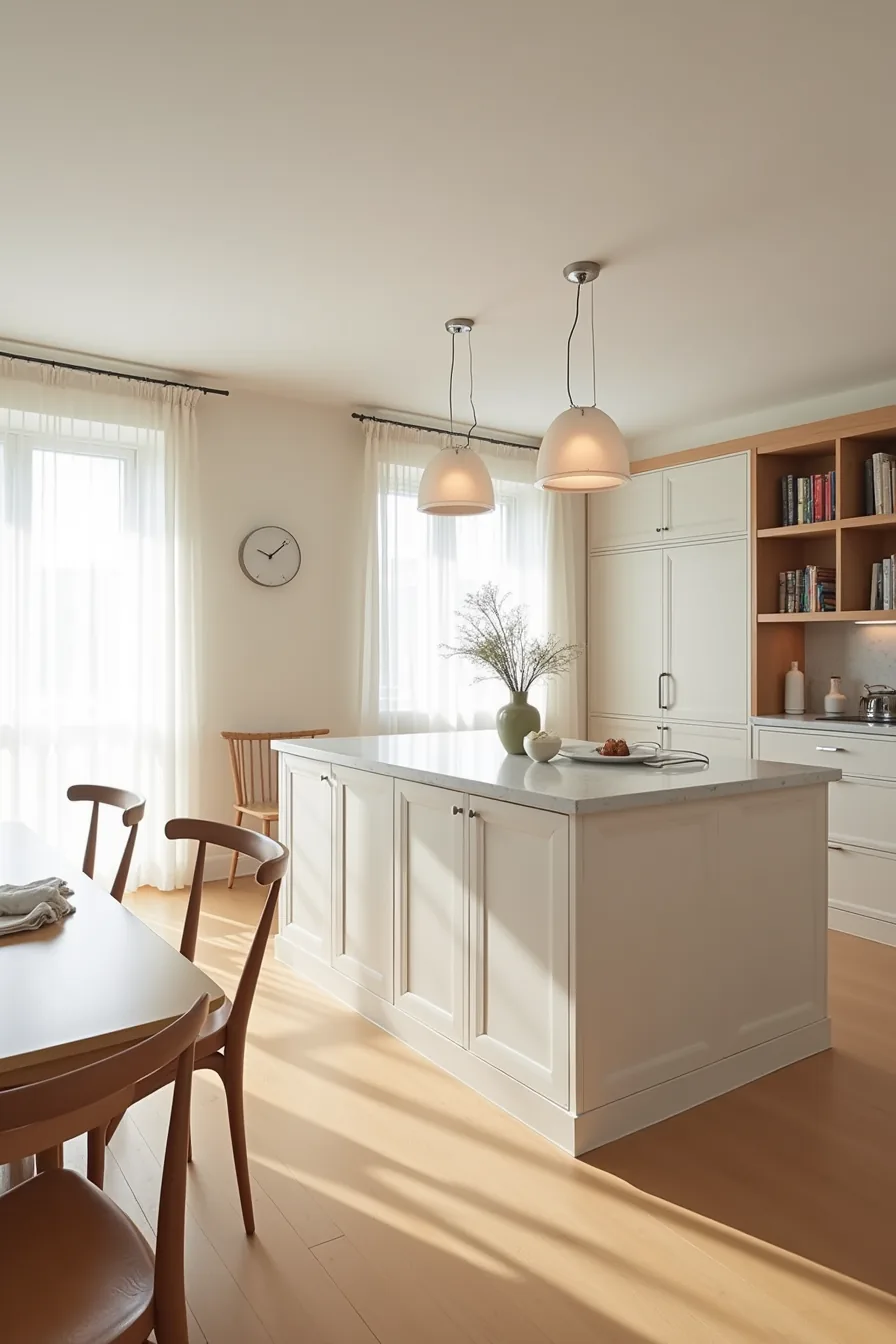
If your footprint runs 350 square feet or more for the combined zones, anchor the layout with a substantial island instead of relying on furniture placement alone. A white marble-top island with a storage base does double duty: it gives you prep surface and hides cookware, while its mass visually separates the cooking zone from the dining area without a single wall. The two-tier seating wrapping one side is the key trick, standard counter height on the cooking side for food prep, elevated bar seating on the living side so seated guests face the dining chairs and conversation, not the stove.
This setup suits homeowners who cook frequently and entertain casually, since the island becomes the natural gathering point. You need at least 36 inches of clearance on the cooking side and 42-48 inches on the seating side for comfortable traffic flow. The marble top demands sealing every one to two years and immediate wiping for acidic spills; if that maintenance feels heavy, a quartz or porcelain slab in a similar white-veined pattern delivers the same look with no sealing.
Open cabinetry on the far wall keeps the visual weight balanced, but commit to tidy shelves, this layout has no walls to hide clutter behind.
Floating Zones With Consistent Materials
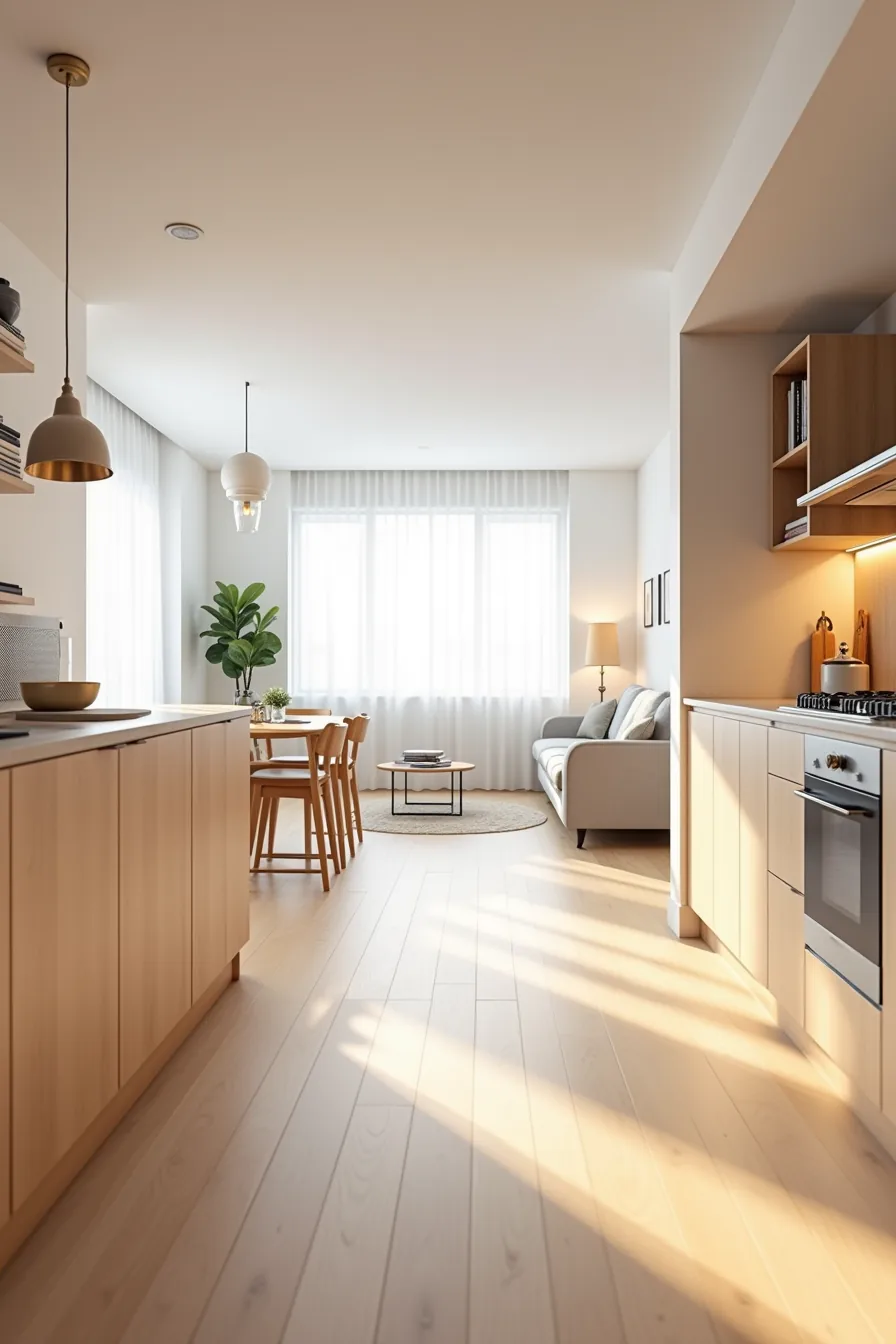
When your combined footprint stays under 350 square feet, walls and bulky islands cost too much floor space. Instead, define each function through material continuity. Running one light wood flooring throughout the kitchen, dining, and living areas removes visual breaks that make a small plan feel chopped up.
Matching light oak cabinetry against pale concrete countertops ties the kitchen to the dining zone, while a single area rug edge under the dining chairs signals where seating begins without a partition.
This approach suits renters and first-time buyers because it relies on what’s already installed, no demolition, no structural changes. The continuity works only if you commit to a two- to three-tone palette across all zones; a fourth accent color in decor pieces is fine, but keep the hard surfaces uniform. Maintenance stays simple: the concrete counters need sealing twice a year, and the continuous flooring means one sweep path from stove to sofa with no transition strips to collect dust.
Three-Zone Lighting Plan for Open Plan Without Chaos
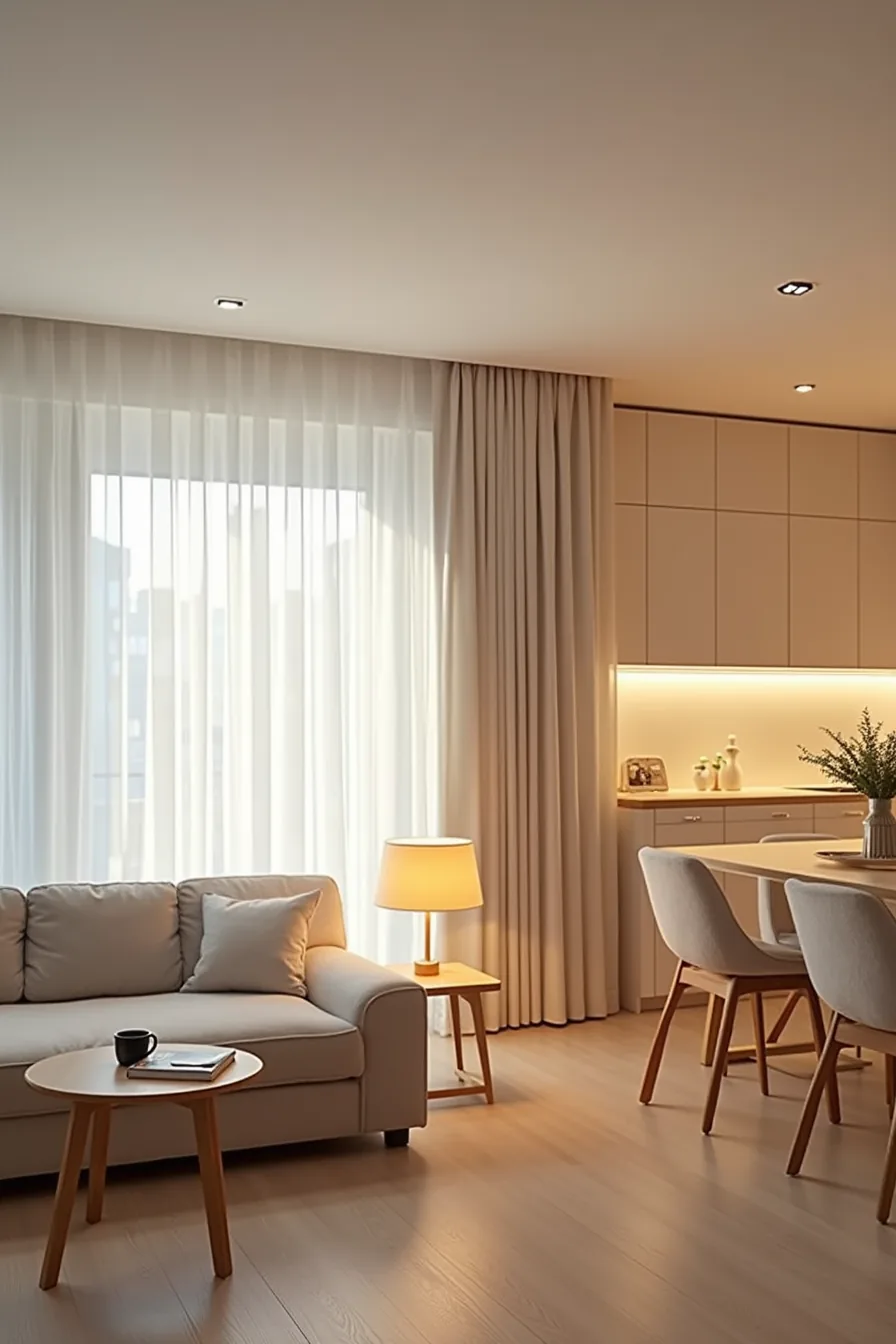
A three-zone lighting plan prevents your open plan kitchen dining living area from becoming one uniform wash of light. You need three separate circuits: task lighting over the counters and island, ambient light centered on the dining table, and a warm accent source in the seating area. In a typical setup, island pendants handle the prep zone, four to six recessed ceiling lights define the dining footprint, and a table lamp on a sideboard anchors the lounge corner.
Install dimmer switches on every circuit, this is what lets you shift the room’s mood from bright cooking mode to low evening conversation without touching a single bulb. The key is ensuring the zones overlap slightly at their edges so circulation paths stay lit, but never so much that one area bleeds visually into another. Expect to run three separate switch boxes near the main entrance; retrofitting this into an existing slab costs more than planning it during new construction, so budget accordingly.
Low-Profile Dividers That Preserve Sightlines
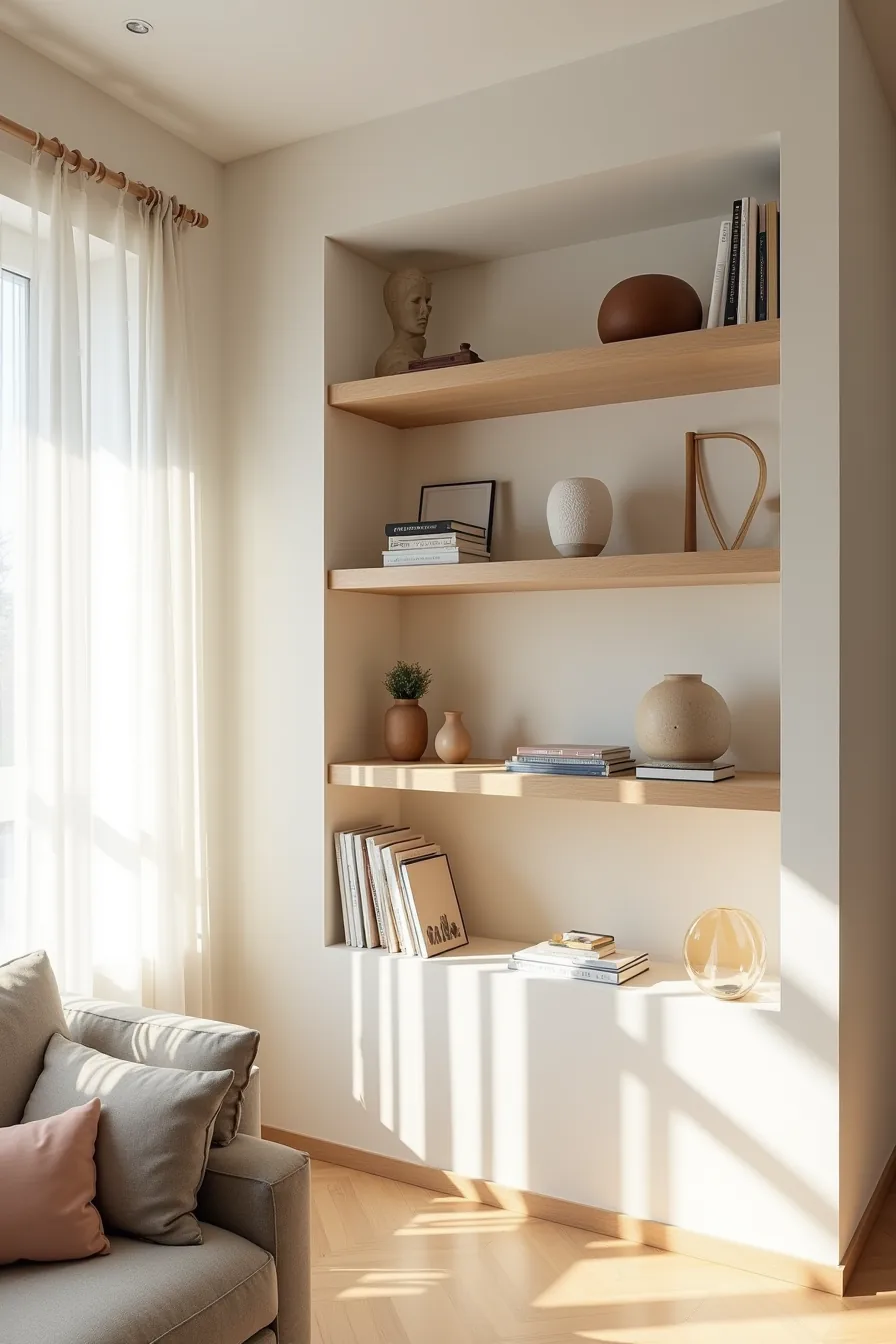
A waist-high half-wall topped with open shelving gives you the physical separation of zones without sacrificing the sightline across the room. You see the kitchen counter and the living room seating in a single glance, and air moves freely overhead, critical if your cooking zone lacks a dedicated exhaust fan. The shelf surface sits at roughly 42–48 inches, which hides countertop clutter from the sofa while keeping eye-level sightlines clear.
This setup suits anyone who wants a subtle boundary between cooking and lounging but doesn’t need noise or smell containment. You can also lean decorative objects along the shelf, ceramic vases, stacked books, a small tray, to add texture, but keep them under six inches tall to avoid blocking the view. For a renter-friendly version, use freestanding bookshelves arranged back-to-back instead of a built-in half-wall; you get the same zone separation and can move them when you leave.
A built-in costs more but adds resale value, and you can integrate electrical outlets into the wall cap for phone charging or small appliances.
Color and Texture Blocking for Renter-Friendly Adaptation
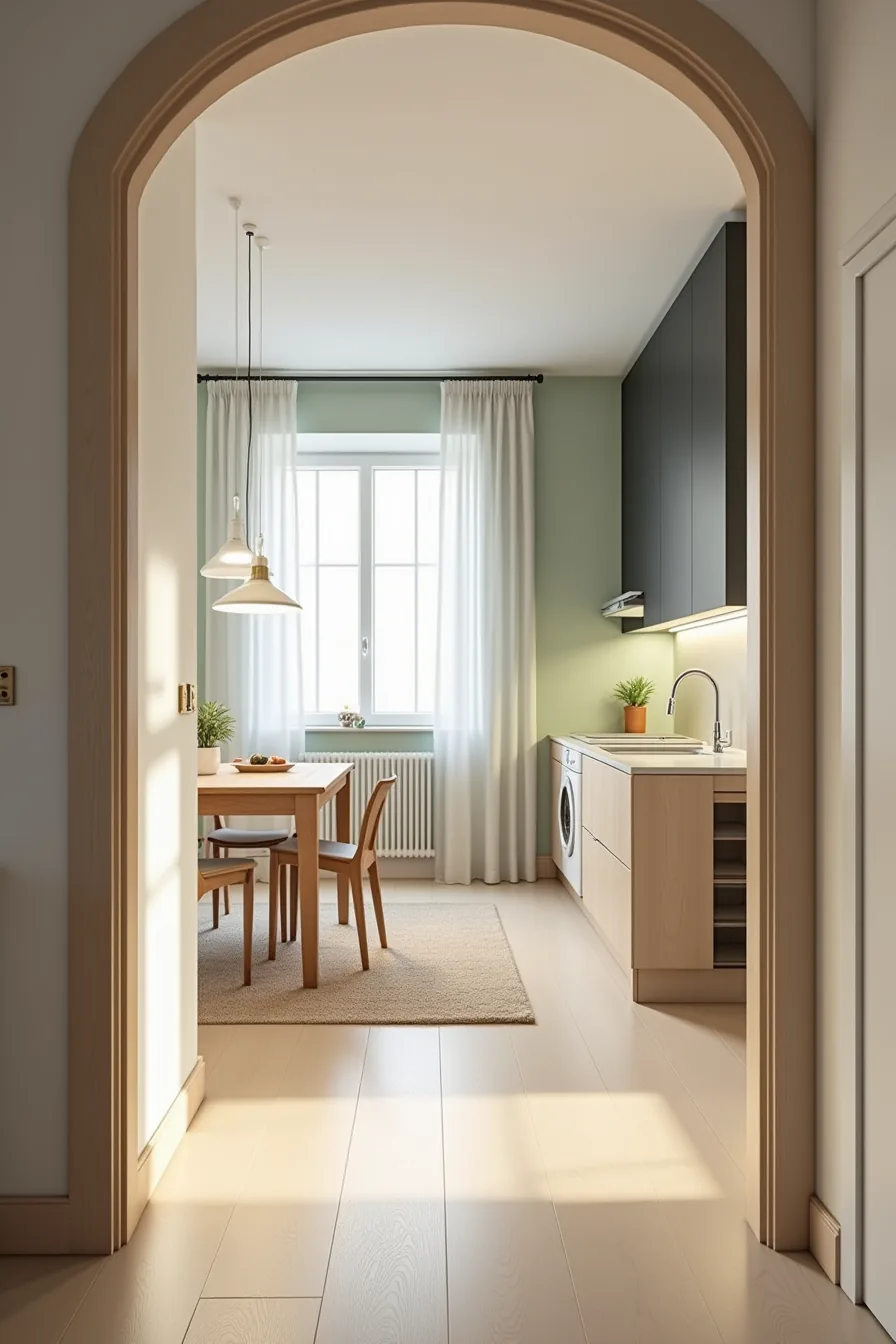
You can define zones in an open floor plan kitchen dining living layout using nothing more than paint, rugs, and textiles, no demolition required. A sage green wall behind the kitchen creates a visual backdrop for that zone, while a charcoal accent wall anchors the living area at the opposite end. These painted surfaces work best when the wall finishes meet at a corner or column, giving you a clean line of demarcation without adding a single stud.
A large neutral area rug beneath the dining table establishes that zone’s footprint, and you should size it so all four chair legs stay on the rug even when pulled out, typically 8×10 feet for a six-seater. Throw pillows in complementary tones on the sofa pull the palette together, and removable wallpaper applied to a single accent panel offers the same color-blocking effect with zero paint commitment. This approach suits renters perfectly: everything reverses in an afternoon, and you spend under $200 on paint and rug rental deposits rather than structural renovation costs.
Scaled Furniture Placement to Make Open Plan Spaces Feel Connected Not Crowded
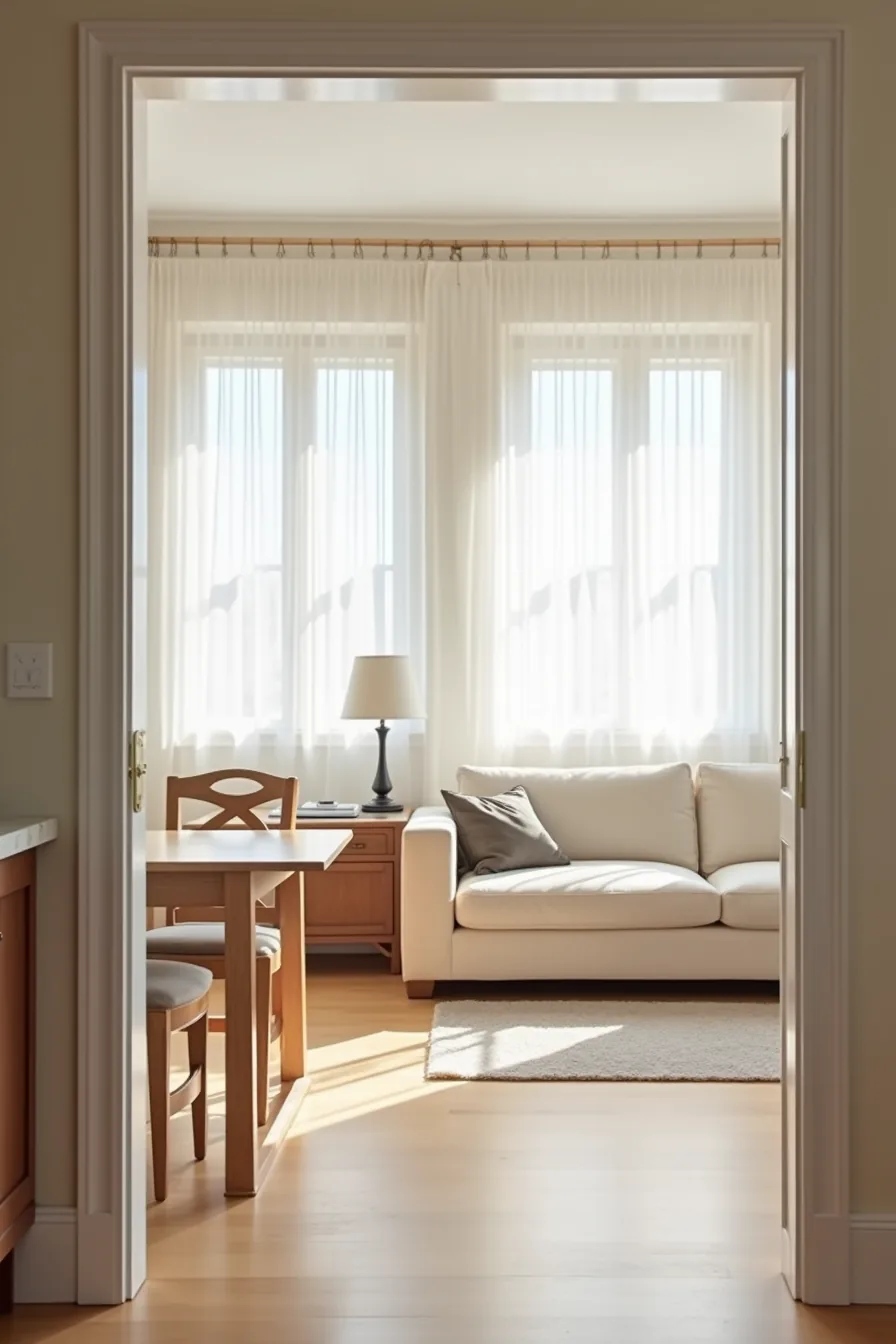
The single most common mistake in an open floor plan kitchen dining living arrangement is pushing every piece against the walls, which creates a vast dead zone in the middle and forces you to shout across the room. Instead, pull your furniture inward to create conversation clusters. A low-profile sectional sofa positioned 8–10 feet from the dining table establishes a natural gathering area for the living zone, while the cleared gap between them functions as the primary circulation path, wide enough for two people to pass without sidestepping.
A console table placed behind the sectional acts as a subtle boundary rather than a wall, giving the sofa back support and a landing spot for keys or drinks without visually cutting the space in half. Keep the dining chairs tucked fully under the table when not in use, and maintain at least 36 inches of clear floor space on both sides of the sectional so the pathways feel intentional. This scaled placement works best in medium to large rooms; in smaller spaces, drop the distance between sofa and table to 6–7 feet and skip the console entirely to avoid crowding the route.
Your Decision Checklist
Before you commit to a layout, walk through your actual space. Measure your main traffic path, note where natural light enters, and confirm your kitchen’s ventilation reaches the living area without a long duct run.
- [ ] Have you defined your primary activity, cooking, entertaining, or family time?
- [ ] Will your chosen furniture scale leave at least 36 inches of walkway?
- [ ] Have you planned a consistent floor material to visually unify the zones?
- [ ] Does your layout keep the sink, stove, and fridge within a practical work triangle?
Your next step: sketch your room’s outline on graph paper, then place your three largest furniture pieces, sofa, dining table, and kitchen island, to see if the traffic flows naturally.
Frequently Asked Questions
How do you define separate zones in an open floor plan kitchen dining living without walls?
Use area rugs, pendant lighting, and furniture placement to anchor each zone. A kitchen island, a sofa back, or a dining table can act as a visual divider without blocking sightlines or airflow.
What’s the minimum square footage needed for an open floor plan kitchen dining living to not feel cramped?
A combined space of 350–450 square feet works for a functional open plan. Below that, you risk crowding circulation paths, so prioritize a compact island and a dining table that seats four or fewer.
Can you create an open floor plan kitchen dining living on a budget or as a renter?
Yes. Use peel-and-stick floor tiles, removable wallpaper, and freestanding furniture to define zones. Skip structural changes, a large rug and consistent paint color cost under $500 and transform the layout without permanent alterations.
How do you prevent an open floor plan kitchen dining living from looking chaotic or disorganized?
Limit the color palette to two or three tones across all zones. Use closed storage for countertop items and a single tray for dining-table clutter. Keep one visual anchor, like a matching wood tone or metal finish, tying the three areas together.