Wardrobe dimensions are the single most important factor in whether your closet actually works, yet most people start with style and end up with a layout that blocks traffic, crushes sleeves, or makes doors impossible to open. Before you pick a finish or hinge, you need to measure clearance for opening arcs, walking paths, and reach zones, typically 24–36 inches in front of the unit. The six layouts below show exactly where those numbers fit, who each best serves, and what it takes to build them without sacrificing your room’s flow.
Key takeaways
- Measure before you buy: Always record ceiling height, wall length, and floor-to-ceiling obstructions (like baseboards or outlets) to determine if a standard 24-inch-deep wardrobe or a slimmer 18-inch wall-mounted unit fits your room’s clearances.
- Depth dictates function: Opt for 24-inch depth for hanging clothes on hangers without crushing shoulders, but choose 18-inch depth for shelving-only storage, this trade-off saves floor space while losing rod capacity.
- Door swing costs floor area: Sliding doors need zero clearance in front but limit access to one side at a time, whereas hinged doors require 18–24 inches of open floor to operate, pick sliding for narrow hallways, hinged for wide bedrooms.
- Custom rod height beats standard: Set the hanging rod at 60–66 inches for shirts and jackets, but raise it to 72–78 inches for long dresses or coats, and pair it with a lower shelf for folded items to maximize vertical space without wasted gaps.
Measure Wardrobe Space Before You Commit to Layout
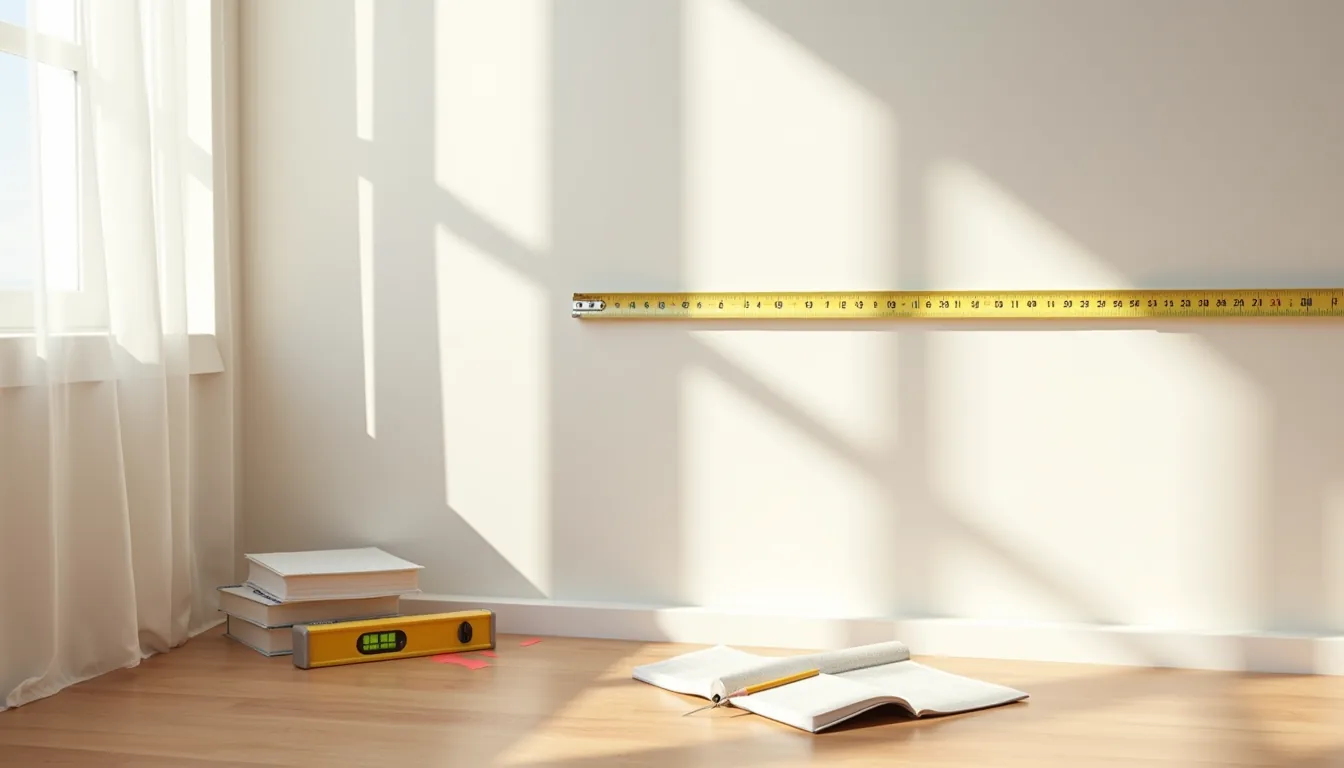
A tape measure saves you from the two most expensive mistakes in wardrobe planning: a unit that blocks a door swing or a depth that eats your walking path. Start with the wall you intend to use, recording its full length and the ceiling height at both ends, ceilings often drop an inch or two across a room. Mark every obstacle on that wall: windows, light switches, baseboard heaters, and outlets.
A wardrobe placed over a switch becomes a permanent inconvenience, not a storage solution.
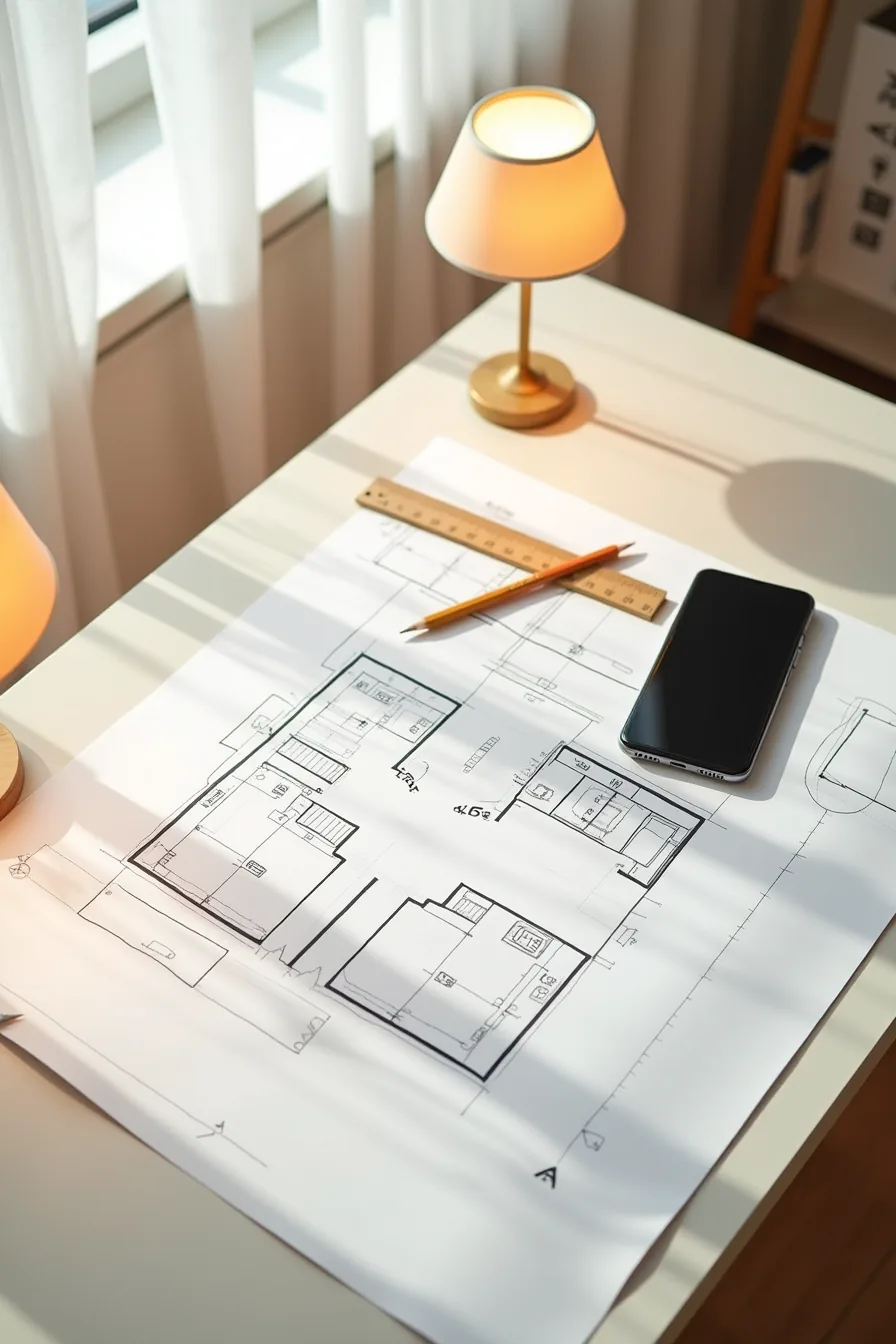
Transfer your measurements to graph paper with a ruler and compass, the same setup you see here, where colored pencils track different clearance zones and a smartphone measurement app double-checks your hand readings. Sketch the arc of each door swing and the path from the room entrance to the window. You need at least 36 inches of clear walkway in front of the wardrobe face, and more if the doors open outward.
This floor plan takes twenty minutes and prevents a weekend of returns.
Depth Planning: Wall vs. Freestanding Trade-Offs
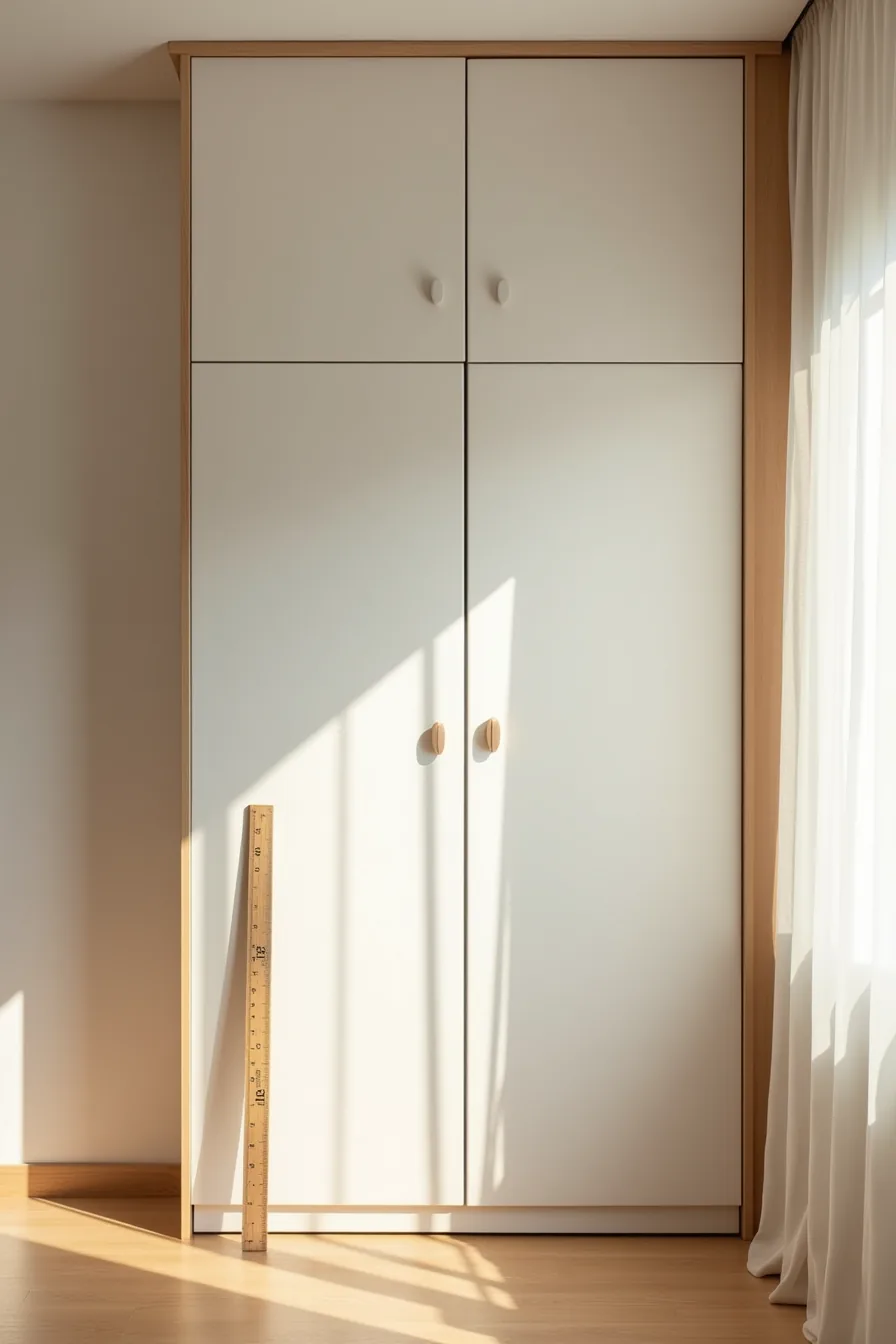
The 8-inch gap between a shallow freestanding cabinet and a deeper built-in unit determines more than storage volume, it decides whether your room feels walkable or wall-to-wall. A 20-inch-deep wardrobe suits hanging clothes folded at the shoulder, leaving a generous 36-inch clearance in a narrow hallway. The deeper 28-inch built-in accepts standard hangers with room to spare, but it consumes that same clearance, shrinking your walking path to a cramped 28 inches in a typical 8-foot-wide bedroom.
Match depth to your room’s traffic pattern, not your wardrobe’s capacity. In a small space, prioritize the 20-inch profile for circulation and pair it with slide-out accessory racks. For a large walk-in, commit to 28 inches and gain double-hanging versatility without sacrificing access.
A measuring ruler placed in front of both units confirms the trade-off visually: the shallow wardrobe leaves hardwood floor visible and the room airy, while the deeper one anchors the wall and demands deliberate planning for the space it consumes.
Hanging Height Question: Standard vs. Custom Rod Placement
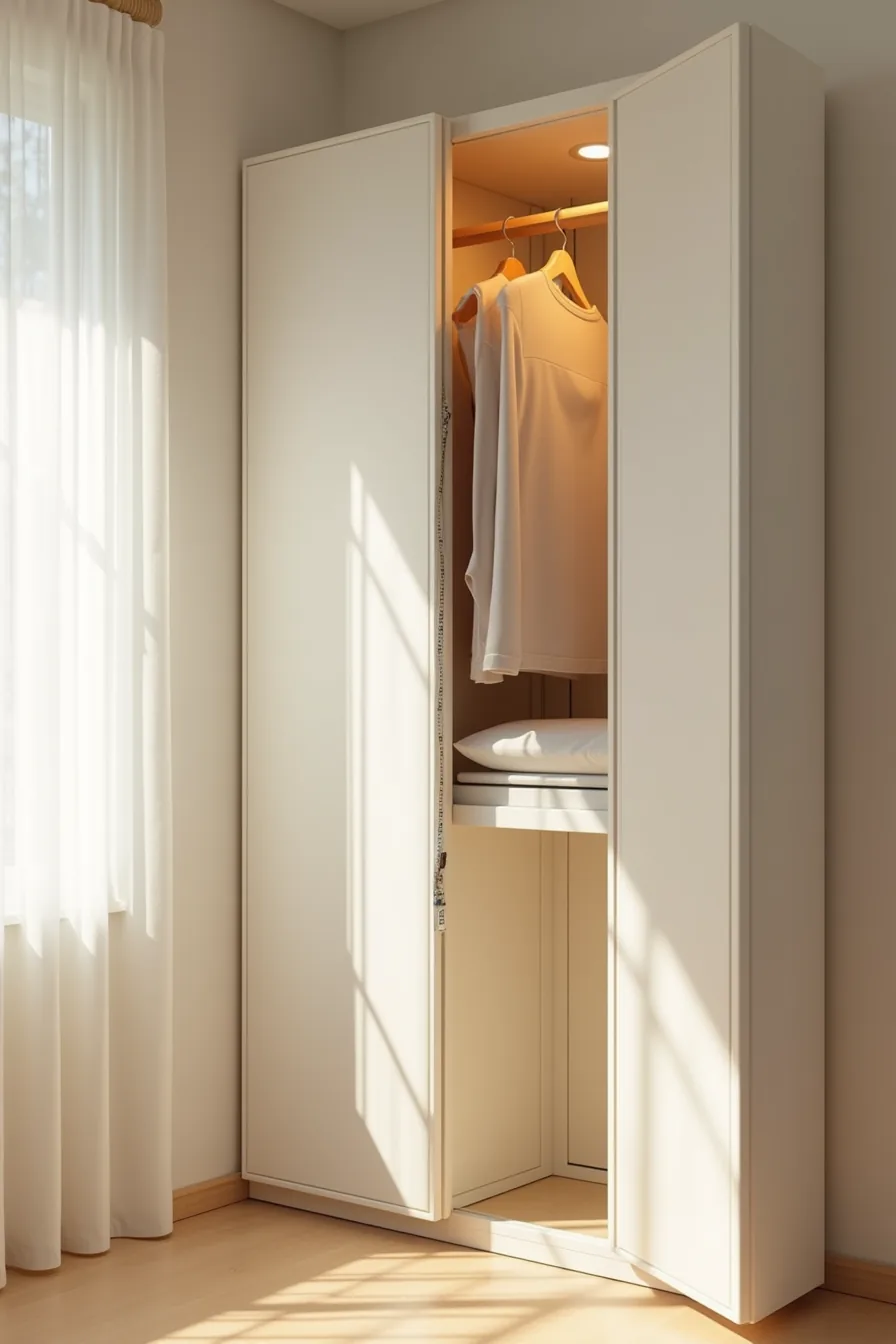
The standard full-length rod sits at 60–66 inches, which suits most dresses and long coats but wastes vertical space for shirts and folded items. Set a second lower rod at 40–48 inches to double your hanging capacity without deepening the footprint, this is where the measuring tape draped along the side of the wardrobe earns its keep. Measure from the floor to your longest garment plus 2–3 inches of clearance; that figure, not a rulebook, is your true upper-rod height.
Custom placement matters most when ceiling height varies. An 8-foot ceiling allows a comfortable 48-inch lower rod with 12 inches above for shelf storage. A 9-foot ceiling buys you 14–16 inches of dead space above a standard rod, fill it with a pull-down rod or shallow shelf rather than leaving it empty.
For children’s clothing, drop the lower rod to 24–36 inches so they can reach items independently; you’ll reclaim the upper rod entirely for off-season storage. The hangers hanging between the two rods confirm the benefit: vertical gaps disappear, and every inch of height pulls its weight.
Sliding vs. Hinged Clearance: Door Operation and Access
The door style you choose dictates the floor space you must reserve, not the wardrobe’s internal width. A hinged door needs a swing radius of 90–120 inches when fully open, which means you can’t place a bed, chair, or dresser within that arc without blocking access. Sliding doors, by contrast, require only 3–6 inches of clearance in front of the track, letting you push furniture flush against the wardrobe’s face and walk past with a full basket of laundry.
Your room’s circulation path settles the debate. If the wardrobe sits along a narrow wall where a bed already consumes the adjacent floor, sliding doors preserve your walking lane at roughly 24–36 inches wide. If the wardrobe anchors a corner with open floor in front, hinged doors give you full unobstructed access to every shelf without the 50% visibility penalty that sliding panels impose when half the interior is always hidden.
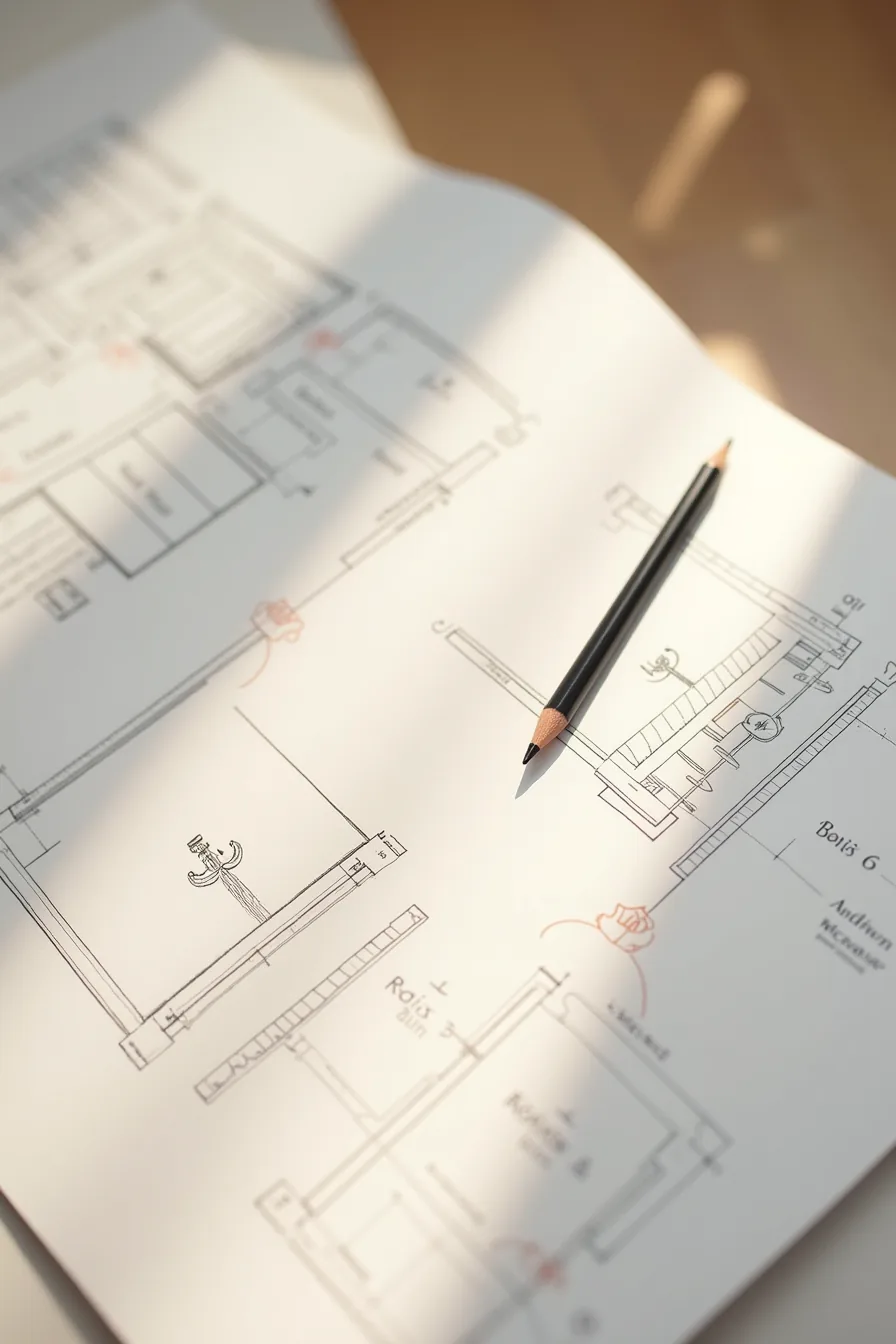
The floor plan beside you shows both options: the hinged arc drawn with a compass and ruler occupies a generous semicircle, while the sliding track diagram keeps the same footprint but frees that entire radius for movement. Measure from the door’s outermost edge to the nearest obstruction, that single number determines which hardware your space can afford.
Three Layout Scenarios: Small, Medium, and Large Spaces
An 80 sq. Ft. Bedroom demands a wardrobe that tucks into a corner, typically 60–72 inches wide and 24 inches deep, with sliding doors to protect your 30-inch circulation path.
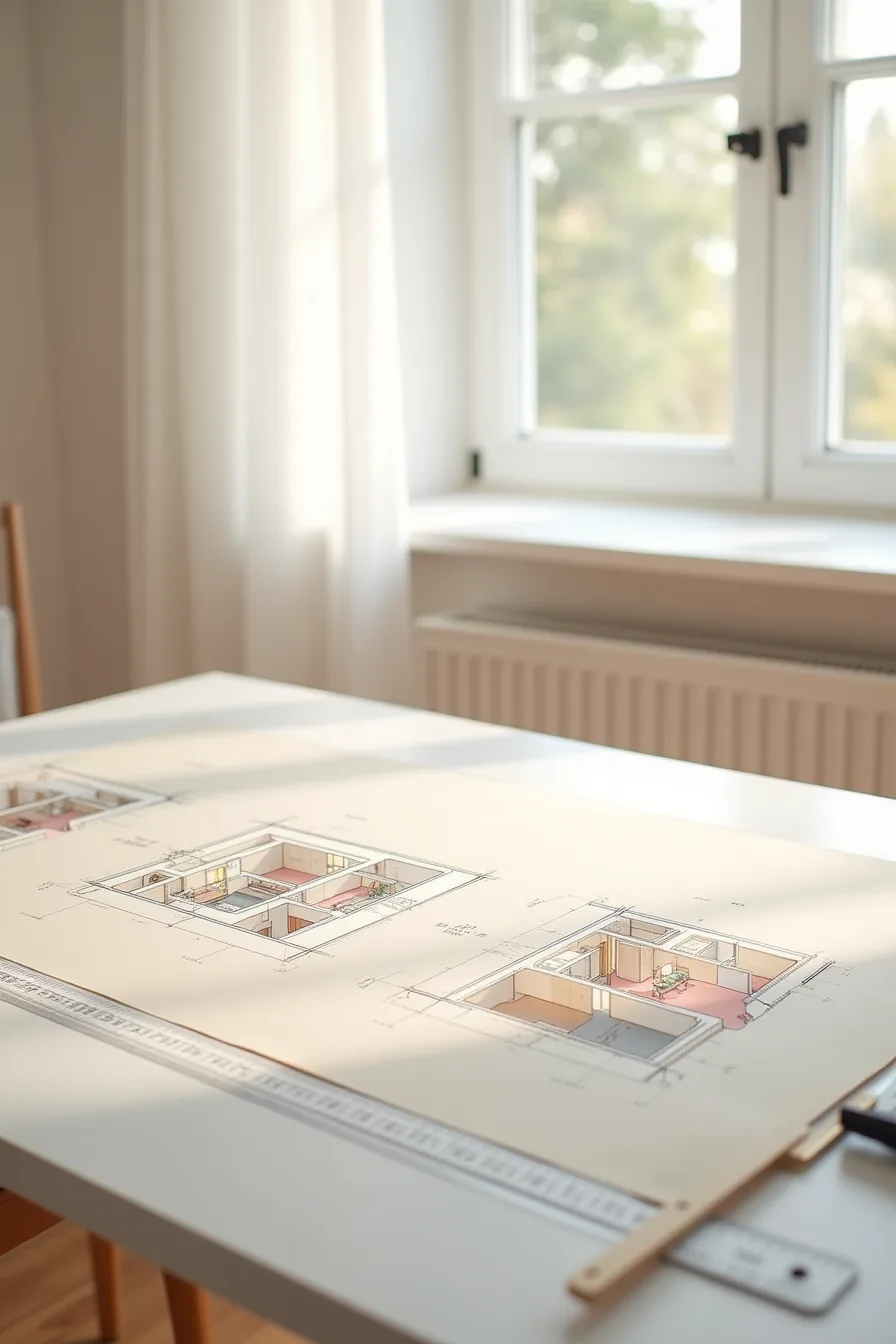
Place it opposite the bed’s foot, keep the nearest outlet 36 inches from the unit’s side, and mount a 12-volt LED strip under the top shelf to compensate for lost ceiling light. The small-room cross-section on the drafting table shows this configuration with the scale ruler marking the tight tolerance between the door track and the bed frame.
At 150 sq. Ft., you gain the luxury of a 96-inch wide wardrobe with hinged doors, provided you leave a 90-inch swing arc clear. Center it on the longest wall, position a floor outlet 18 inches from the face, and add a ceiling spotlight 24 inches in front of the doors so you can see inside without casting your own shadow.
The medium-room section uses the drafting triangle to verify that window light hits the mirror surface without creating glare on the TV mounted opposite.
For 250+ sq. Ft. Spaces, split the wardrobe into two 48-inch runs along adjacent walls to form an L-shape, bumping depth to 28 inches for folded storage.
Install switched outlets at 48-inch intervals along the back wall, and add a dimmer-controlled cove light above the valance to illuminate the full reach of the top shelf. The large-room section demonstrates how the scale ruler’s 1/4-inch divisions translate into a walk-in clearing of 48 inches between the two facing panels.
Finishing Details: Color, Materials, and Maintenance Requirements
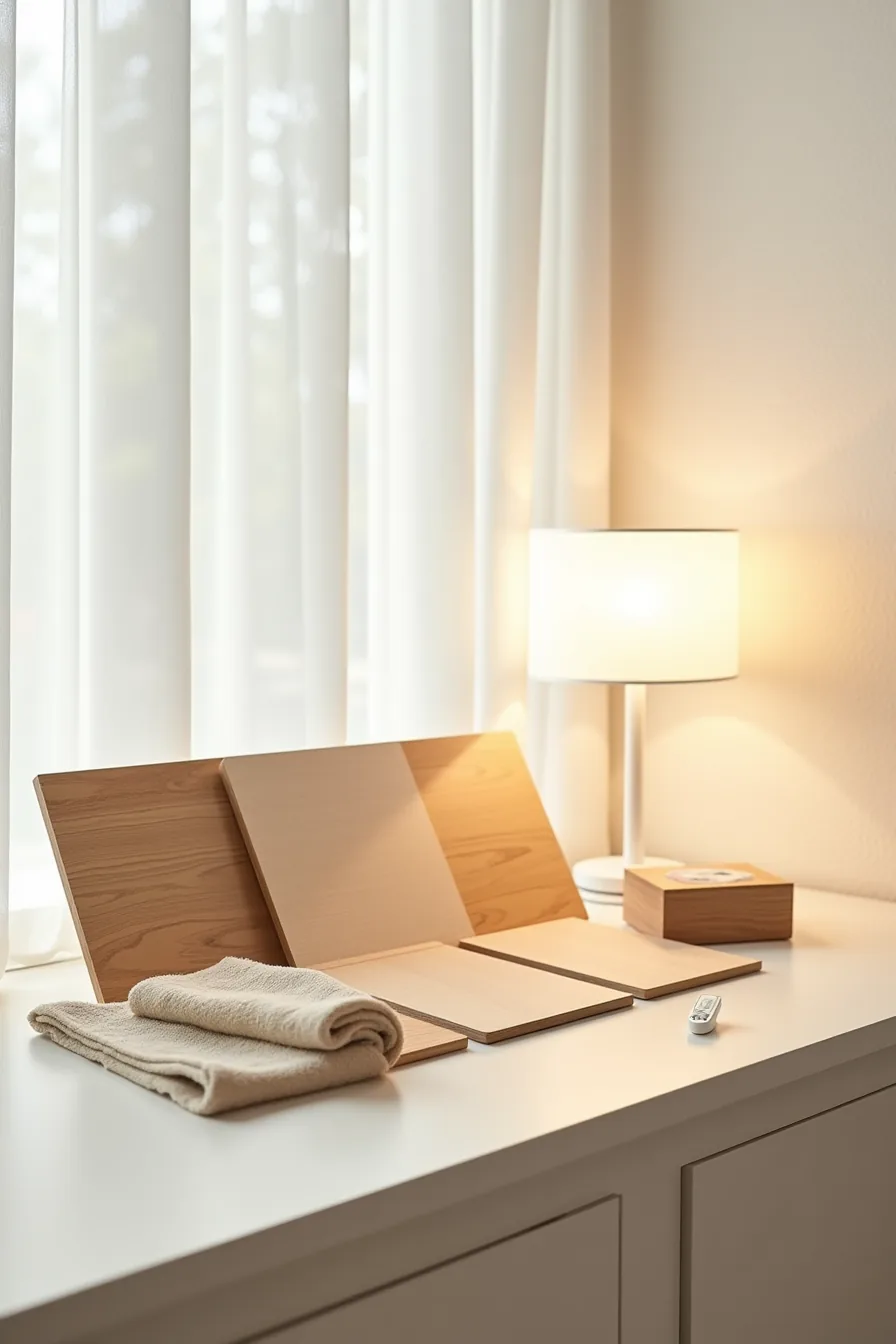
Your material choice dictates both the cleaning schedule and the wardrobe’s lifespan. Laminate swatches resist moisture and scratches, requiring only a damp microfiber cloth wipe every two weeks; they suit busy family spaces where spills are likely. Wood veneer panels offer a mid-range compromise, but they demand a soft brush dusting weekly and a gentle cleaner monthly to prevent finish dulling, avoid water pooling near the edges, which causes delamination over time.
Solid wood blocks are the most forgiving of dings yet the most sensitive to humidity; you’ll need to apply a fresh coat of protective oil every 6–12 months to keep the grain sealed against warping.
Color choice alters perceived proportion more than actual size. A light laminate or bleached veneer visually pushes the wardrobe back, making a narrow room feel two to three feet wider; a dark solid wood finish pulls the wall forward, so reserve it for spaces over 10 feet wide. Always match the finish tone to your floor, if your flooring is warm oak, a grey laminate will clash and shrink the perceived scale.
Ventilation is non-negotiable regardless of material. Leave a 2-inch gap between the back panel and the wall to allow airflow, and drill 3–4 unobtrusive vents near the top and bottom of each door if your unit has none. Run a moisture meter over the interior panels twice a year; readings above 12% signal trapped dampness, which will warp veneer and crack solid wood within months.
Where to start
Measure your floor-to-ceiling height, wall width, and door swing clearance before you shop. Write those three numbers down and keep them in your phone, they’ll filter out 80% of unsuitable options instantly.
Your next step is simple: walk into your bedroom and tape out the planned depth (24-28 inches for standard hanging space) on the floor. Live with that footprint for two days. If you still have a comfortable circulation path past it, you’re ready to buy.
If not, pivot to a reach-in or sliding-door design before spending a cent.
Frequently Asked Questions
What is the minimum depth for a wardrobe to fit standard hangers and folded items?
You need at least 24 inches inside depth for shoulder-width hangers. Add 2–3 inches for the door and back panel, making the total unit depth 26–28 inches. Folded stacks work fine at 20–22 inches.
How much clearance do I need in front of a wardrobe door to open it fully?
Hinged doors need 22–24 inches of clear floor space. Sliding doors only require 12–16 inches for comfortable access. That extra foot of walking room is what makes a small bedroom feel workable, not cramped.
Can I install a wardrobe in a room with a sloped ceiling or low clearance?
Yes, but plan for it. Place hanging rods on the higher side, keeping at least 42 inches of headroom for long garments. Low-slope areas work best for shelves or shoe racks.
Measure the slope at every 12-inch interval before buying.
Should I choose sliding or hinged doors for a small bedroom?
Choose sliding doors if you’ve less than 24 inches of walkway in front of the wardrobe. Choose hinged doors when you can afford the swing clearance, since they give you full access to every corner. Sliding doors sacrifice 6–8 inches of opening width per track.