
The most effective storage hacks don’t add more furniture, they convert the square footage you already overlook, like the 12 inches above your upper cabinets or the 6-inch gap beside your fridge, into high-functioning zones that cut your daily tidy-up time by half. But the difference between a hack that works and one that backfires comes down to a single preliminary step: inventorying what you actually own before you buy a single bin. In the next few minutes, you’ll learn which systems suit your space, your budget, and your tolerance for maintenance, so you can stop guessing and start storing with intention.
Key takeaways
- Audit first, then buy containers: measure every shelf, drawer, and cabinet before purchasing bins, because mismatched sizes waste more space than they save.
- Rental-friendly adjustable shelving uses tension rods and freestanding units that install without drilling, so you avoid deposit deductions while still doubling vertical storage in closets and pantries.
- Label every container on two sides with a label maker or chalk tape, and keep frequently used items at waist-to-shoulder height, which cuts daily retrieval time from minutes to seconds.
- Scale your system by room size, use stackable clear bins (8-12 inches deep) in small spaces, modular wire shelving (18-24 inches deep) in medium rooms, and built-in cabinetry with pull-out drawers in large areas to maintain access without blocking circulation.
Audit Your Inventory Before Buying Containers
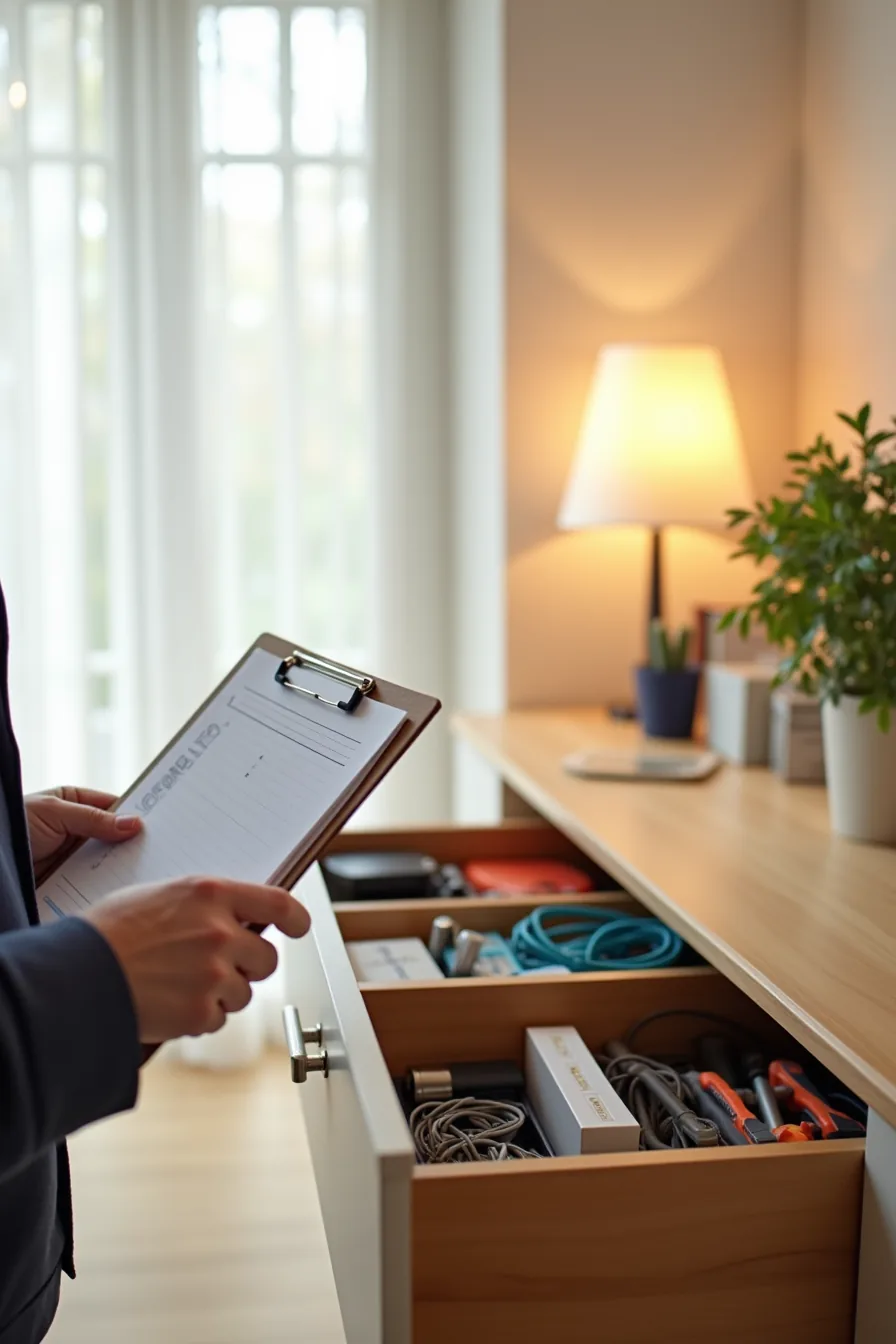
Before you purchase a single bin or basket, pull every drawer open and lay the contents on a flat surface. That clipboard you’re holding isn’t for show, it’s for recording what you actually own. Categorize each item: tools, cables, office supplies, and a “miscellaneous” pile you’ll likely need to purge.
Measure the drawer’s interior width, depth, and height in inches, not just the opening, since tracks and hinges reduce usable space by 1-2 inches on most standard drawers.
This audit reveals two things: which categories genuinely need organization, and which are just overstocked. A drawer full of orphaned cables may only need a small divider tray ($8-15), while a mixed office drawer requires a full system. Most homeowners discover they need 30-40% less storage than they initially estimated once they discard duplicates and broken items.
Match container dimensions to your measured drawer, not the other way around, oversized bins waste vertical space and create dead zones you’ll eventually fill with clutter.
Fixed Built-In Systems: Permanent Shelving and Cabinetry
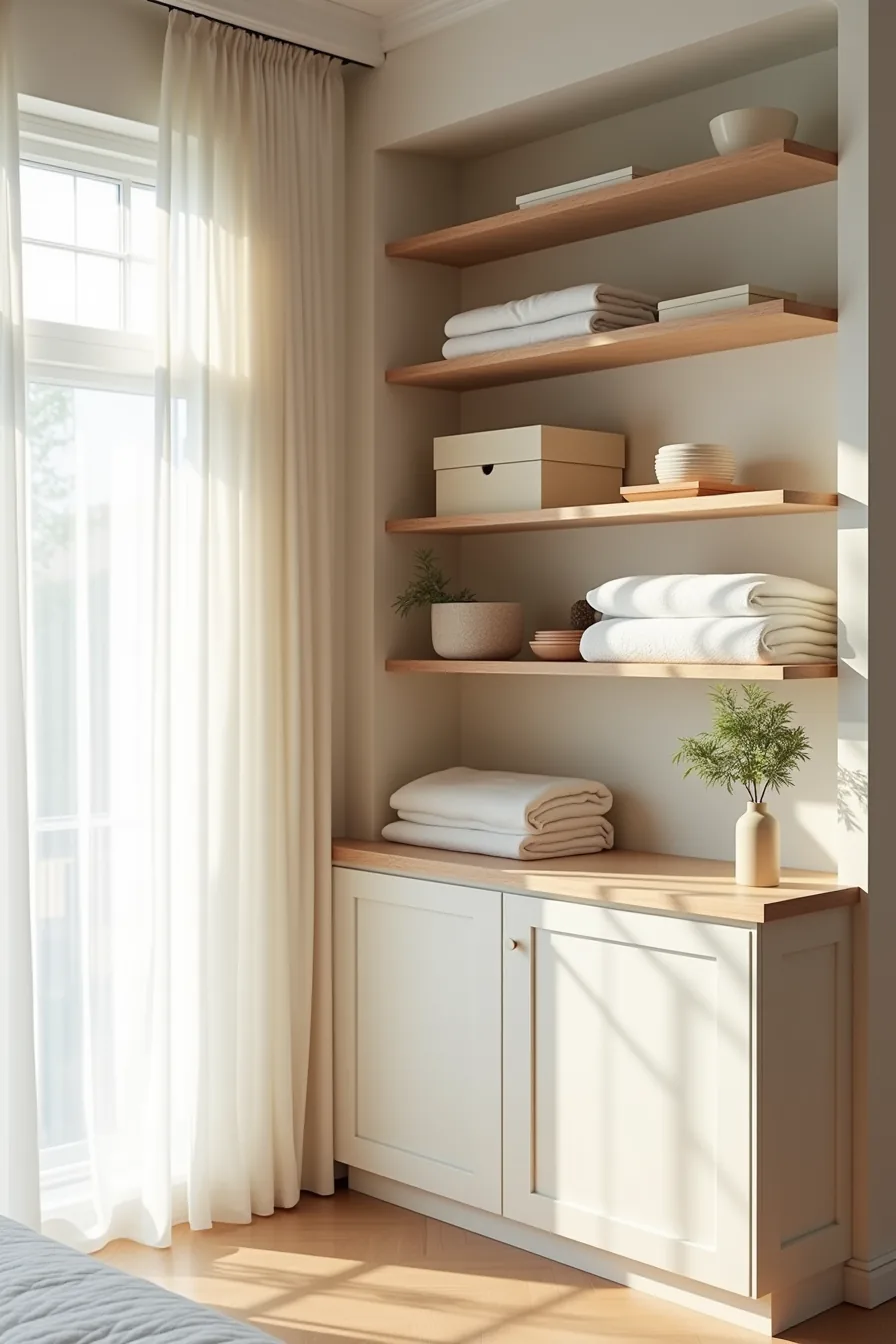
Built-ins earn their keep when you own the space and know your storage needs won’t shift for at least five years. A floor-to-ceiling unit with closed cabinet doors below and open shelving above, think folded linens and decorative boxes, gives you hidden bulk storage plus display space that doesn’t collect dust on every surface. Typical costs run $1,500-4,500 for a custom 8-foot run, depending on wood grade and hardware; a carpenter can install a basic version in 2-3 days, but you’ll need to clear the wall and account for any uneven floors or crown molding.
This approach suits homeowners who want a permanent solution and can tolerate the commitment. Renters should skip it, you’ll forfeit your deposit or pay for removal. The trade-off: closed lower cabinets hide clutter and simplify cleaning since you only wipe down one exterior, while open shelves above demand disciplined styling or they read as noise.
Budget-wise, prefab modular units from big-box stores run $400-900 for similar capacity, but you sacrifice the custom fit that eliminates wasted gaps along the wall.
Adjustable Shelving for Rental-Friendly Storage Hacks
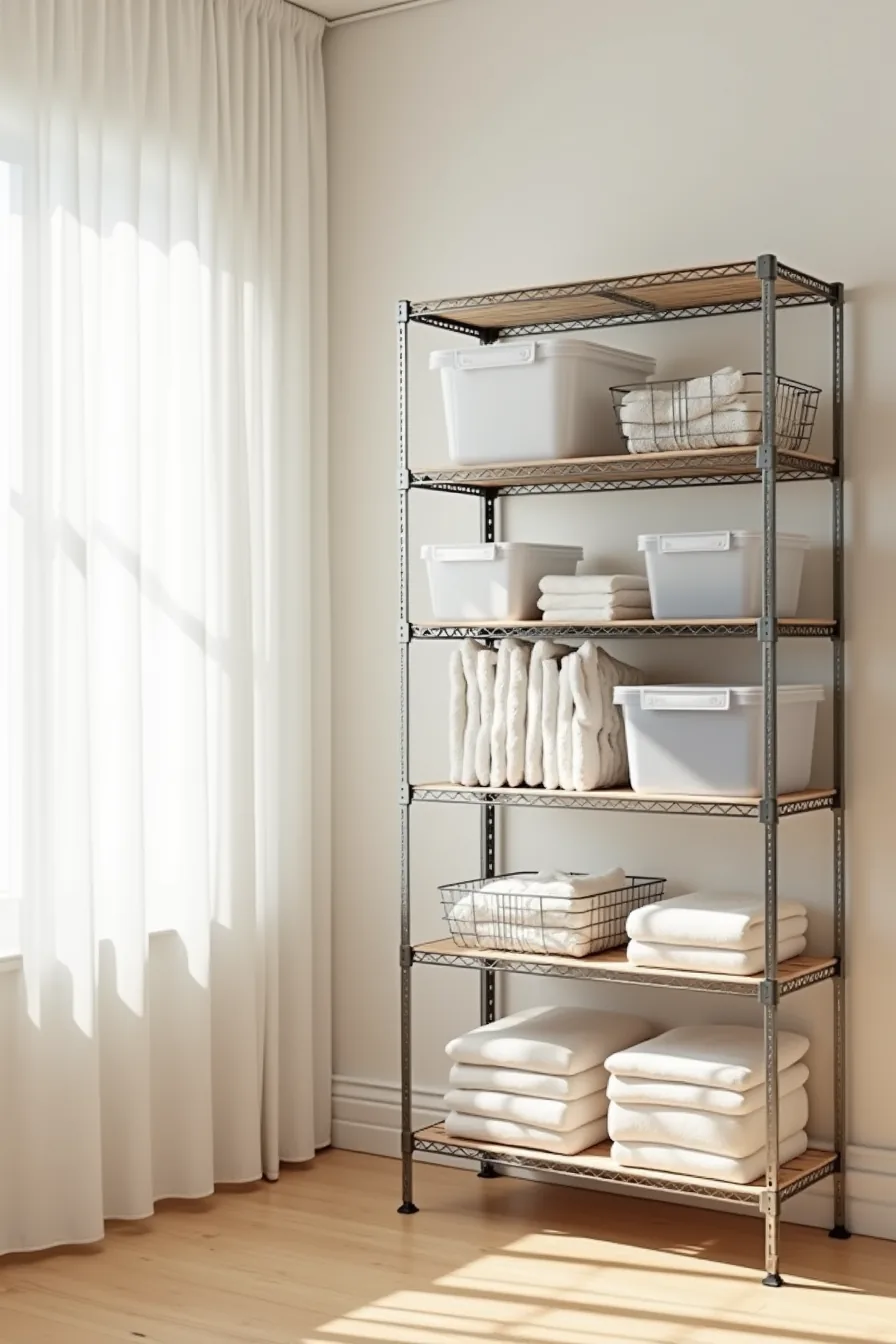
Freestanding metal shelving units deliver the capacity of built-ins without a single screw, making them among the most reliable rental-friendly tricks when you can’t modify walls. A typical 5-tier unit with 14-18 inch deep shelves supports 100-150 pounds per shelf when evenly distributed, and setup takes 20-40 minutes with just a rubber mallet and an Allen wrench. The unit against a blank wall, clear plastic bins for seasonal gear, wire baskets for loose supplies, rolled textiles stacked on the highest tiers, works because you match bin sizes to shelf depth, leaving 2-3 inches of clearance for easy pulling.
You gain full adjustability: reposition shelves in under a minute to accommodate a tall air purifier or a stack of hat boxes. Choose a unit with leveling feet to compensate for uneven rental floors, and place heavier baskets on lower shelves to lower the center of gravity. Expect to pay $80-200 for a powder-coated steel unit, and note that assembly is straightforward, but you should wipe down shelves monthly since exposed goods collect dust faster than enclosed alternatives.
Anti-tip wall straps are optional in rentals, most landlords permit them since they leave only small holes, but skip them if you’ve no children or pets.
Vertical and Awkward-Space Fixes Without Renovation
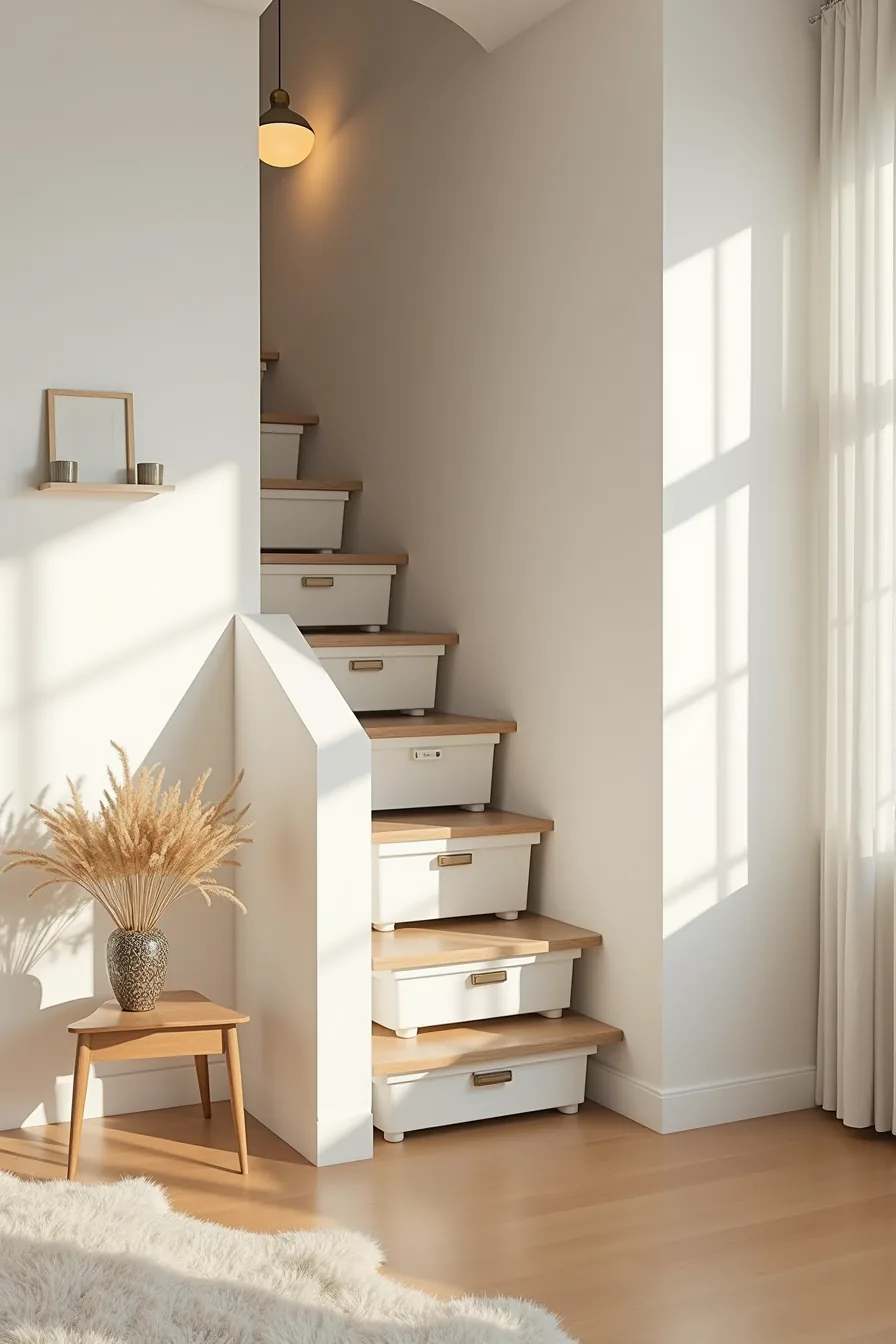
Corners and sloped ceilings punish standard shelving, so pivot to over-door organizers and angled units that exploit clearance instead of floor area. An over-door organizer with 5-7 transparent pockets, hung on the door frame beside a staircase, holds cleaning supplies, leashes, or hardware in plain sight, installation takes under five minutes with zero tools, and each pocket bears 5-10 pounds when weight is distributed evenly.
For the staircase underside, stack modular plastic bins in graduated heights, 16-22 inch tall units at the base, shorter ones toward the slope, so you use the full triangle without wasting volume. Match bin widths to the deepest point of each stair step, leaving 3-4 inches of pull space for access. This no-renovation storage suits renters and homeowners alike, but you must keep heavy items in lower bins to avoid straining upper lids, and expect to dust angled surfaces weekly since sloped areas trap more debris than flat runs.
Labeling, Access, and Maintenance for Daily Cleanup Speed
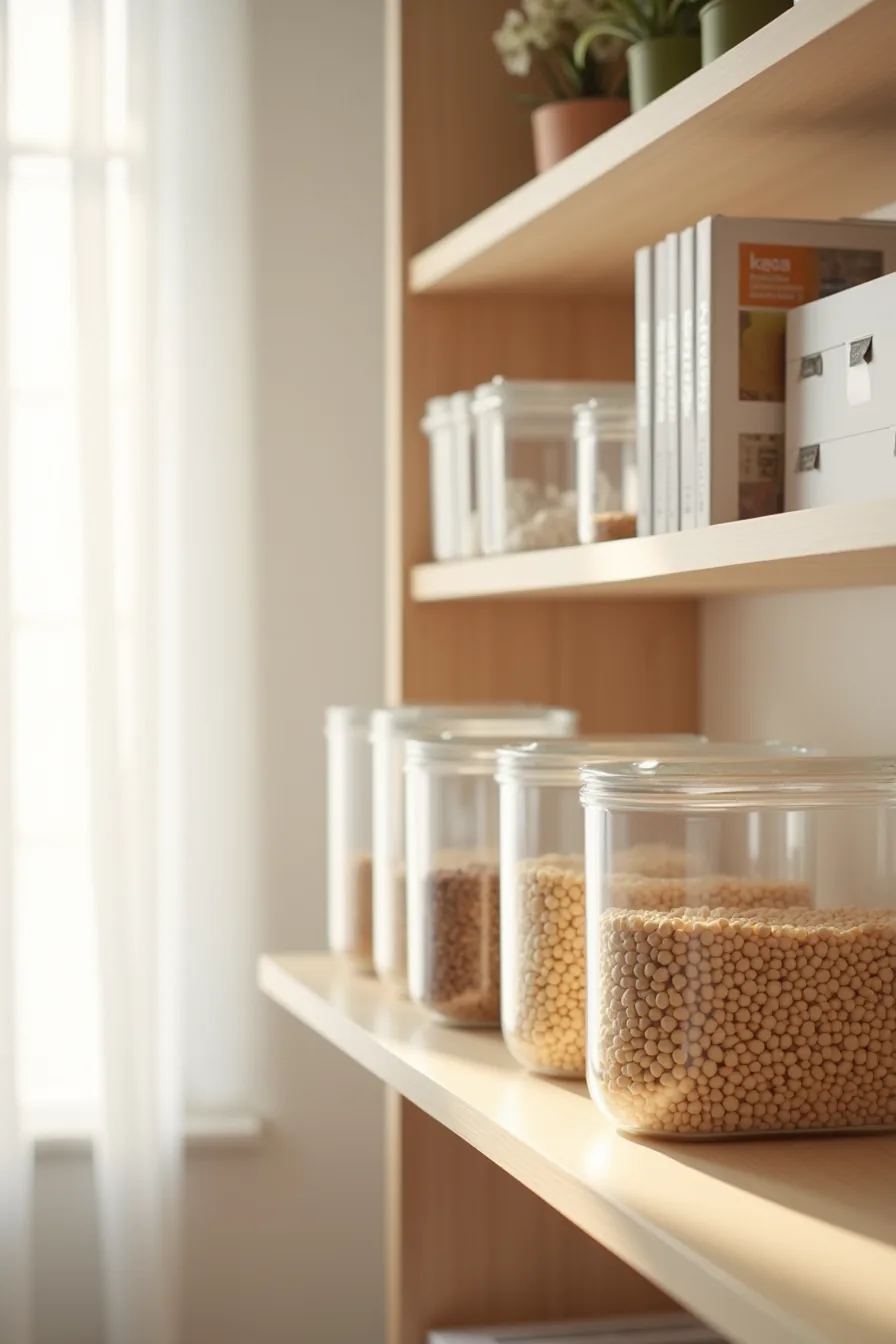
A shelf of uniform clear containers only saves time if you can identify contents at a glance and lift them without shifting neighbors. Set containers at eye level, roughly 60-70 inches from the floor, and keep labels on the front-facing edge, not the lid, so you read them without pulling anything out. Use a label maker or chalk tape; handwritten paper labels smudge and peel within weeks in humid rooms.
The open container in the front row should hold the item you reach for most daily, with lids removed for a week to test whether you actually use that frequency. If you skip it, swap the contents. Clear containers with latched lids cost 40-60% more than opaque bins, but they eliminate the need to open boxes to check inventory.
Budget alternative: use clear shoeboxes for small parts and reserve expensive airtight units for pantry staples only.
Dusting clear plastic reveals smudges quickly, so wipe exteriors monthly with a microfiber cloth and warm soapy water, avoid ammonia-based cleaners that cloud acrylic over time. Every three months, purge one item from each container; a system that can’t absorb a new purchase without rearranging will collapse within a season.
Scaling Storage Hacks Across Small, Medium, and Large Spaces
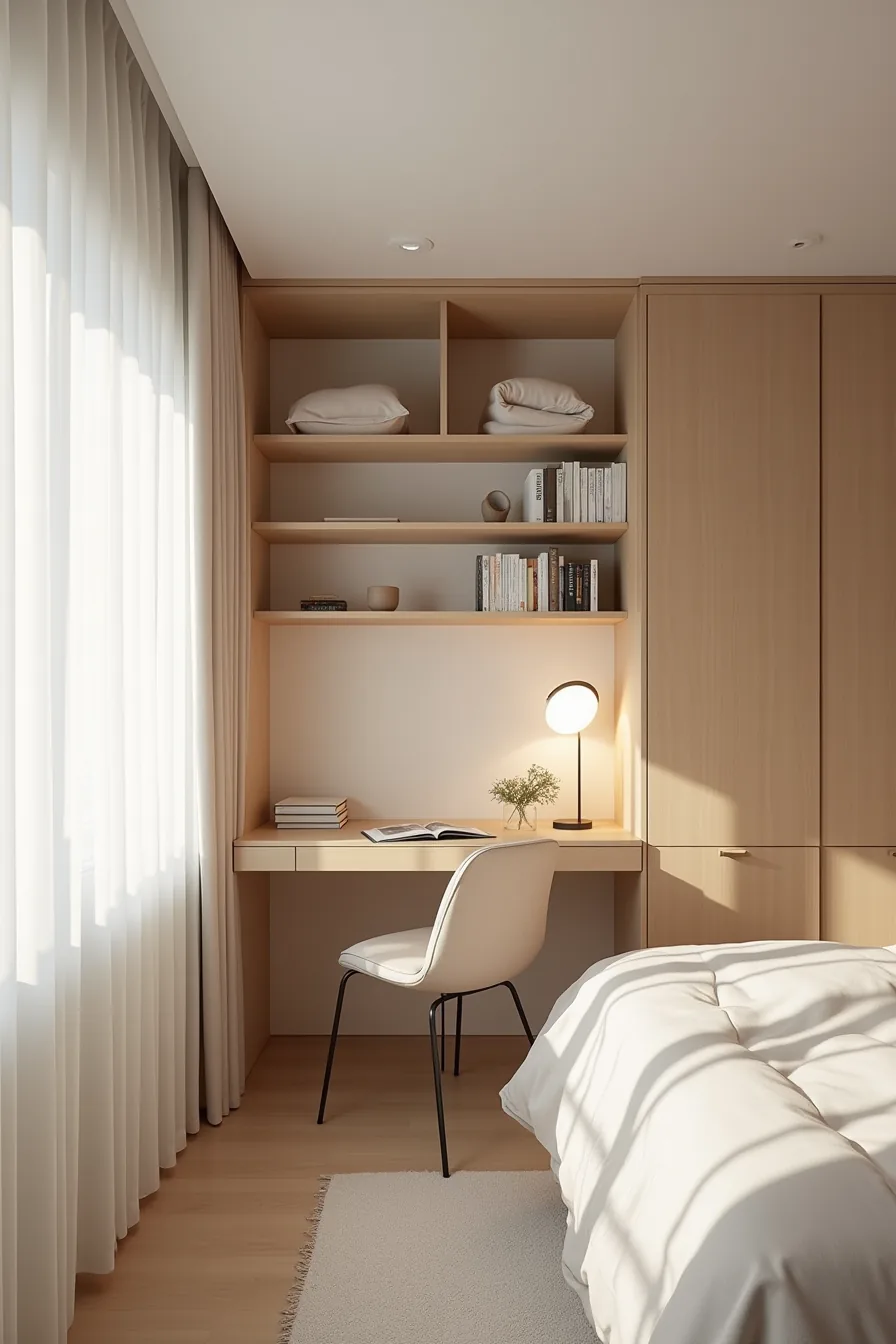
Your square footage dictates the ratio of wall-mounted to freestanding storage. In a small bedroom under 120 square feet, attach compact wall shelves above the desk to capture vertical space that would otherwise sit empty; keep the footprint on the floor clear for circulation. A medium room of 150-200 square feet supports a freestanding unit beside the bed, typically 30-36 inches wide, that doubles as a nightstand while absorbing daily clutter.
Large spaces over 250 square feet reward a dedicated closet system with modular drawers and hanging rods, but only if you map the zones first, allocate 40% of the closet to hanging, 30% to shelving, and 30% to drawers based on your actual inventory. Scale the quantity, not just the size: a small room needs three to five containers total, while a large walk-in can handle twelve or more without feeling crowded. In every case, match the container depth to the shelf depth, a 12-inch bin on a 16-inch shelf wastes four inches of reachable space per row.
Your 10-Minute First Step
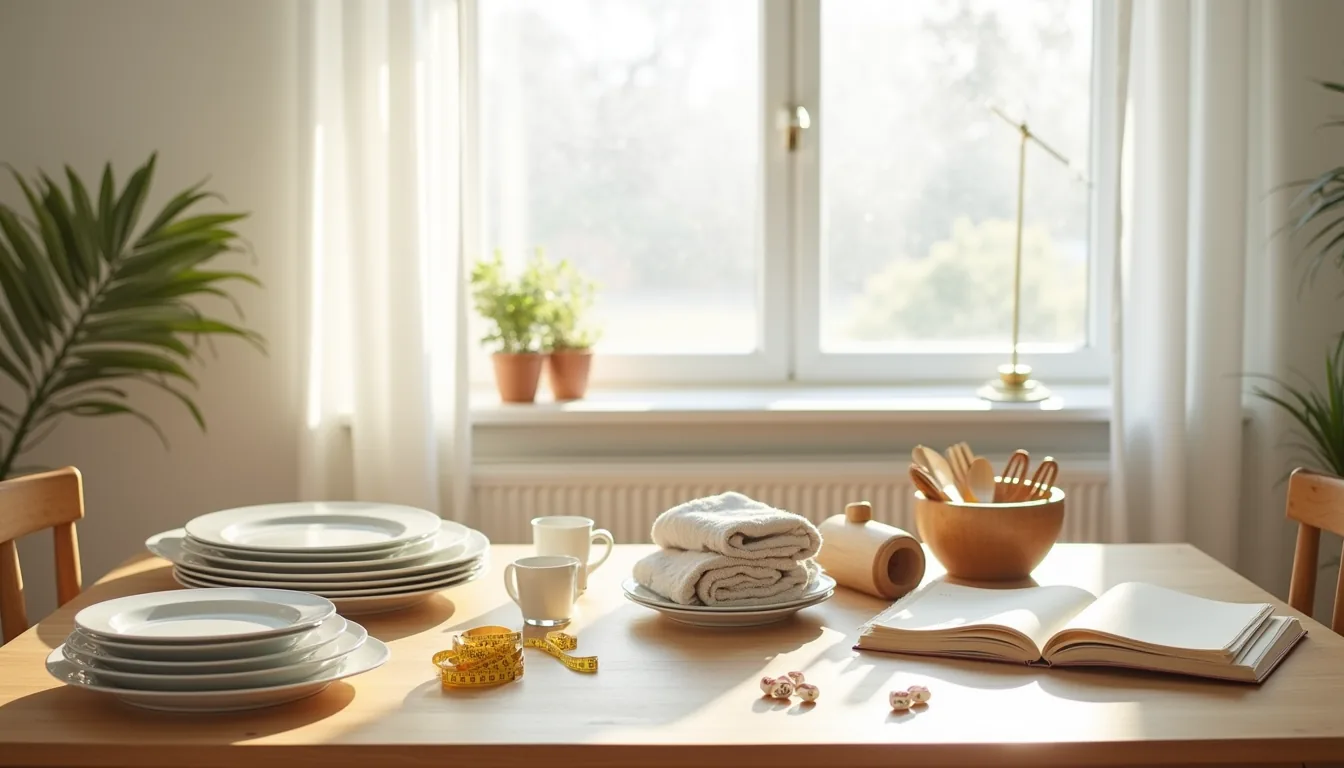
Before you buy a single basket or install a shelf, grab a measuring tape and a notepad. Walk through the room you want to fix and write down every category of item you own, not what you wish you had, but what’s actually there. Count the items in each category.
If you find more than three duplicate tools, chargers, or sets of guest towels, you’ve found your first declutter target.
Now pick one category, set a timer for 10 minutes, and box up everything you haven’t used in the past year. Don’t decide where it goes yet, just get it out of the room. That cleared space will tell you exactly what storage system you need, not the other way around.
Frequently Asked Questions
What is the difference between storage hacks and professional organizing?
Storage hacks are targeted, DIY solutions for specific spatial problems. Professional organizing is a comprehensive, systematic approach to decluttering and reordering your entire home. You can combine both: hire an organizer for strategy, then apply hacks for execution.
Can I use storage hacks in a rental apartment without losing my security deposit?
Yes, if you stick to renter-friendly methods: tension rods, freestanding shelving, over-door hooks, and adhesive strips rated under 5 pounds. Avoid drilling, permanent wall anchors, or built-ins. Document before-and-after photos, and patch any small holes with spackle before moving out.
How do I know if I need fixed shelving or adjustable systems?
Choose fixed shelving when you store uniform items like books or folded linens. Choose adjustable systems when your storage needs change seasonally, sporting equipment, holiday decor, or growing children’s clothes. Adjustable systems cost 20-40 percent more but offer greater flexibility.
What containers work best for awkward spaces like under stairs or sloped ceilings?
Use low-profile, open-top bins with cut handles for visual access, or custom-sized drawers on casters. Measure the clearance at the lowest point first, most standard bins won’t fit under 12-inch ceilings. Clear, stackable containers with labels work best for seasonal rotation.