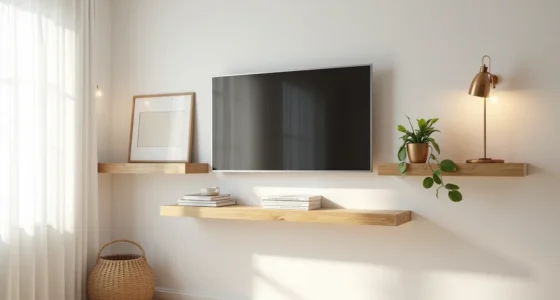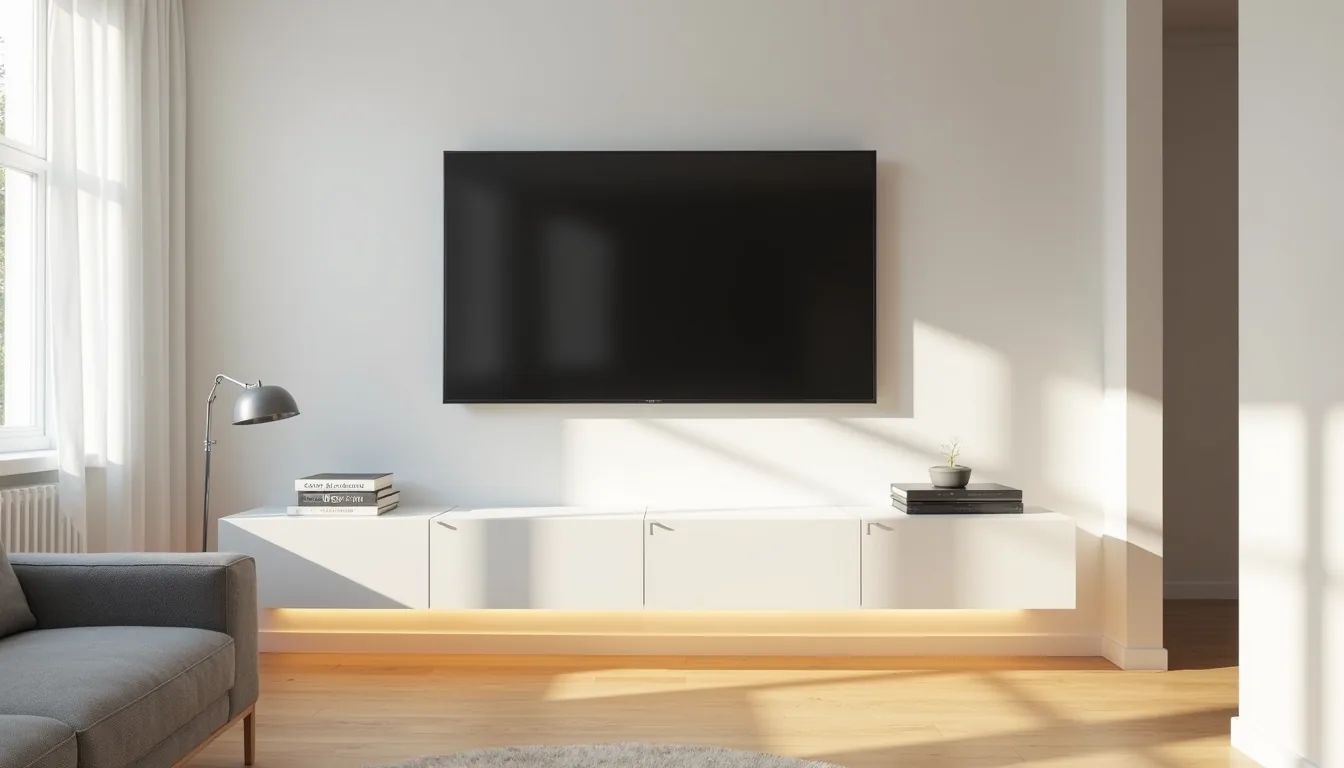
The TV console cabinet you choose dictates not just your media storage, but the entire traffic flow and visual weight of your living room, so the first decision isn’t about style, but about how you access your devices. Before you browse finishes or measure for width, you need to settle on a configuration that matches your actual viewing habits and cable management tolerance. The six approaches that follow break down the real trade-offs between open shelving, enclosed storage, and floating units, each with specific dimensions, clearance needs, and cost implications you can apply immediately.
Key takeaways
Floating consoles save floor space and simplify cleaning, but verify wall studs can support the combined weight of the unit and your devices before mounting. Legged consoles with open shelving suit media-heavy setups, yet expose cables and dust, plan for cord management and frequent wiping. Doors hide clutter better than drawers for irregular items like game controllers, while drawers excel at storing remotes and DVDs in an organized, slide-out manner. Choose a console roughly two-thirds the width of your TV, leave 4–6 inches of clearance on each side for ventilation, and match the finish to your floor tone for a cohesive look.
Floating Console with Closed Storage
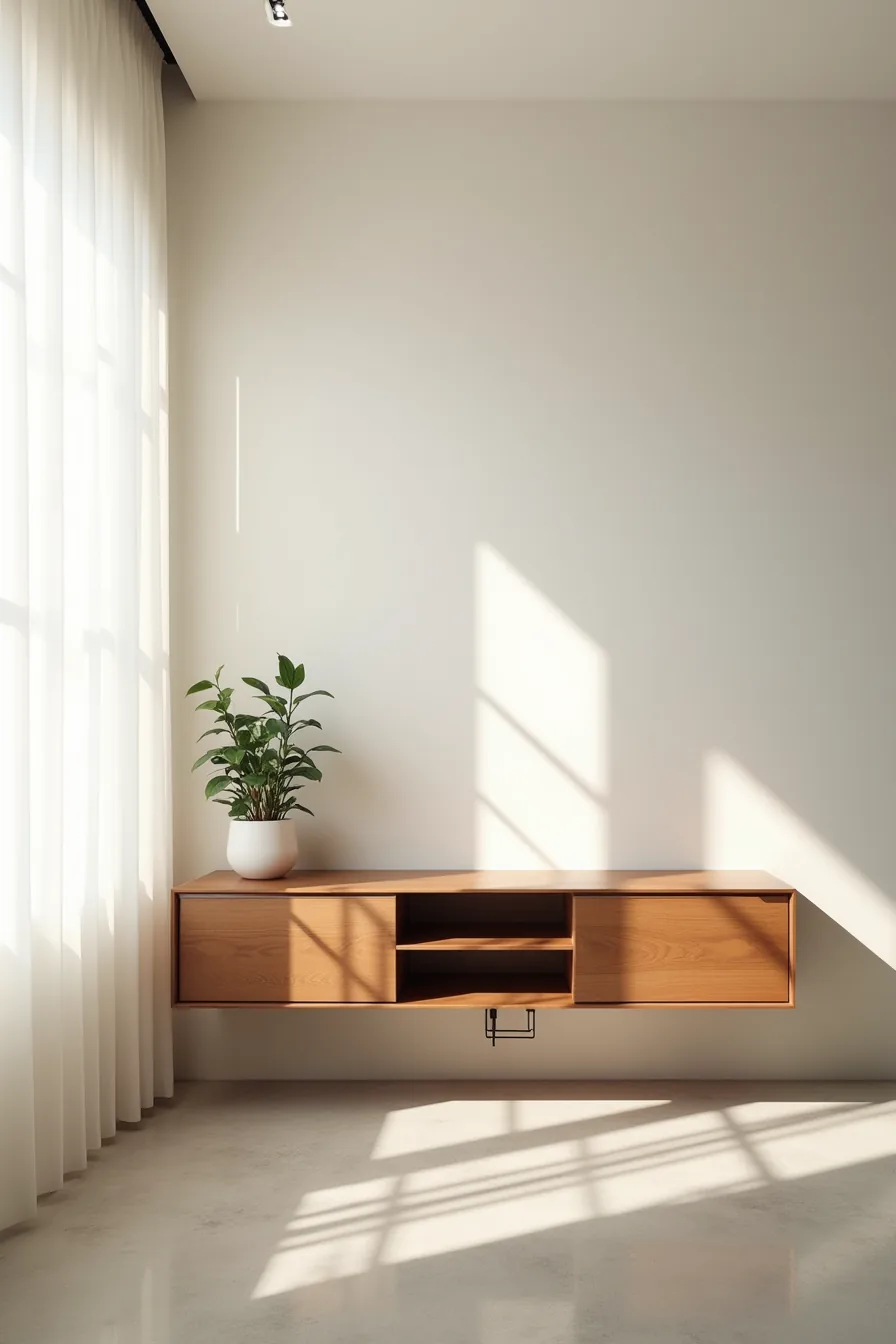
A floating TV console cabinet is the fastest way to add perceived square footage to a compact living room. By lifting the unit off the floor, you expose the full expanse of your flooring, which visually expands the space, a critical trick when you’re working with a 10-by-12-foot room. You also gain an uninterrupted surface for a robot vacuum to patrol, eliminating the dust-collecting shadow line that plagues furniture with legs.
A natural walnut cabinet with two hinged doors mounted 20 inches above a concrete floor illustrates the classic execution. In this setup, a vertical cable conduit runs down the wall behind the unit, channeling all HDMI and power cords out of sight, a non-negotiable detail if you want the floating effect to look intentional rather than precarious. Mounting brackets sit in the upper corners, anchored into the drywall with toggle bolts rated for at least 50 pounds per pair.
Why it works: Closed, hinged doors hide the inevitable tangle of streaming sticks, game consoles, and surplus remote controls. The look suits renters with permission to drill, or homeowners who want a clean, gallery-like aesthetic without sacrificing storage.
What’s required: A wall stud or heavy-duty drywall anchor system (toggle bolts are mandatory, plastic anchors will fail), a carpenter’s level, and a second pair of hands during installation. Budget an extra 30-60 minutes for the cable conduit run. A 55-inch TV pairs best with a console 55-65 inches wide; a 65-inch screen needs a 70-80-inch console to avoid a top-heavy imbalance.
This approach leans toward the long-term investment route, solid walnut costs two to three times more than laminate, but it resists sagging and scratches that cheaper boards will show within a year. For a budget route, use a standard floating shelf unit from a big-box retailer and paint the conduit to match the wall, cutting the cost by half. A renter-friendly variation forgoes wall anchors entirely: use a heavy-duty French cleat system that can be patched with two screw holes on move-out day.
Legged Console with Open Shelving

A legged console with open shelving trades concealment for curated display. The four tapered wooden legs improve the unit 6-8 inches, creating a visual gap that mirrors the floating look but requires zero wall drilling, a genuinely renter-friendly route since you only patch four small floor marks on move-out. The three open shelves below the TV put your soundbar, media player, and decorative objects on permanent display, so commit to editing what you place there.
Cables route through the rear tray, but with open shelving, every cord you miss becomes part of the design.
Why it works: Open sight lines make a compact room feel less boxed-in, and the legs let you run a vacuum underneath without shifting furniture. This setup suits renters, or anyone who regularly swaps components and hates unplugging drawers to reach a dead HDMI port.
What’s required: Measure shelf depth before buying, your soundbar needs 2-3 inches of clearance behind it for rear-facing ports. The legged vs floating decision comes down to stud access: if you can’t locate studs reliably, freestanding legs win every time. Match the console width to your TV (55-65 inches for a 55-inch screen) and keep decorative objects under 10 inches tall to preserve sight lines over the soundbar.
Dusting open shelves takes 5 minutes weekly; budget for it or choose closed doors instead.
Doors vs. Drawers: Storage Access Trade-offs
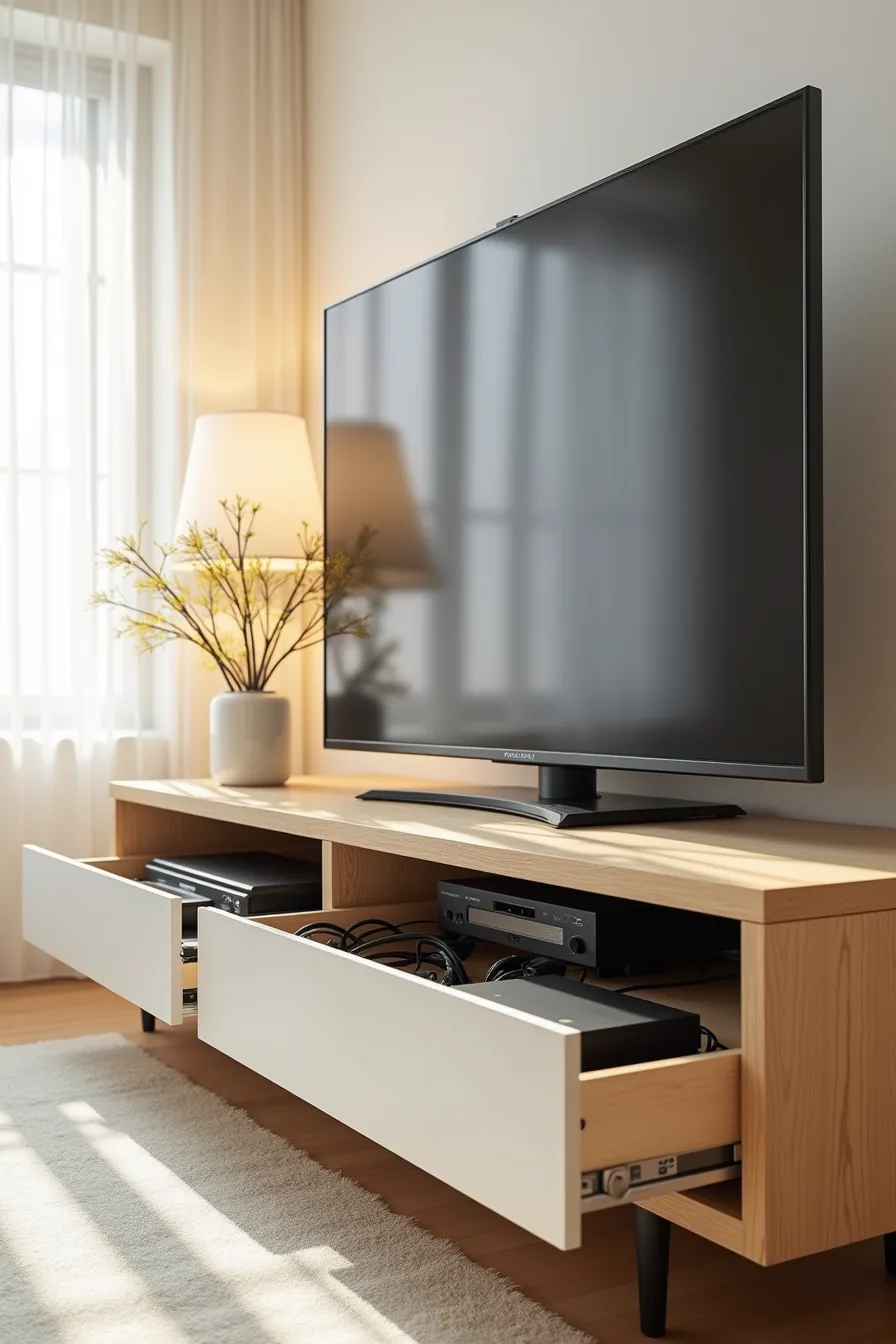
The split-view setup makes the choice concrete: hinged doors on the left, a pull-out drawer on the right, both resting on the same cabinet base. Doors conceal equipment behind a solid flush face, keeping visual weight low and the room calm, ideal for a formal living area where you want the TV console to disappear between viewing sessions. The trade-off is access: reaching a cable or swapping a streaming stick means clearing the floor in front and swinging both doors fully open, which requires 30-40 inches of clearance in a walkway.
A drawer solves that by sliding straight out, letting you reach rear ports and internal cables without moving furniture or kneeling sideways. The visible cost is the drawer face breaking the cabinet’s clean line, adding visual weight at eye level, a minor issue in casual family rooms, a real one in minimalist spaces. Doors vs drawers also affects ventilation: closed doors trap heat, so leave a 2-inch gap at the back panel or cut vent holes; drawers, even closed, leak air through their slides. Choose doors for low-use consoles holding rarely touched devices; choose drawers if you adjust cables weekly or mount your TV high enough that peering down into a drawer beats crouching under a door.
Sizing Your TV Console Cabinet to Room Dimensions
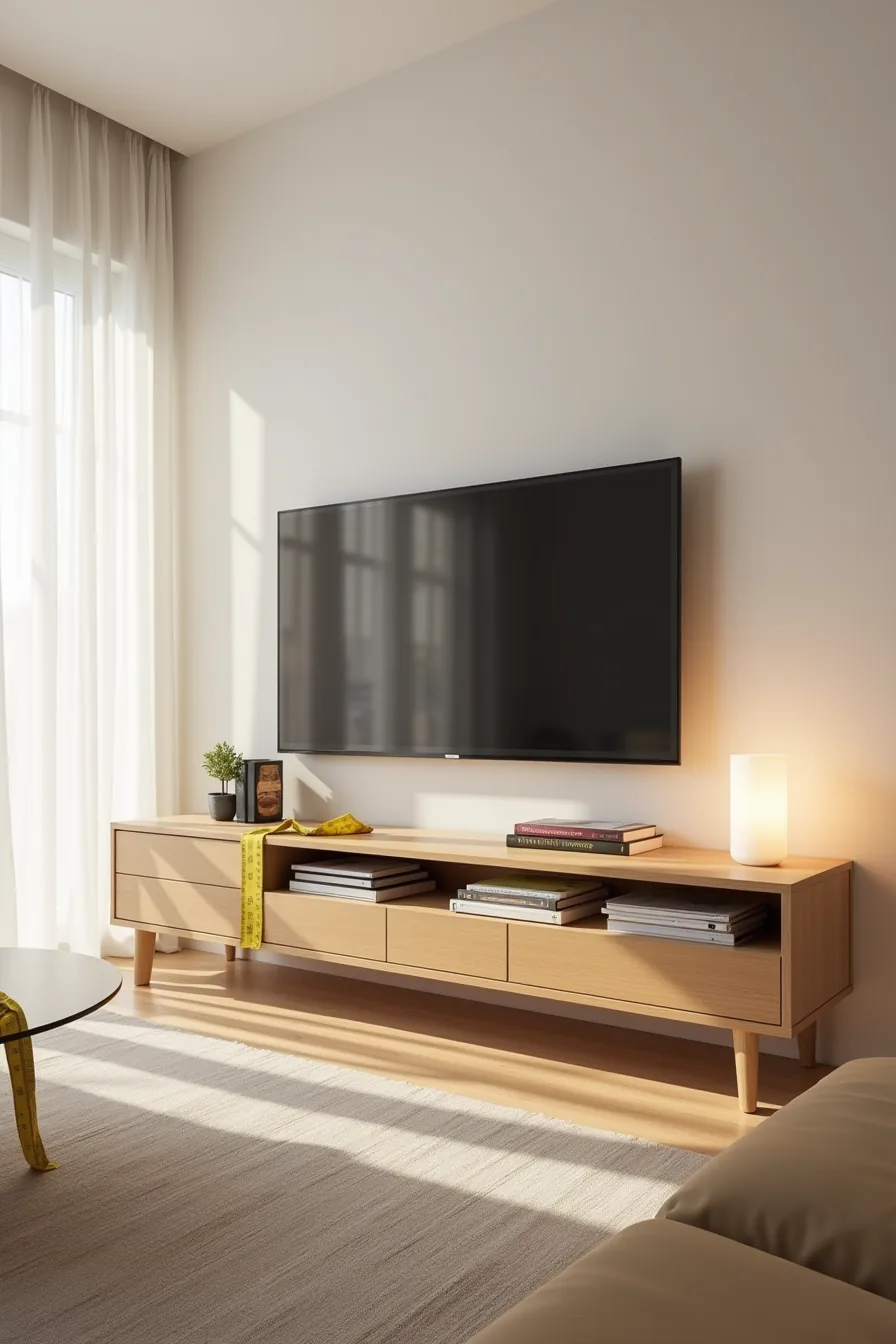
The measuring tape draped across that compact apartment console tells the real story: width matters more than height. For a 32-inch TV, a 50-inch console gives you roughly 9 inches of breathing room on each side, which visually anchors the screen without overwhelming the wall. The general rule is to pick a Tv Console Cabinet that spans at least as wide as your television but no more than twice its width, anything beyond that starts eating into floor space you can’t afford to lose.
Depth is where most people misjudge. That 40-inch TV stand in the photo likely runs 14-16 inches deep, sufficient for a media player but short of the 18-20 inches needed for a soundbar in front of the screen. Measure the depth of your AV components before shopping.
For a sofa 8 feet back, a 10-foot wall comfortably accommodates a console up to 72 inches wide; in a tighter space, subtract 6 inches per foot of wall to keep circulation clear.
Materials and Finishes for Durability and Style
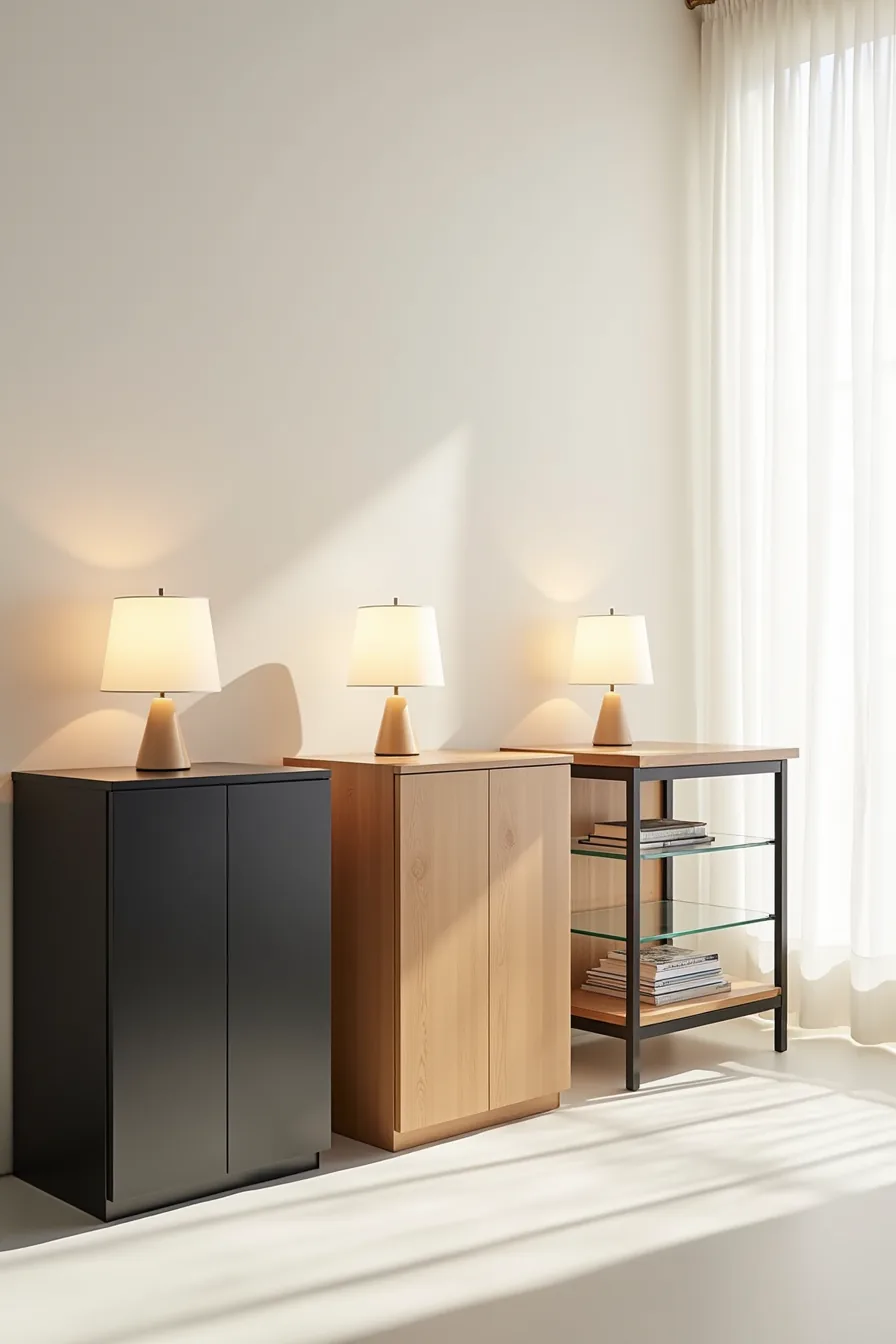
The three consoles in this setup demonstrate how material choice dictates both longevity and maintenance. That matte black laminate cabinet on the left resists scratches and wipes clean with a damp cloth, making it the pragmatic pick for households with kids or pets. Expect laminate pieces in the $150-$400 range; the trade-off is that chips expose the particleboard core, which swells if moisture sits on it.
The natural wood veneer cabinet in the center offers the best long-term value. Solid-wood frames with veneer faces typically run $600-$1,200 and can be refinished decades later, unlike laminate. Veneer demands little more than dusting and occasional polish, but avoid placing it in direct sun, UV exposure will fade the finish unevenly within a couple of years.
The metal-frame console with glass shelves on the right suits modern interiors but requires the most upkeep. Glass smudges visibly after one remote pickup, and the open shelving exposes every cable and component to dust. Budget $300-$700 for this style; the metal substructure holds up well, but the glass panels are the first thing to chip if you slide equipment carelessly.
Device-Access Planning and Cable Organization
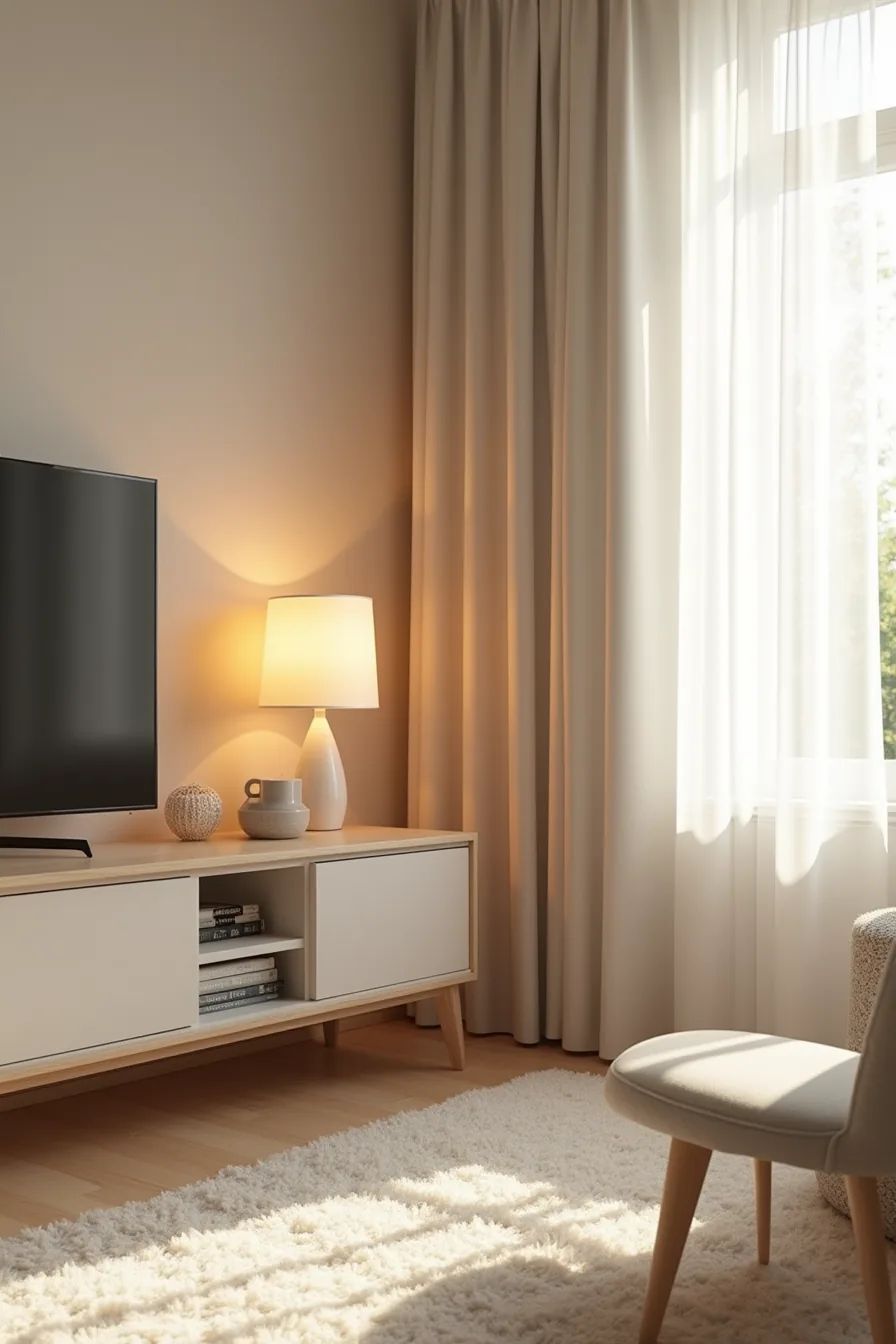
Before you buy, map every device you’ll store and count its cords. A typical setup, soundbar, streaming box, game console, cable modem, needs four to six outlets, so a power strip mounted to the back panel beats hunting for wall sockets behind the unit.
That rear-mounted power strip should sit within six inches of the unit’s top edge if you load components on upper shelves. Run a single fabric cable sleeve down the back corner to bundle cords vertically, then anchor them with adhesive cable clips every eight to ten inches so nothing dangles into the path of a shelf you’ll slide out later.
Ventilation is the non-negotiable. Solid-back consoles trap heat and shorten component life, so look for units with cutouts or gaps along the sides and back panel. If your console lacks them, leave the back panel off entirely or drill 2-inch vents near the top of each side, never at the bottom, where dust settles and blocks airflow.
For TV Console Cabinets for a Tidier Media Zone, budget an extra 45 minutes for cable wrangling on setup day; that time pays off every time you swap a device without unthreading a knot of cords.
Your Next Step
Start with measurements, not inspiration. Measure your TV’s width and the wall space where the console will sit, this takes ten minutes and eliminates half your options immediately.
Decide your budget range before browsing: under $200 for a temporary fix, $300–$600 for a solid mid-range piece, or $1,000+ for a heirloom-quality investment. Then match the three constraints, size, price, and storage needs, and you’ll have your answer.
Visit one local furniture store this week to test depth and finish in person. Online photos hide the details that make or break a purchase: drawer glide quality, cable access, and whether the color actually works with your floor.
Frequently Asked Questions
What’s the difference between a TV console cabinet and a TV stand?
A TV stand is typically an open, low platform that holds the television and a few components. A TV console cabinet adds enclosed storage, doors, drawers, or cubbies, to conceal media gear, cables, and accessories. Console cabinets prioritize organization over display.
Can I use a TV console cabinet in a rental without wall mounting?
Yes. Place the television directly on the cabinet’s top surface, ensuring the base is at least 2 inches wider than the TV’s feet on each side. No wall anchors or drilling required.
Just verify the cabinet’s height, most work best between 24–30 inches.
How much clearance do media devices need inside a TV console cabinet?
Leave at least 2–3 inches of open space above and behind each device for airflow. For enclosed cabinets with doors, add another 1–2 inches on the sides. If you use a soundbar or receiver, double that clearance, they generate the most heat.
Should I choose a TV console cabinet with doors or open shelves for heat management?
Choose open shelves if you run multiple devices for over 2 hours daily, they dissipate heat naturally. Choose doors only if you install a rear cutout or ventilation grille, and keep doors ajar during heavy use. Otherwise, internal temperatures can rise 10–15°F above room level.